
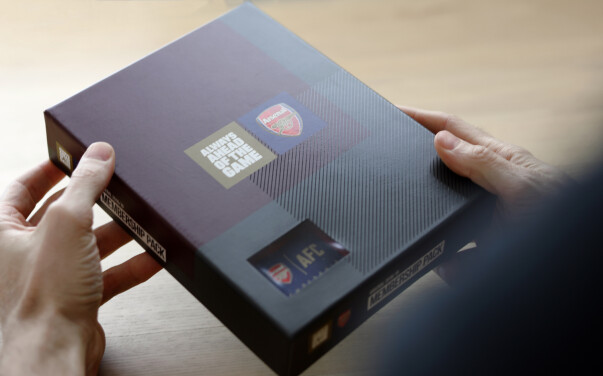
Match each artwork component to the intended structural version. This photograph illustrates a complete pack, not a production dieline. Third-party reference; not a Bravo Package project.
A complete artwork handover connects the structural drawing, printable design, finishing instructions and approval record. Confirm the current version and the supplier’s requirements before sending a perfume box to production.
Start with the agreed structural version


Place the perfume-box artwork on the structural file agreed for this project. Identify the box format, stock, capped bottle configuration, insert and drawing number. State the units and whether dimensions describe the internal space, outside pack or another agreed reference. The designer and supplier should not have to infer the definition from three numbers.
Mark provisional inputs and required fit checks when the bottle is still changing. A downloaded template or concept rendering can support a discussion, but it cannot establish production geometry. Once a structural revision is issued, review all affected components and artwork rather than moving only the most obvious line.
Identify structural lines and panel orientation

Ask the structural-file owner to explain the cut, crease, opening, glue and other production indications. Keep the structure distinguishable from printable artwork while preserving their alignment. Do not assume that a particular colour or dash pattern has the same meaning in every supplier’s workflow. Confirm how technical lines should be delivered and kept out of the printed decoration.
Label the front, back, top, bottom, opening direction and inside surface. Review fragrance names, capacity information, barcodes and graphics across adjoining panels in the formed orientation. Look for inverted wording and information hidden by a glue flap. A three-dimensional preview helps reveal layout errors; a physical folded sample checks actual assembly.
Confirm bleed and artwork clearances separately

Extend backgrounds and images that reach a cut edge into the required bleed. Keep essential wording and marks within the agreed safe area. These are separate actions: shrinking the entire design inward does not create the required image extension. Clearance near a crease, opening or wrapped edge may need separate consideration.
Confirm the values against the project dieline, material and converting requirements. Do not apply one internet dimension to every box or add bleed to the three finished-box dimensions. Check both background coverage and important information before delivery. When the supplier identifies a conflict, revise the file and return a readable preview for approval.
Make print and finishing instructions unambiguous

Distinguish ordinary printing from areas intended for foil, relief or a separate coating. Use the agreed naming and alignment method, and supply a readable decoration reference alongside the production file. A gold-coloured rendering does not by itself specify a foil; a vaguely named effects layer does not define its position or extent.
Have the supplier review separations and relevant settings for the chosen process. Do not delete low-value colour channels or alter the brand mark as a routine cleanup. If prepress changes the supplied artwork, identify the revision and return the appropriate proof. Providing an editable file is not blanket approval for changes to design or information.
Deliver the assets and a readable proof

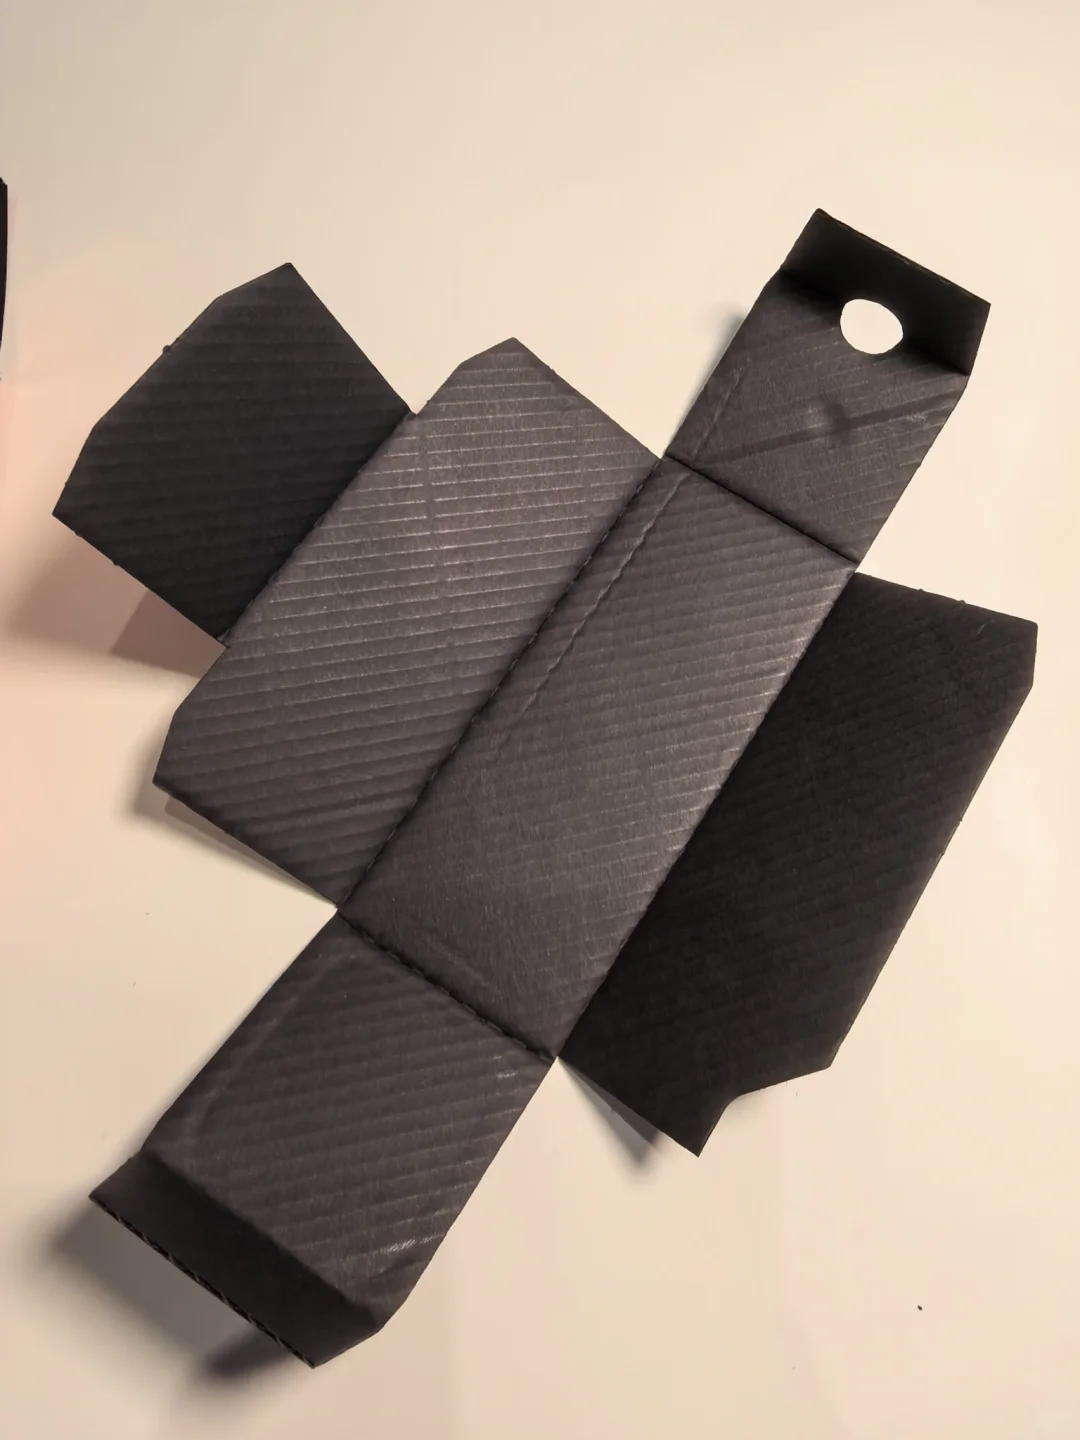
Supply the requested production format, a readable PDF and the required linked images. Check for missing or outdated links and inspect image quality at its intended printed size. Handle type through the agreed embedding, outlining or other workflow, retain an editable master and recheck the resulting letterforms. Outlining does not replace permission to use the typeface.
If you use a packaging function, inspect what it actually collected and confirm which assets may be shared. Include a manifest identifying the current version, language and fragrance variant, stock and finishes. Define what the viewing PDF approves. Its acceptance should not silently approve untested colour, structure or physical finishing.
Connect file approval to production release
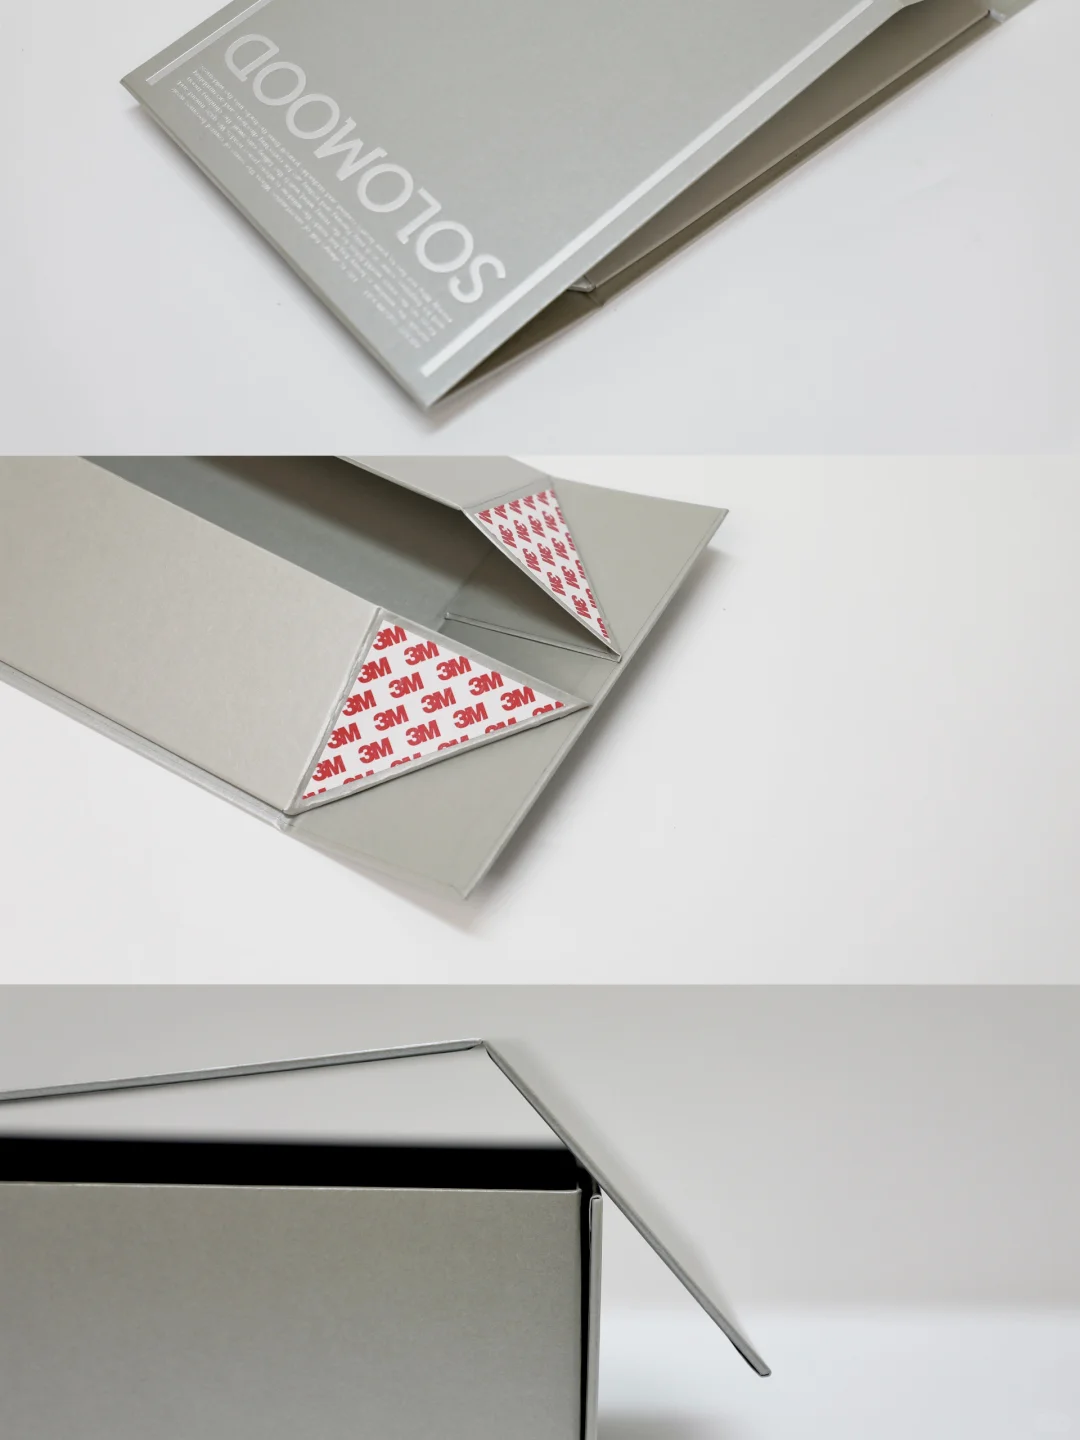
Before production, connect the final structural drawing, artwork revision, stock, decoration, reference sample and approver. Check fragrance, capacity, language, destinations of printed codes and all wording, then review geometry and finish positions. Arrange appropriate verification of codes in their intended printed state; a successful screen scan does not establish finished-pack performance.
Name the owners of structure, artwork changes, prepress checks and final release. On reorders, ask whether changes affect tooling, quotations or the approved sample. Remove superseded files from the active handover while retaining a traceable history. Receipt of a file, completion of preflight, sample approval and production authorization should be recorded as distinct milestones.
Technical context: Esko packaging prepress guide describes structural verification and preflight as project-specific tasks. For asset handover, see Adobe’s file packaging guidance. Confirm the receiving supplier’s requirements.