
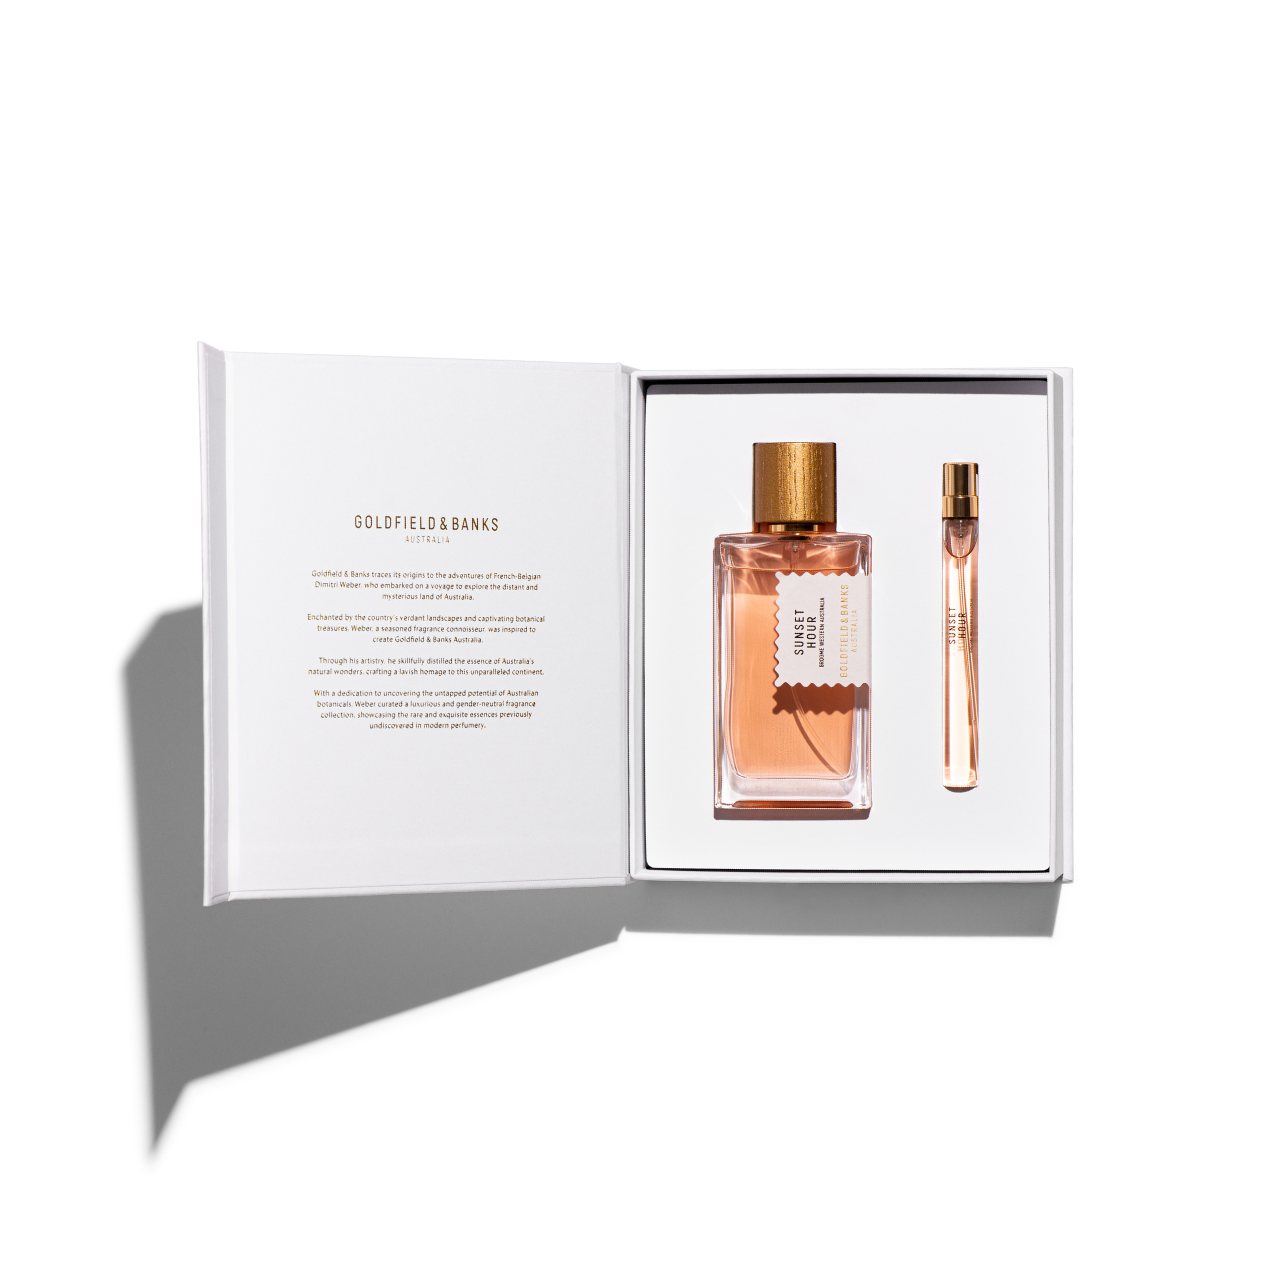
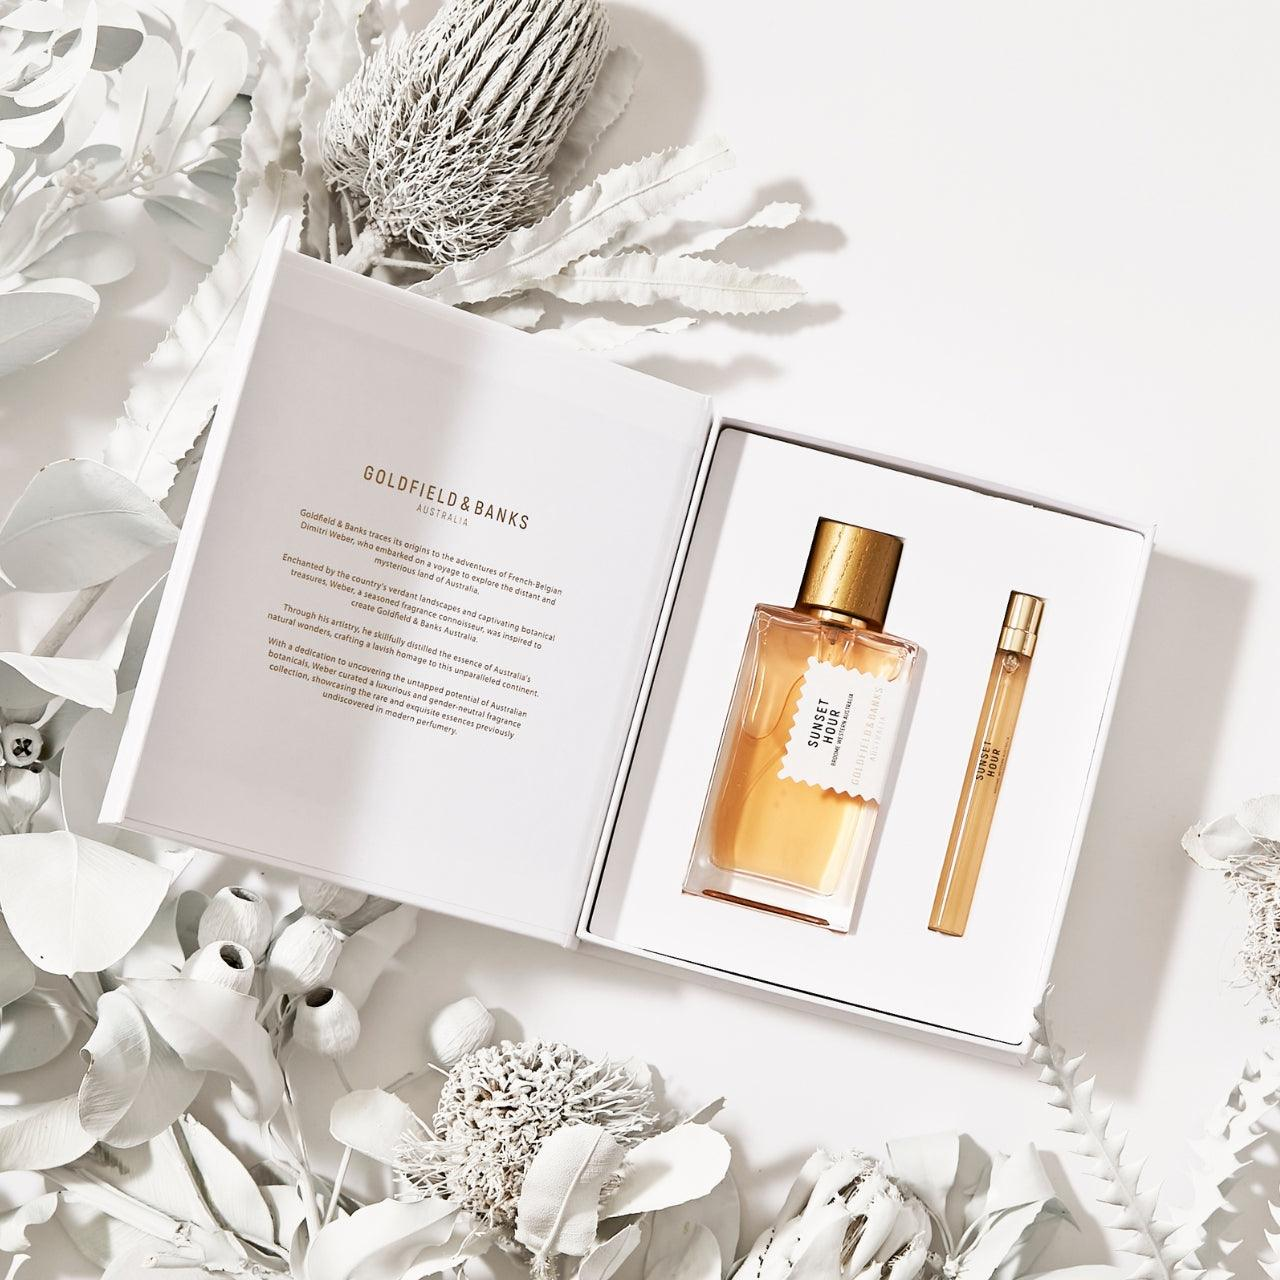
The Sunset Hour presentation places a large perfume bottle and a narrow travel spray in separate positions within one insert. The photograph shows the arrangement, without establishing hidden depth, clearance or protective performance. Third-party reference; not a Bravo Package project.
A shared insert for full-size and travel perfumes needs two product-specific reviews within one complete layout. Shrinking the larger bottle cavity is not a reliable starting point for the smaller one. Record each finished, capped product’s outline, dimensions, weight and orientation, then consider contact, clearance, depth and access together. Review the insert inside the actual outer box with all included materials, and approve the defined product combination and sample revision.
Record each finished product separately
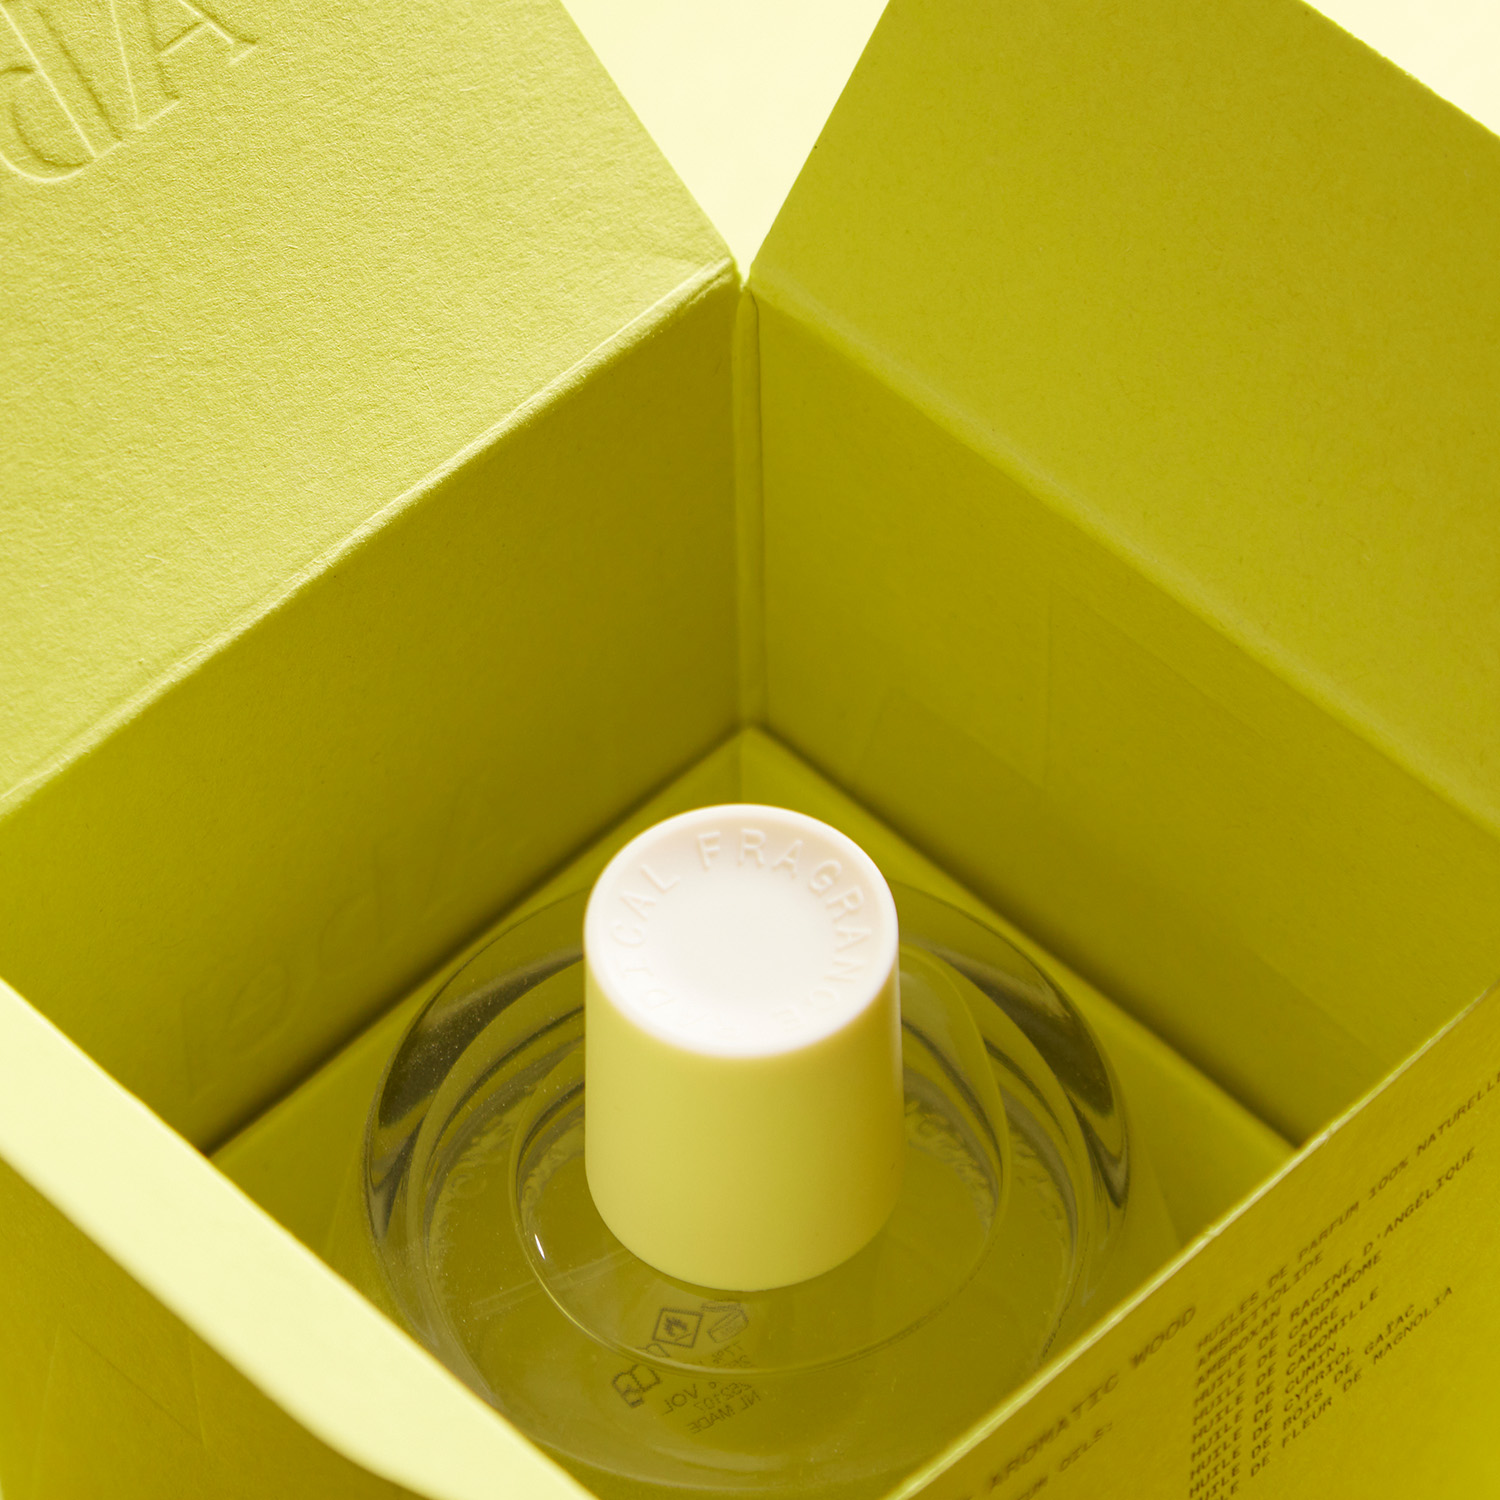
Define the gift-set SKU: the exact full-size product, travel product and quantity of each. Supply actual products or checked drawings in their final state, including the selected caps, pumps, labels and accompanying parts. For each item, record length, width, height, units, measurement orientation, projecting features and weight. Identify which scent or bottle revisions share the configuration and which require separate review.
Do not infer a travel bottle’s diameter or height from its capacity or scale it from the larger bottle. A different cap can change the highest point. Mark sensitive labels, decorative surfaces and parts that should avoid pressure on the corresponding view. If inputs remain provisional, identify the sample and open decisions. A generic insert code or photographic proportion is not a verified dimension.
Distinguish intended contact from areas to avoid
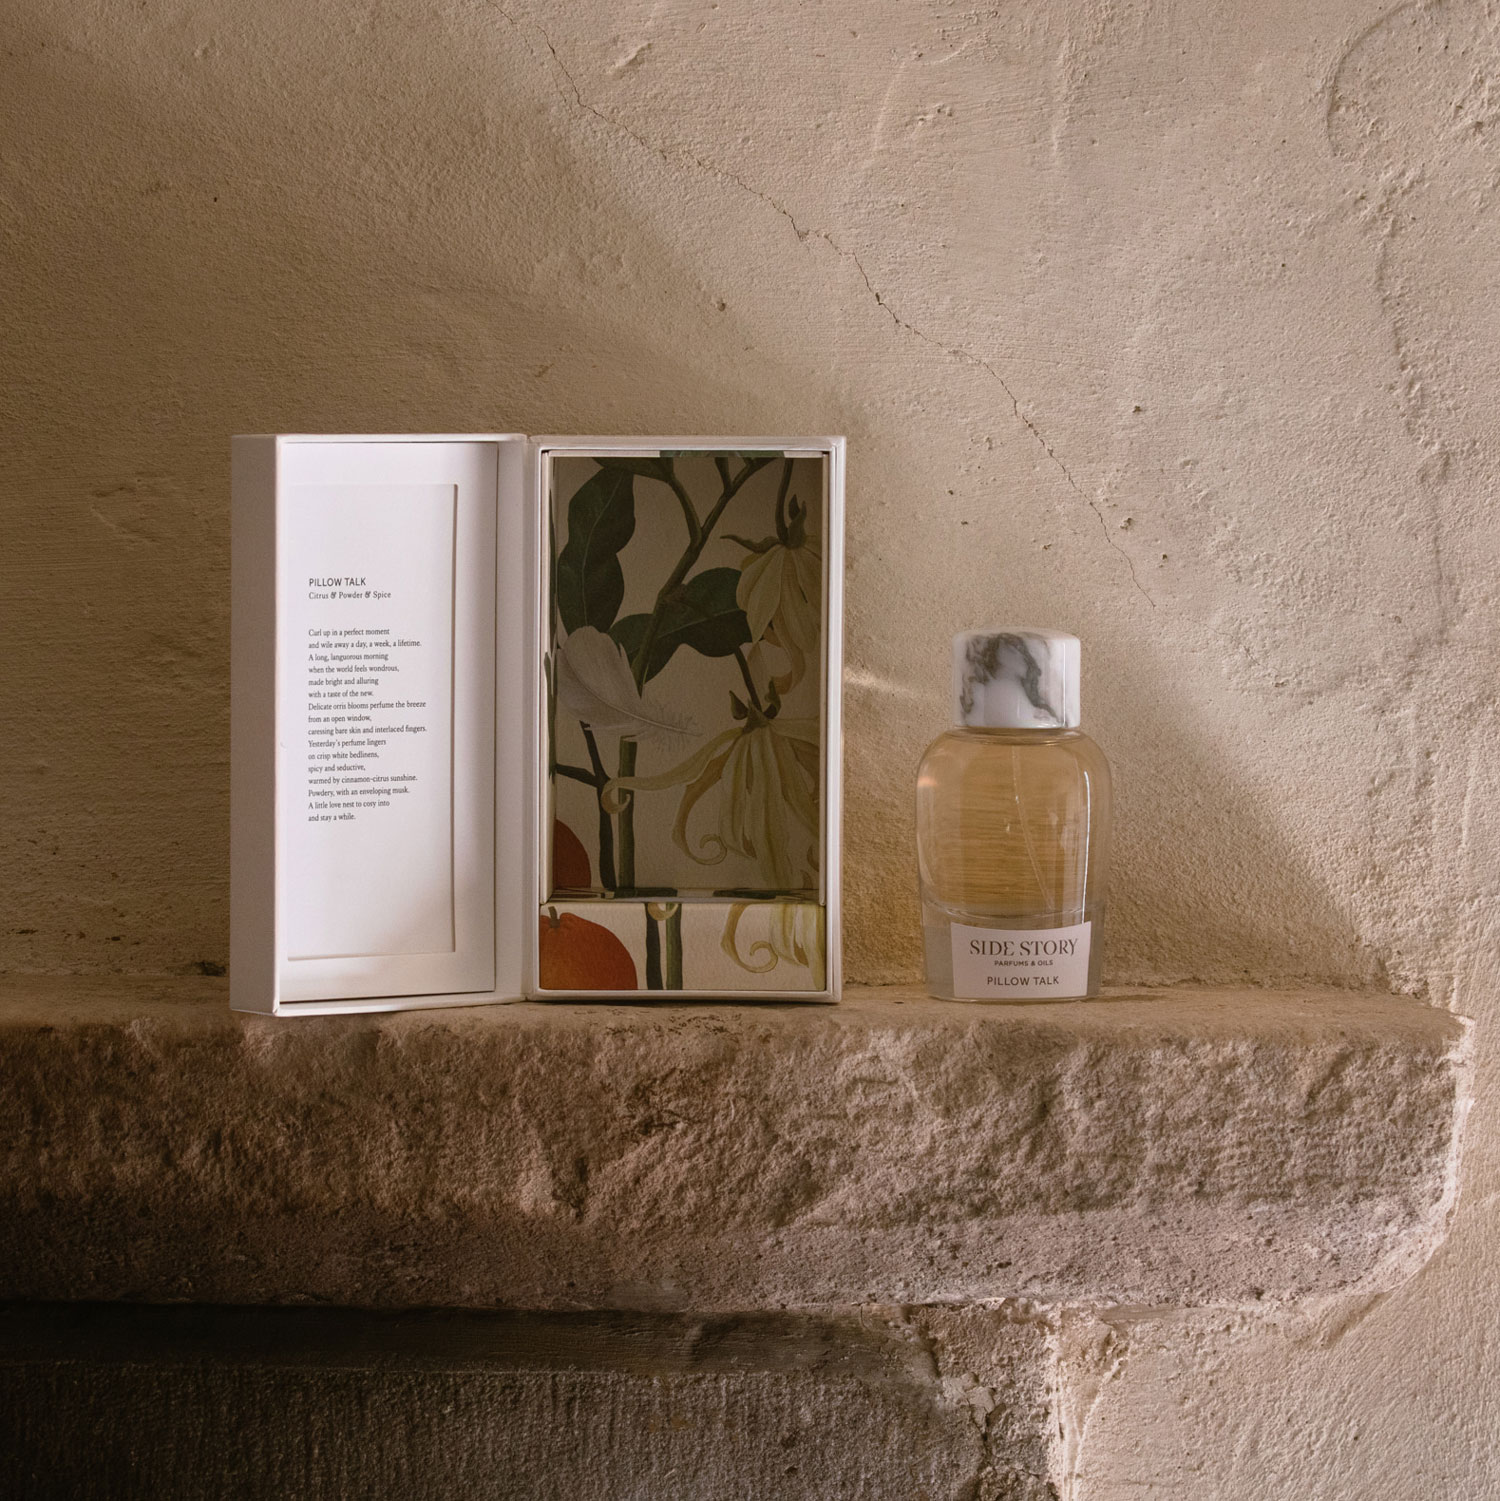
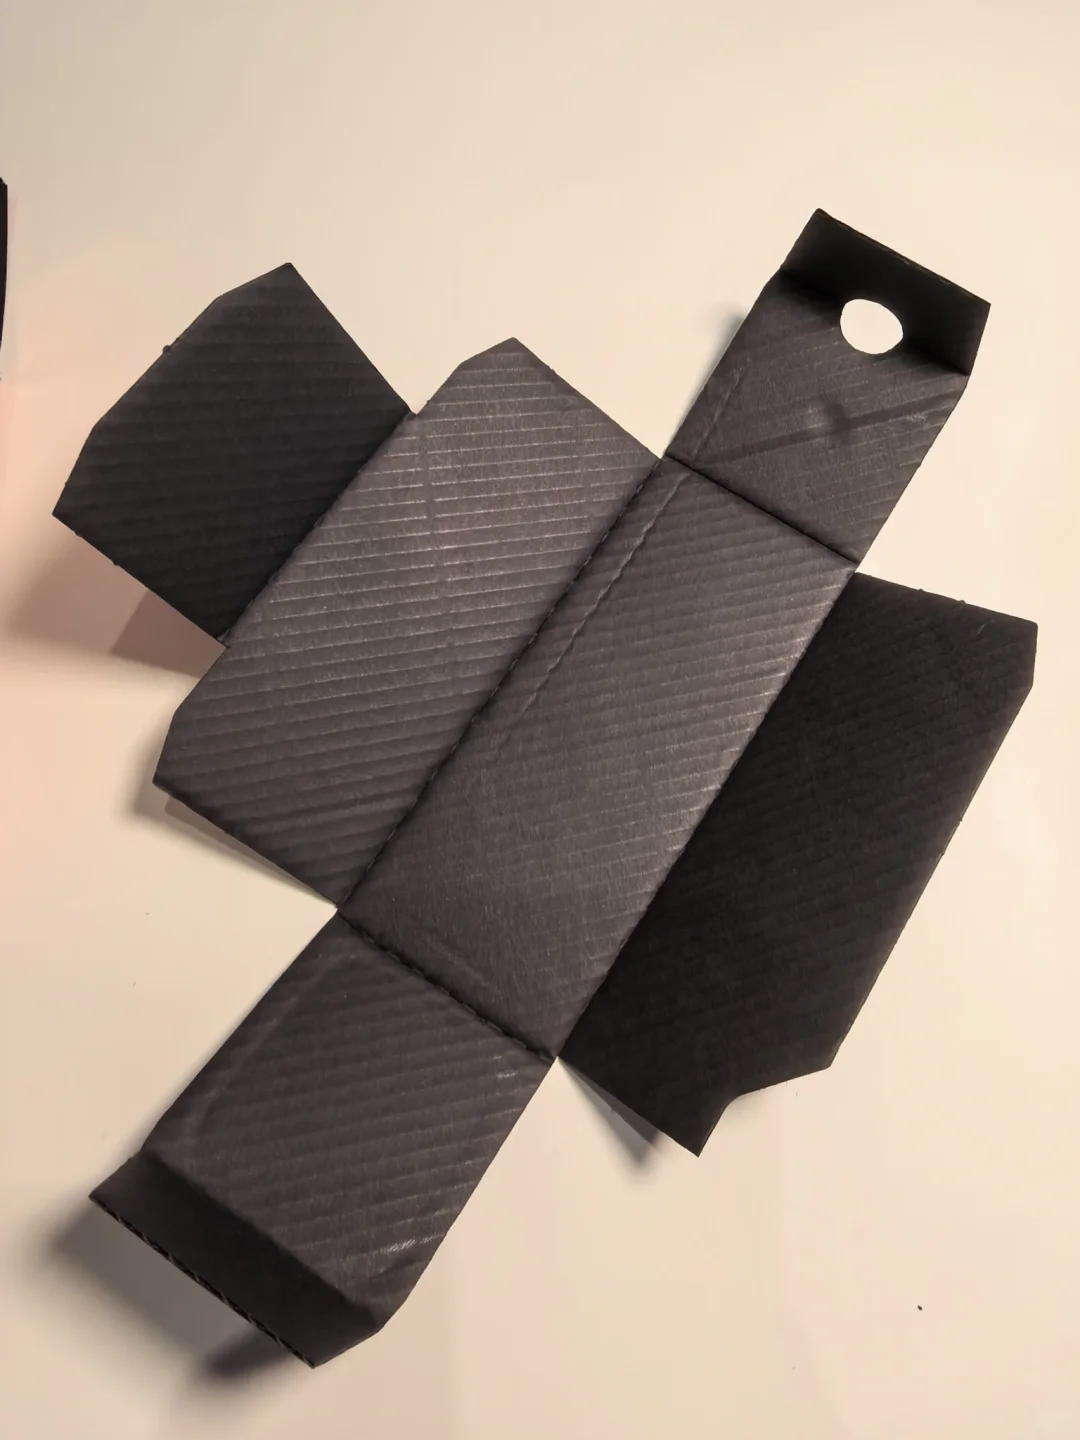
For each bottle, discuss where support is intended, where contact is acceptable and which areas should remain clear, then combine the decisions in one layout. The full-size item may be heavier and the travel item more slender, but those descriptions do not prescribe a material or cavity shape. Review the actual balance, outline and assembled condition.
Treat the cap, pump, neck and label edges as separate details. Do not assume that pulling a cap or pump is an acceptable removal method. A cavity that appears close-fitting has not thereby demonstrated retention or protection. Material, structure and contact arrangements remain choices to verify on samples rather than conclusions drawn from photographs or material names.
Review depth, neighbouring items and lid space together
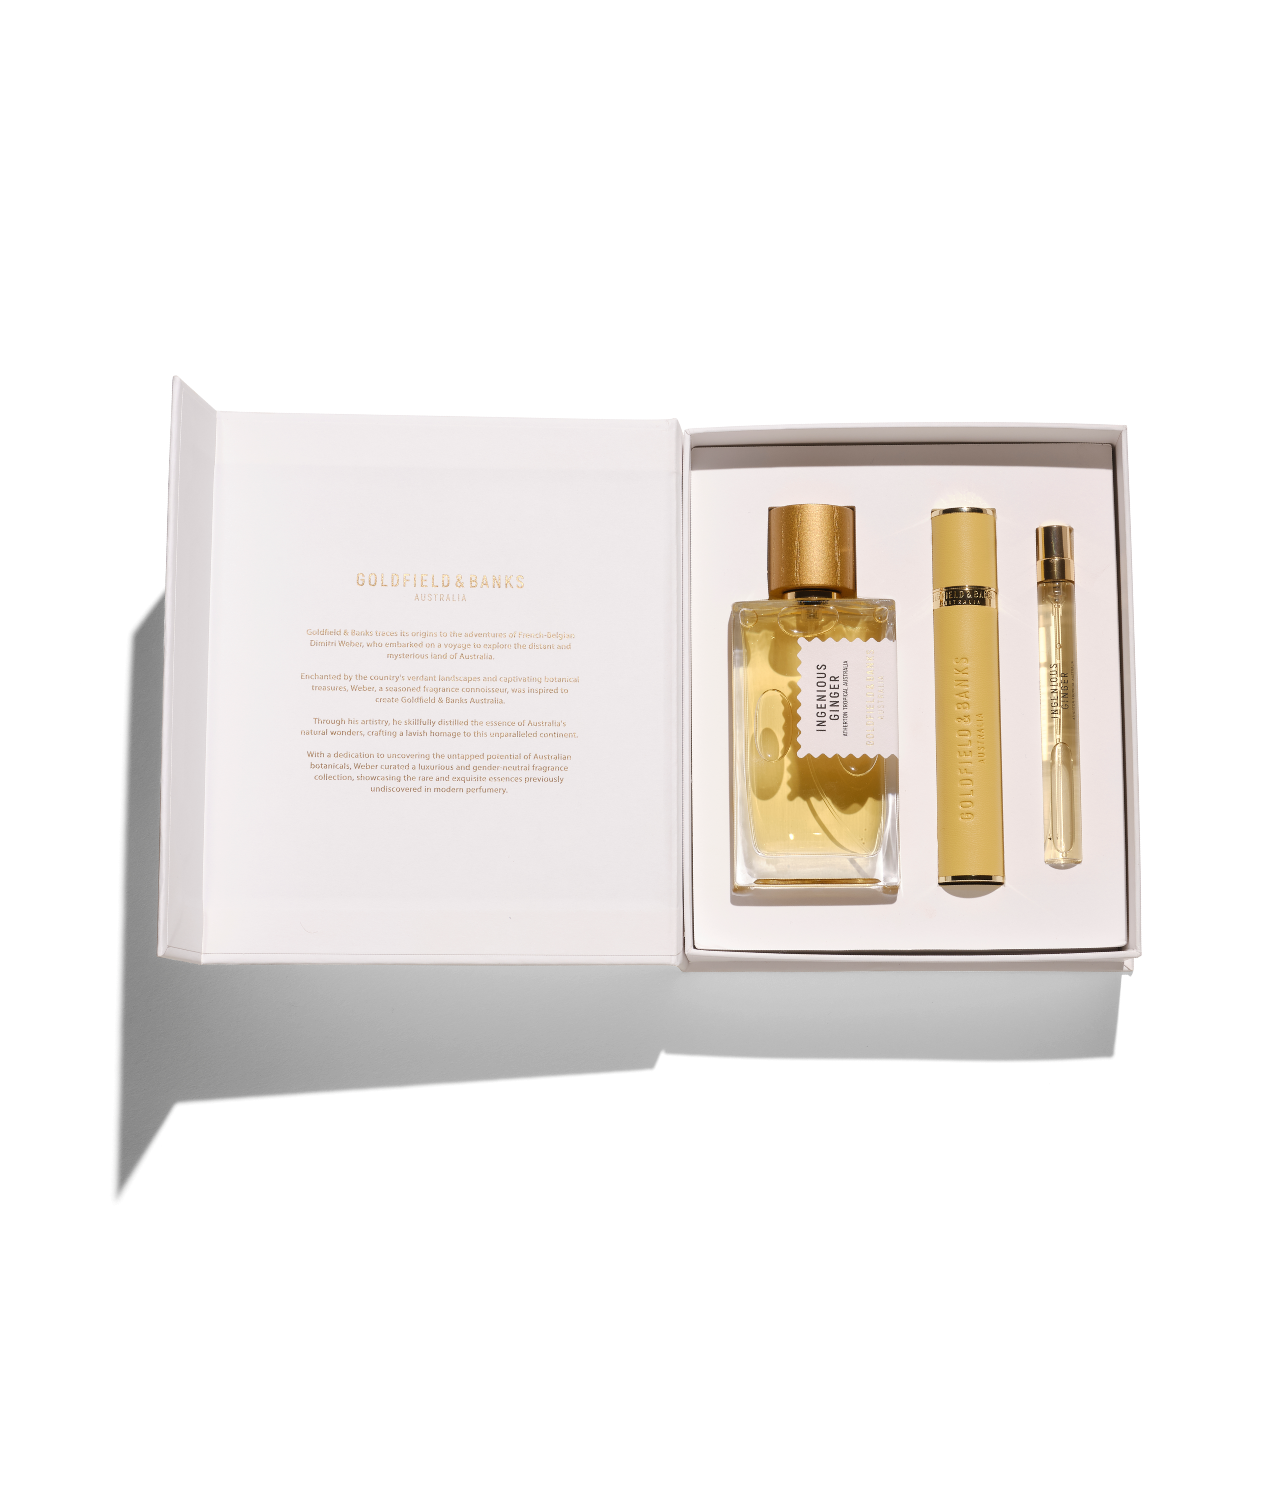
A workable flat arrangement is only the beginning. Review each bottle’s seated height, usable cavity depth, the insert’s outer outline and its fit within the box. Include the inside of the lid and the position of additional materials. Overall insert height is not usable cavity depth; identical outer-box dimensions do not establish identical internal cavities.
Check whether the products touch, whether caps, shoulders or projections occupy neighbouring space, and whether removing one item disturbs the other. Include cards, paper and decorative pieces during the trial instead of adding them after an empty-box approval. No universal gap or height formula is assumed. Resolve allowances against the actual structure and complete loaded sample.
Test access and replacement for both products

On opening, the user should be able to identify and reach the intended product. Try removing the full-size bottle, removing the travel bottle and replacing each one. Record finger access, the part being gripped and the direction of movement. A notch can be explored, but a semicircle, long recess or another shape is not automatically suitable for every bottle.
If access requires moving a card, lifting an insert part or removing the neighbouring item first, decide whether that sequence is intentional and perform it on the sample. Do not bury a slender travel bottle merely to align the presentation. Equally, easier removal from a looser cavity does not resolve the other positioning requirements. Review the requirements together.
Review a complete loaded sample
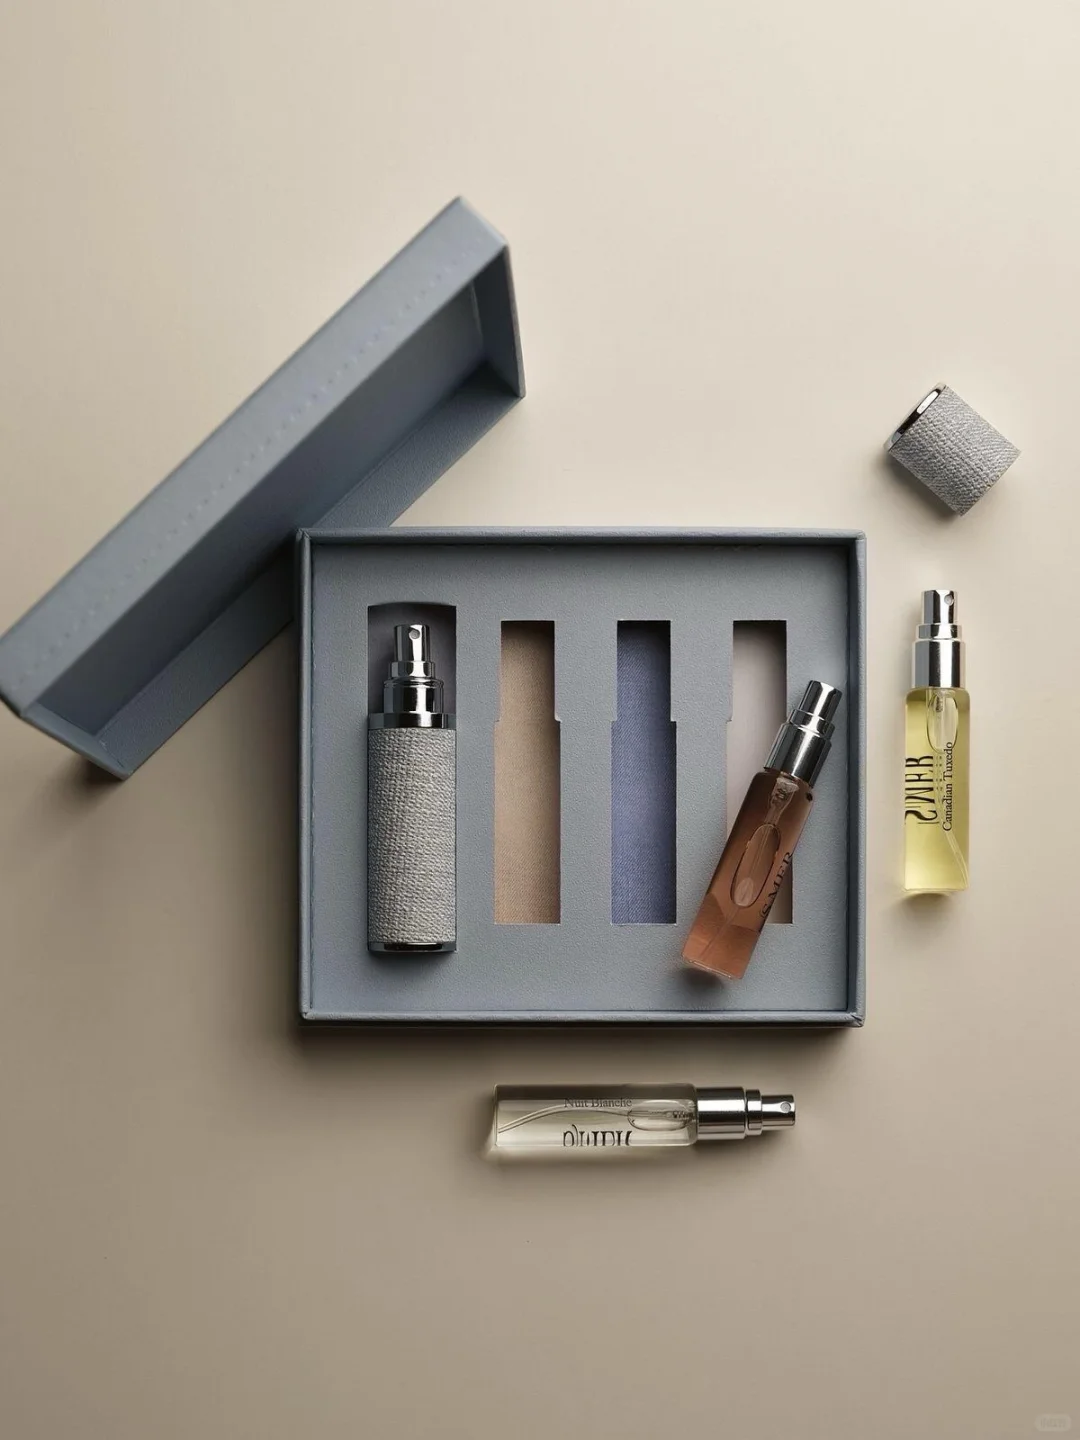
Assemble the final products, insert, outer box, cards and all included materials into a complete sample. Review closed and open states and repeat the actual removal sequence. Record product orientation, cavity assignment, closure observations and unresolved issues. Photographs help document visible conditions, but do not establish hidden depth, contact or loading.
Photographs of equal-size vials can illustrate repeated divisions; single-bottle or empty-box photographs can illustrate a visible detail. Neither is evidence of a tested mixed-size configuration. Captions should preserve that distinction. If transport, storage or material compatibility also needs assessment, define that work separately. A successful trial assembly does not establish those performance results.
Approve the configuration and control revisions
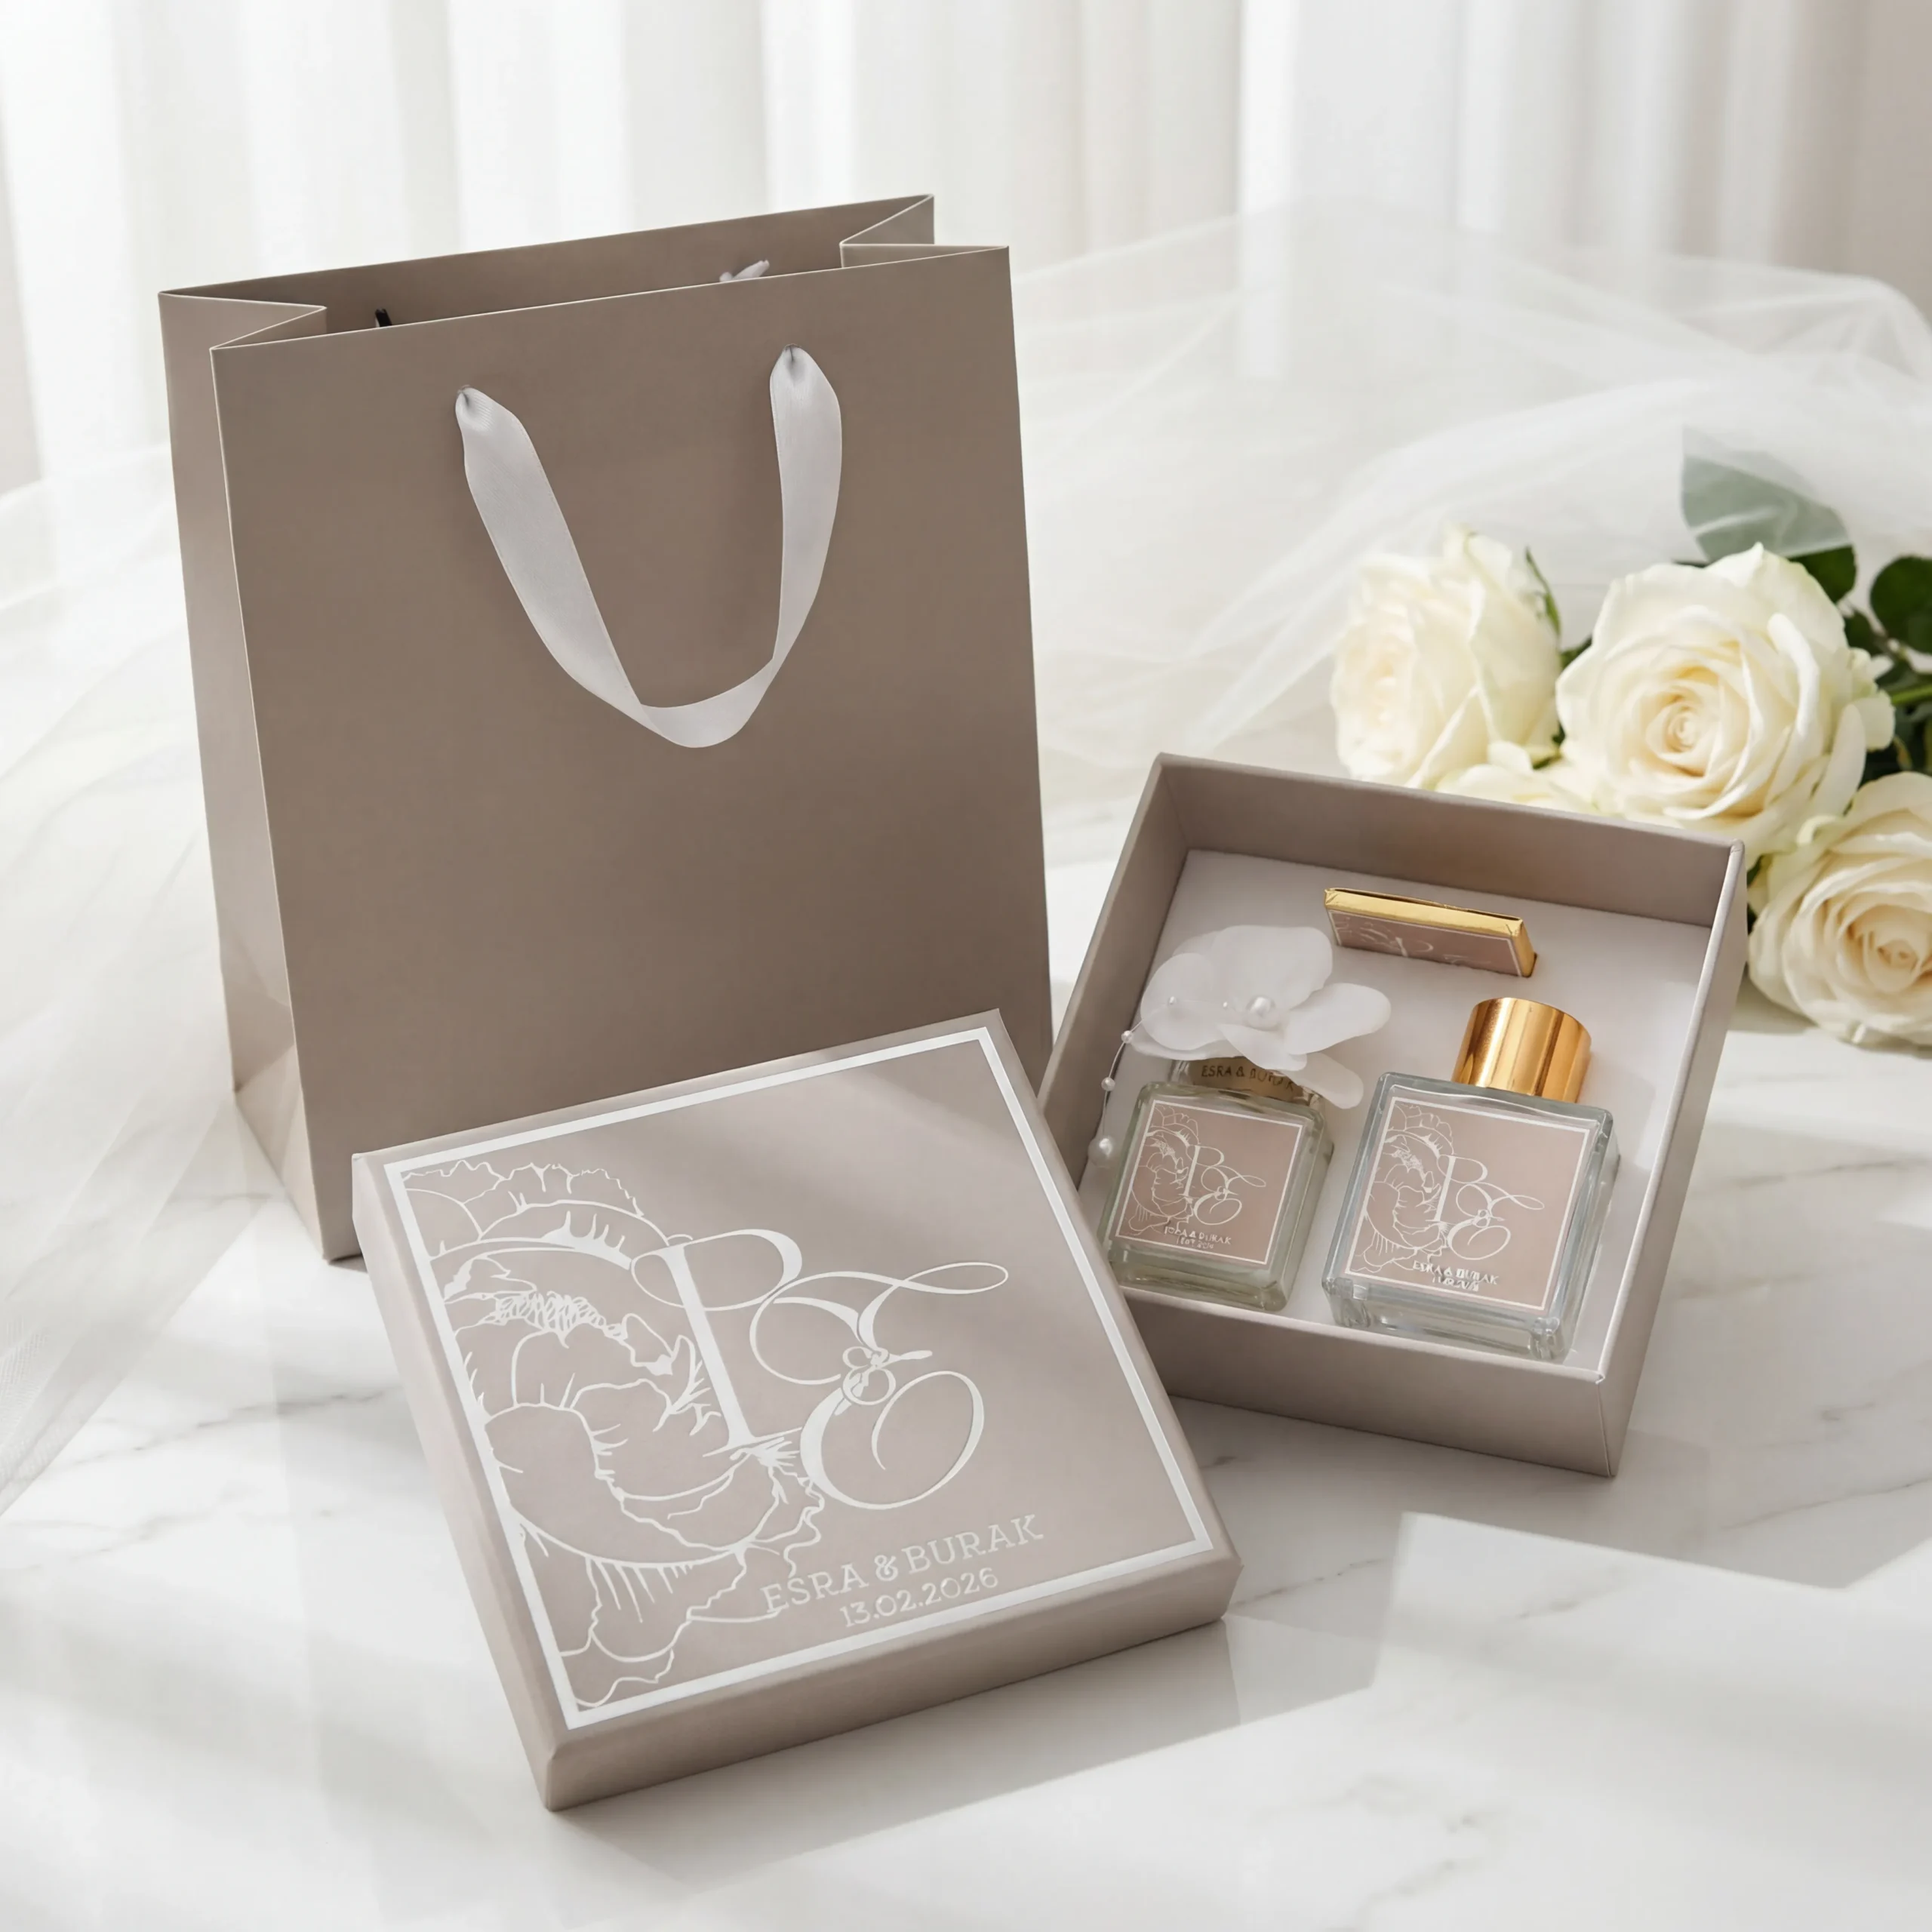
Archive the product list, sample identities, drawing orientation and units, cavity assignment, material and structural revisions, complete-sample identifier, handling observations, confirmed scope and open items. Approval applies to that particular combination rather than a broad statement that an insert accepts large and small bottles.
After a cap, label, travel-bottle outline, insert or card changes, identify the affected areas and review the corresponding complete sample. Reusing the outer box does not establish that the interior remains suitable. Keep changes and approvals linked so that obsolete drawings are not used with revised products. A coordinated appearance does not establish fixed cost, lead time or protective performance.