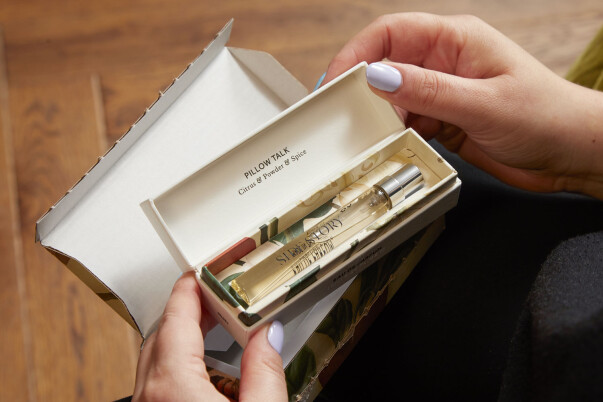
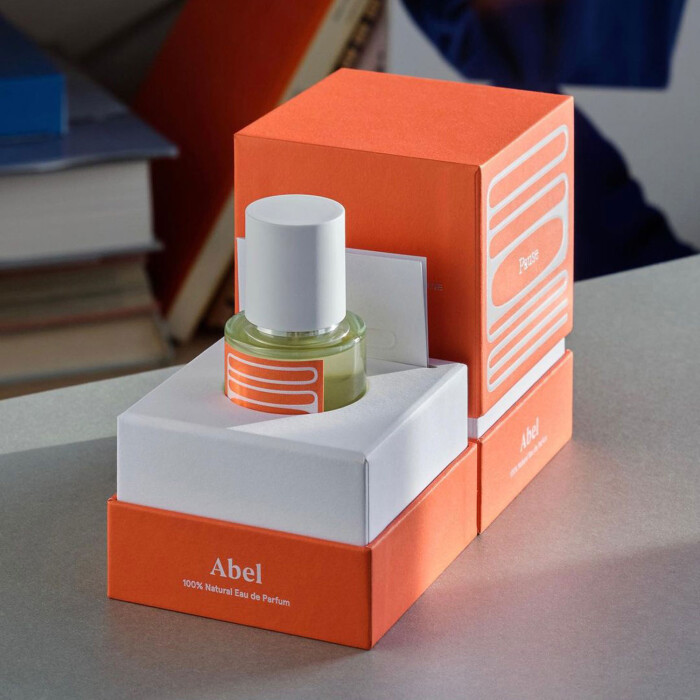
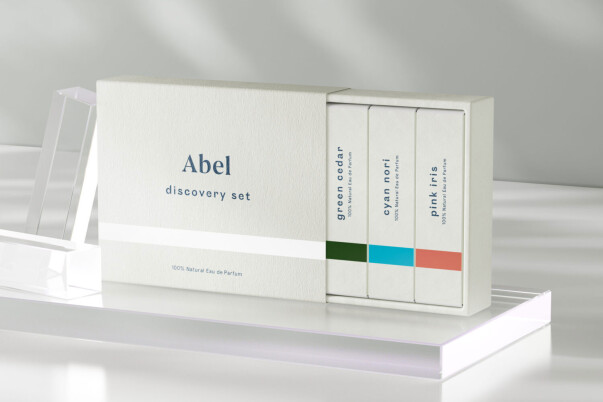
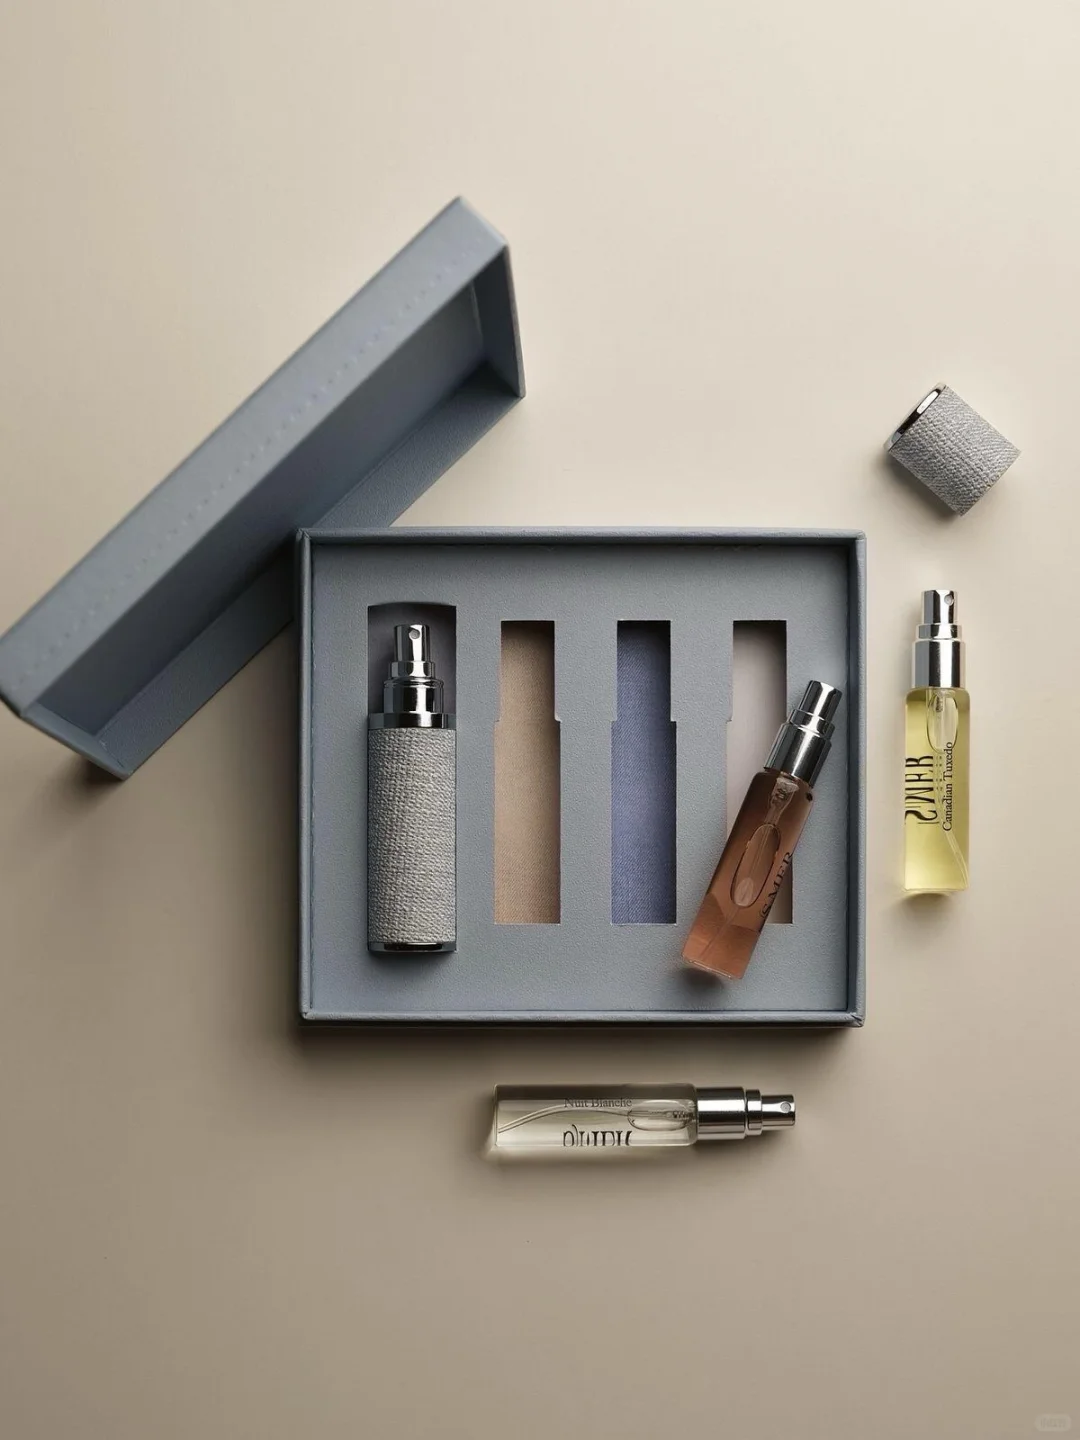
Show opening direction and the relationship between outer carton and product support. This is a formed-pack reference, not a dieline or a measured glue-flap specification. Third-party reference; not a Bravo Package project.
A perfume-box dieline explains how a flat component becomes part of a pack. For a brand reviewing the drawing, the useful questions are where it is cut, where it folds, which panels meet and how it opens. Start with the drawing version and viewing side, identify the operations from its legend, then follow the panels into the formed box. Compare the result with a corresponding physical sample before approving it. This guide focuses on reading folding-carton drawings; a wrapped rigid box or insert needs its own component-specific information.
Confirm the version and viewing side
Find the project and component names, drawing number, revision, date, material and units. Establish whether the file describes the outer carton, sleeve or insert, and what its dimensions refer to. A similar older drawing does not automatically represent the current bottle and cap. Three outside dimensions can support an initial discussion, but they do not locate every panel, flap and joint.
Next ask which side faces you in the drawing: the intended printed outside or the inside of the board? Identify the front, back, ends and opening direction. Do not infer the viewing side from upright lettering or the paper type. Request a labelled copy if those details are missing. Choosing the main display panel is much easier once the orientation is clear.
Read lines as production functions
A cut line identifies a path to be cut; a crease identifies an intended fold location. Start with this drawing’s legend, then trace each operation separately. Red, blue, solid and dashed appearances are not a universal code across suppliers. Dimension leaders, artwork boundaries, bleed indications and finishing areas may also be present; they should not all be interpreted as cutting paths.
Ask about any reverse crease, partial cut, perforation or tear indication. Confirm the fold direction against the stated viewing side. A partial cut should not be read as a full cut, or assumed to mean an exact half-depth cut. A perforated opening is different from a fold intended for normal assembly. Some rules combine cutting and creasing, so a dashed appearance alone cannot settle the operation. Mark the uncertainty for the structural owner rather than assigning a tool setting yourself.
Follow the panels into the formed carton
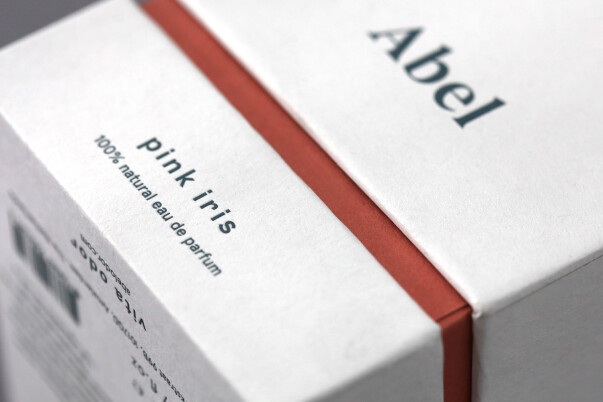
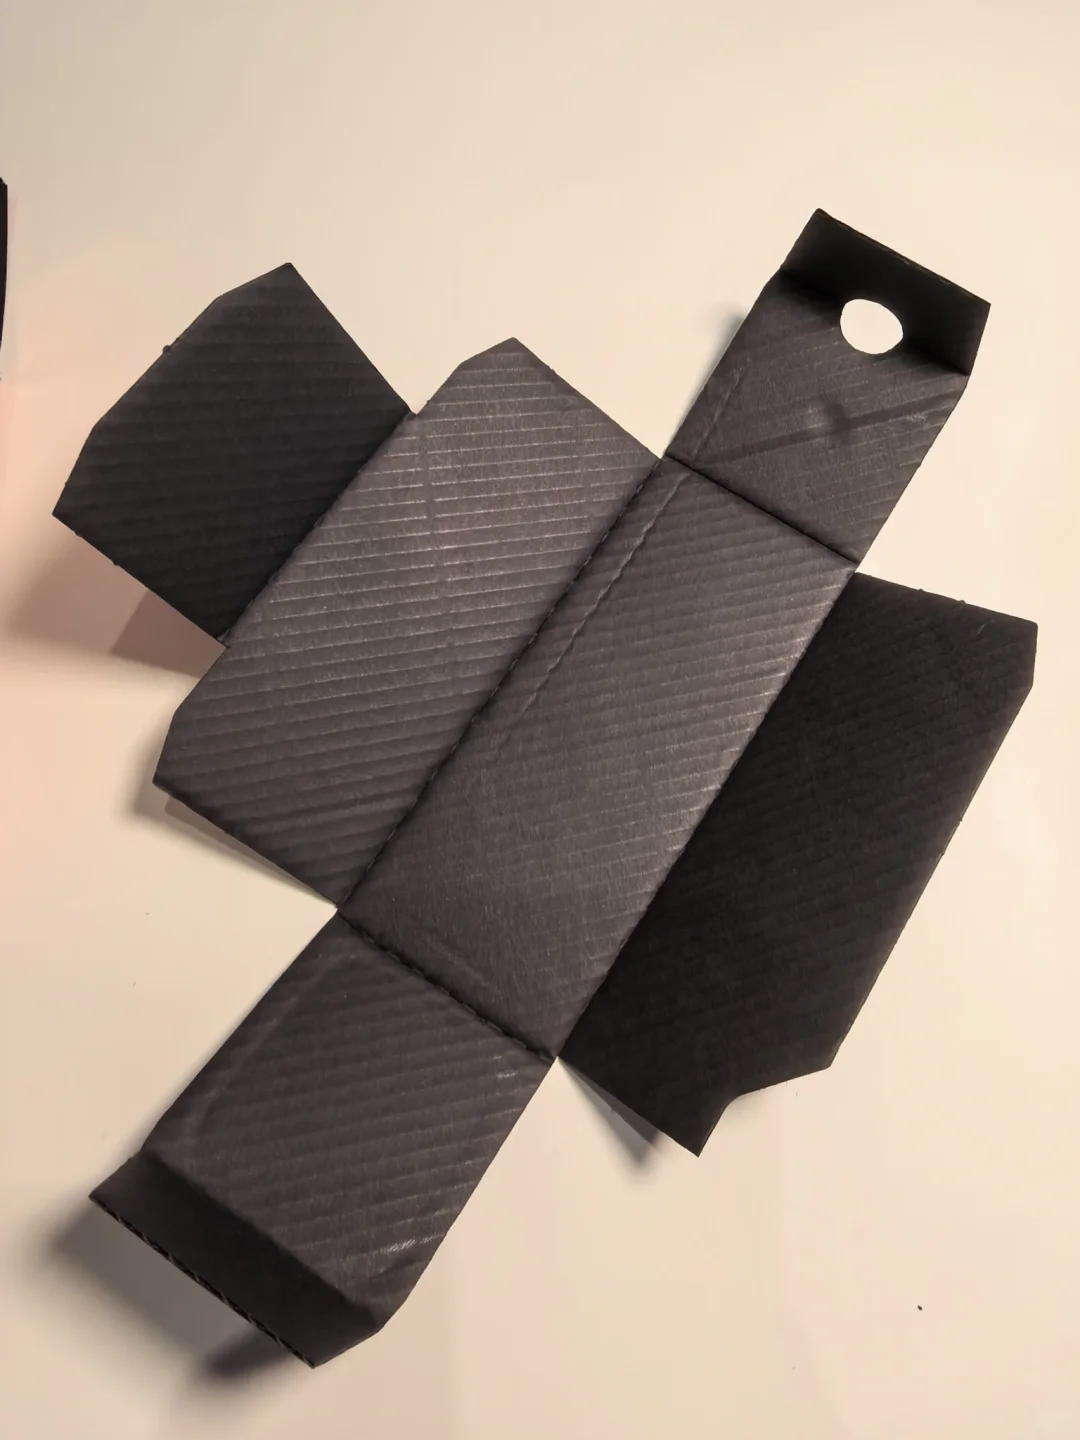
Locate the main panels that form the carton body, then follow their adjoining creases to identify the sides and back. Match the labelled front and back to the corresponding sample; the leftmost panel on the flat drawing is not automatically the front. Identify the end flaps, tuck tongue, dust flaps and any other extensions, noting which remain visible and which are covered.
Have the supplier demonstrate the intended closing sequence: which smaller flaps move first, which panel closes over them and where the tongue enters. The term “dust flap” describes a component’s role; it does not establish that the whole carton is sealed or moisture-proof. Similar-looking flaps are not necessarily interchangeable. Their shape and orientation can affect clearance and assembly, so read them as related parts of the structure.
For example, if the fragrance name appears on a side rather than the intended front, check the viewing side and panel identification before moving it. A version mismatch or a misread orientation can look like a layout error. Ask the supplier to show the same area on the identified sample.
Understand the joint and closure together
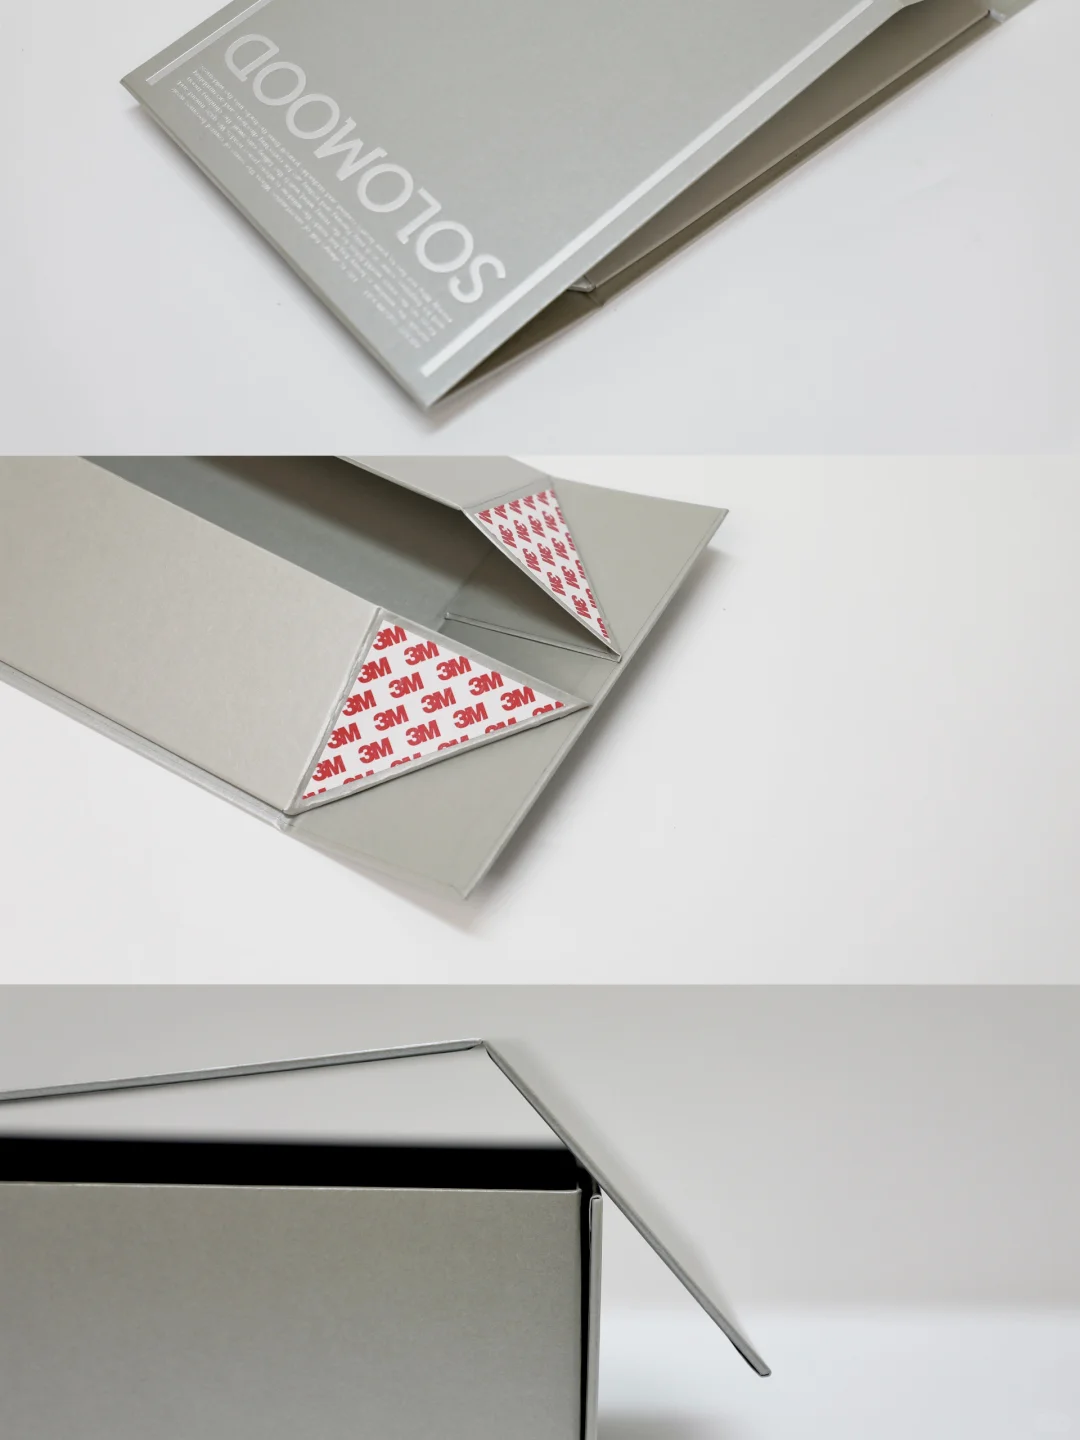
A glue flap provides an intended bonded joint; a tuck tongue participates in a corresponding closing arrangement. They should not be treated as equivalent simply because both extend from a larger panel. Ask which surface the glue flap overlaps, where the bonding area lies and where the seam appears after assembly. Confirm the supplier’s printing and surface-treatment requirements for that area.
Then identify the tongue’s receiving position, the intended opening direction and the sequence of neighbouring flaps. Establish which joints arrive already formed and which are completed during packing. A concealed area should not be shortened or decorated without that review. If a notch or an asymmetrical end is unclear, request an explanation and sample demonstration before trying to make the drawing look more balanced.
Check the drawing against its sample
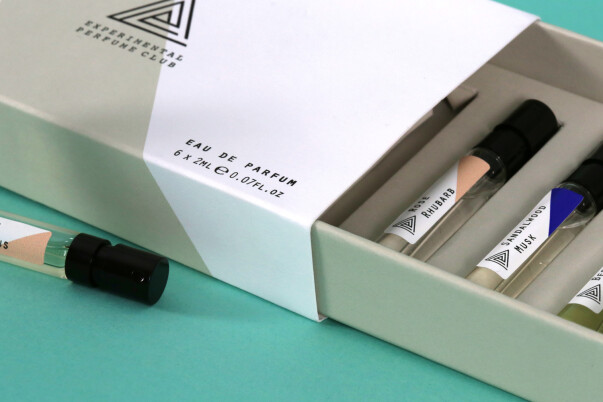
Use a supplier-provided flat component or an identified sample from the same revision. Keep the drawing’s viewing side consistent with the sample’s inside and outside, then locate its body panels, folds, seam, flaps and opening. If dismantling is needed, use a sample intended for inspection and retain the approved reference intact. Follow the agreed assembly sequence with a representative capped bottle.
Record the exact places where a flap catches, a component presses against the product or information becomes hidden. A note such as “this flap covers the fragrance name when closed” gives the supplier a location to investigate. Ask whether hand adjustments on the sample have been incorporated into the drawing. Successful hand folding does not establish production consistency or shipping protection; this review checks that the drawing and sample describe the same arrangement.
Annotate questions before changing geometry
If a line contains a small interruption, connection or unusual notch, ask what it represents. It may be a file issue, a structural feature or information related to tooling and production. Do not classify every gap as an error or delete short lines as visual clutter. Have the drawing owner separate the assembled-pack features you need to understand from manufacturing-specific information.
Describe the result you want, such as a different seam location or opening direction, and let the structural owner assess the affected geometry and tooling. Moving a crease, shortening a tongue or glue flap, or changing an opening is a structural revision. Review the associated artwork and sample after the revised drawing is issued. Keep a record of the version, viewing side, resolved questions and features still awaiting confirmation.