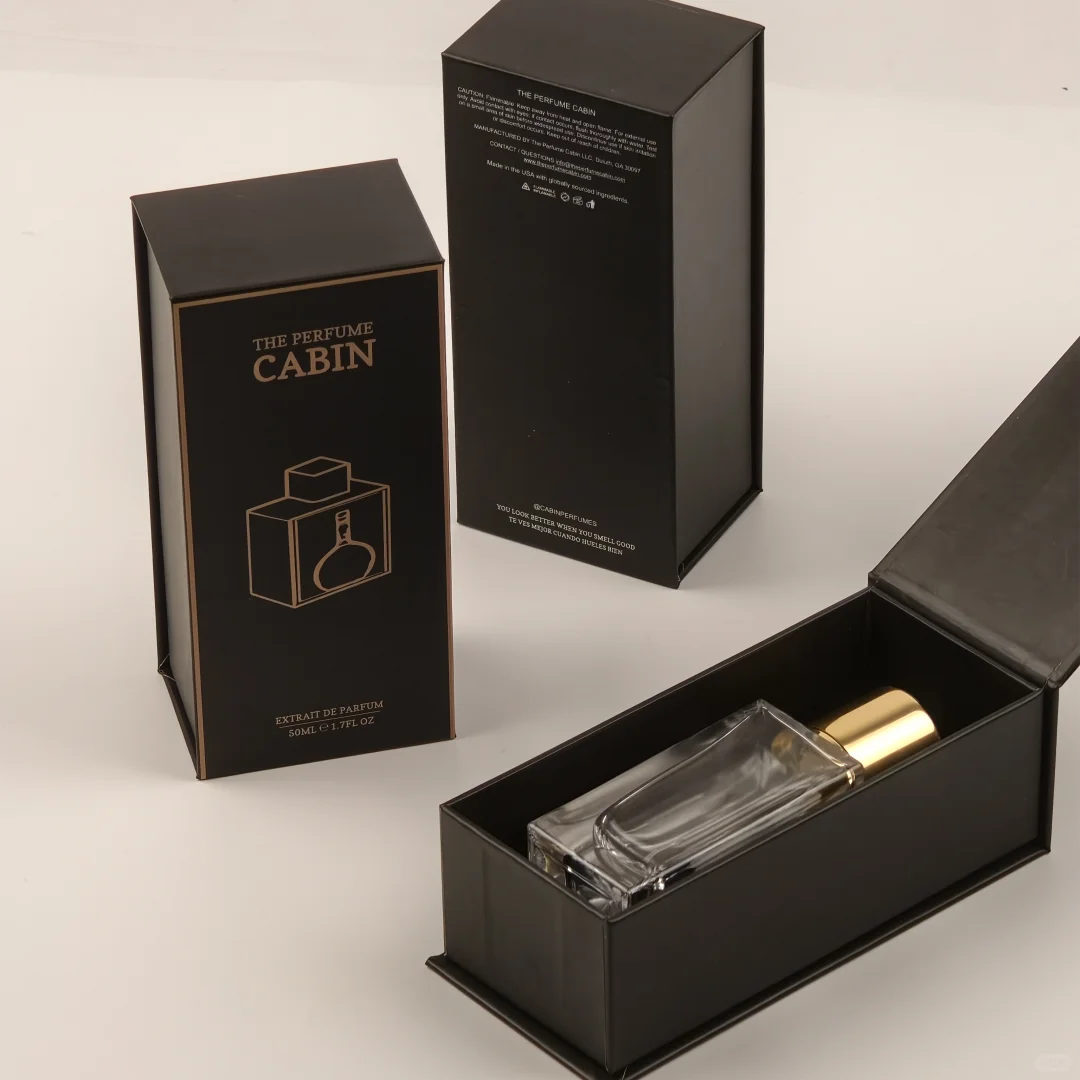
A well-printed front panel does not answer every question about perfume box corners and seams. Turn the box over, lift the lid and fit the actual bottle. Those steps reveal wrapping edges, lining junctions and contact points that a front-facing presentation can miss. Buyers need a clear reference that connects the intended construction, the approved sample and the finished production box.
This guide covers paper wrapping, corner finishing and seams on perfume packaging, together with their relationship to normal opening and product removal. Checks must suit the actual construction and project requirements. A photograph can identify an area to examine; it cannot establish the adhesive, paper specification, manufacturing cause or acceptance of an entire batch.
Identify the seam before judging it
Ask the supplier to mark intended seams on the structural drawing and finished sample. A wrapped rigid box has wrapping-paper edges and lining junctions. A folding carton has glue flaps, tuck flaps and creases. These are different constructions. Separate metal corner protectors and leather-covered fittings are outside the scope of paper corner finishing.
A visible line is not automatically an opening bond. It may be an intended paper overlap, lining boundary or division between lid and base. Confirm its intended position and construction before deciding whether the finished sample departs from the approval. Equally, a seam that disappears in a photograph has not necessarily passed a functional check.
If the front must remain continuous while a closure edge is permitted at the back, use consistent orientation marks in the drawing, sample photographs and approval record. “Hide the seam” needs a defined display face and viewing orientation.
Agree how and where the box will be viewed
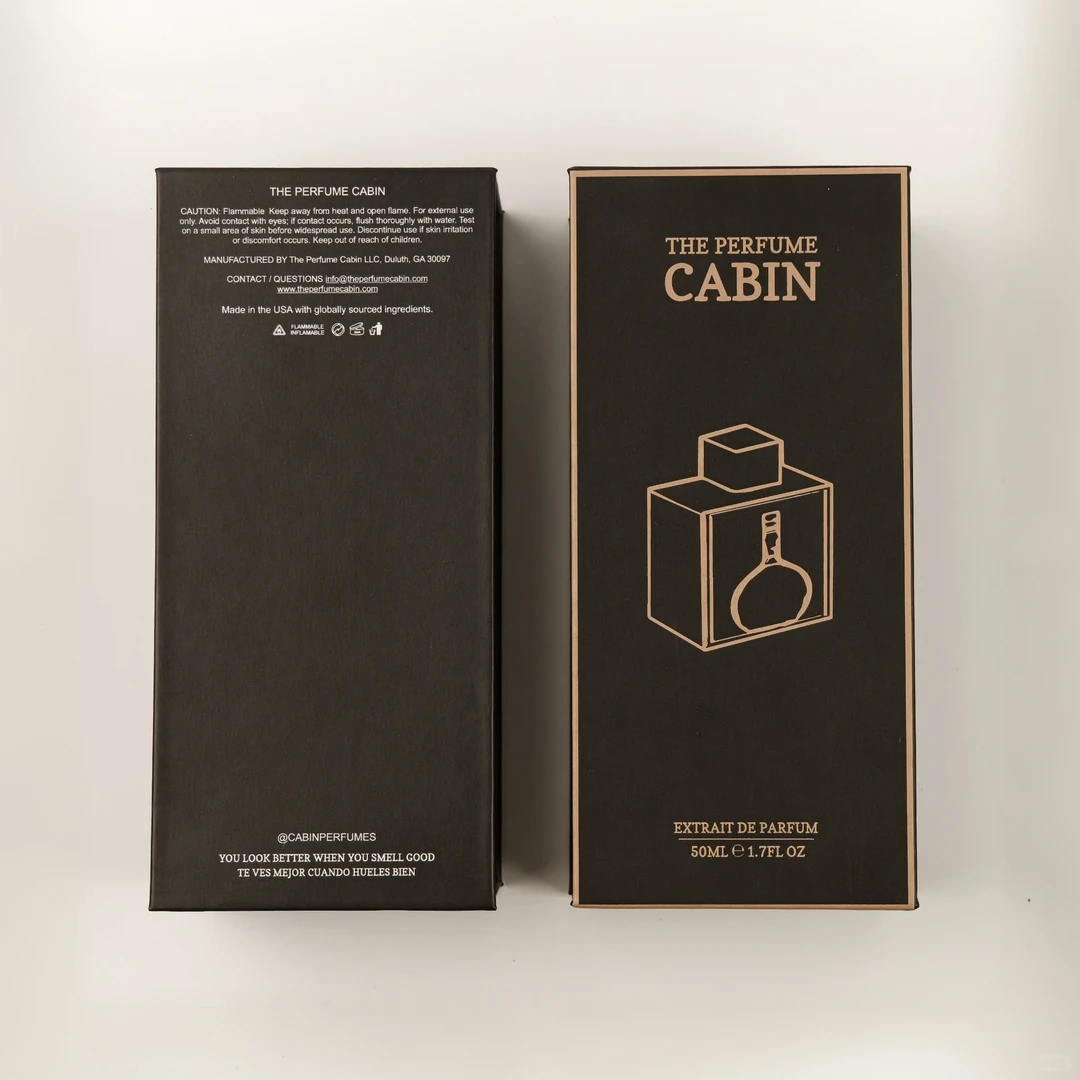
Examine the complete box under agreed viewing conditions, then take side views and close photographs. The complete view locates the feature; the detail records its condition. Keep both linked to the same sample identifier. An isolated, heavily enlarged corner can remove the context needed to assess its effect on presentation.
Mark the front, back, base, inside rim and areas visible only after opening. Appearance requirements may differ between these locations when agreed in advance. Hidden edges still deserve attention when they affect bottle removal or lid fit.
Texture, reflections and dark surfaces change with viewing angle. Compare samples in consistent orientations and lighting. Magnification can support a record, but it does not replace the agreed acceptance method. Avoid angles that conceal the feature being discussed.

Inspect the outside corners and inside rims
Describe observations separately: exposed substrate, lifted paper edges, accumulated paper, wrinkles, surface cracks and visible adhesive marks. “Poor corners” gives the supplier too little information to investigate or reproduce the observation.
What people call a corner crack can involve the wrapping paper, a surface layer or a joint. Preserve the original condition and mark the location first. If investigation requires disassembly, agree which sample to use and retain an untouched comparison. Damage introduced during examination must remain distinguishable from the condition received.
Ask the factory to consider the actual materials, construction and process records. Do not prescribe a generic crease size, V-groove depth, adhesive quantity or moisture range from an online article. A folding-carton creasing arrangement cannot be transferred to a wrapped rigid-box corner without assessment.
Check the back base and lining boundaries
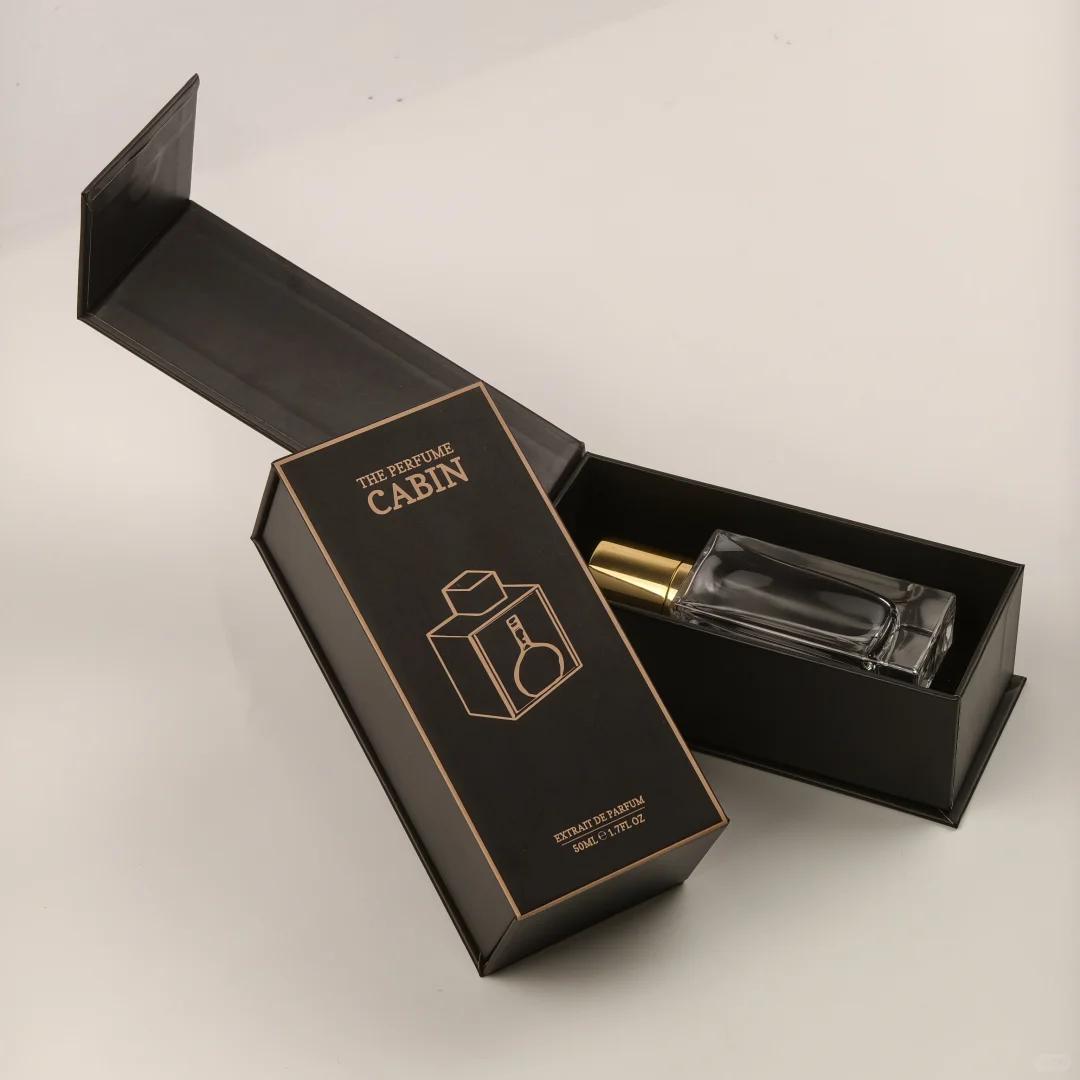
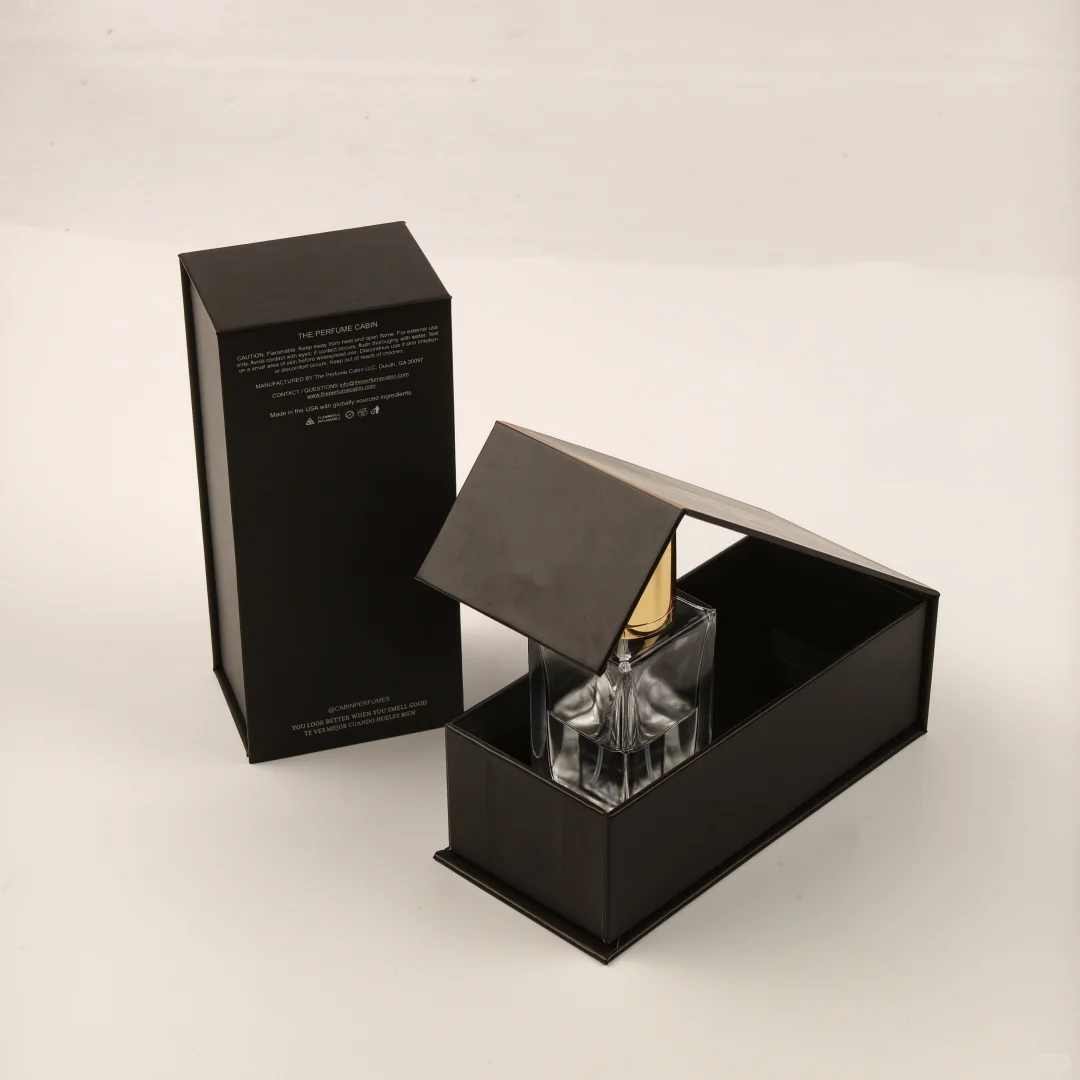
After examining the front, turn the box over and open it. Follow the back seam, base finishing, inside rim and lining edges. Compare the position, edge contact and adjacent artwork with the approved construction. Where texture or decoration continues around a corner, assess the direction and connection on the formed box.
The objective is not to make every seam disappear. Some constructions retain a defined overlap or boundary. Approve that particular finished condition. If an important word, logo or line is interrupted by a finishing edge, review the production artwork and structural positioning. The brand should approve a proposed change before a revised physical sample is made.
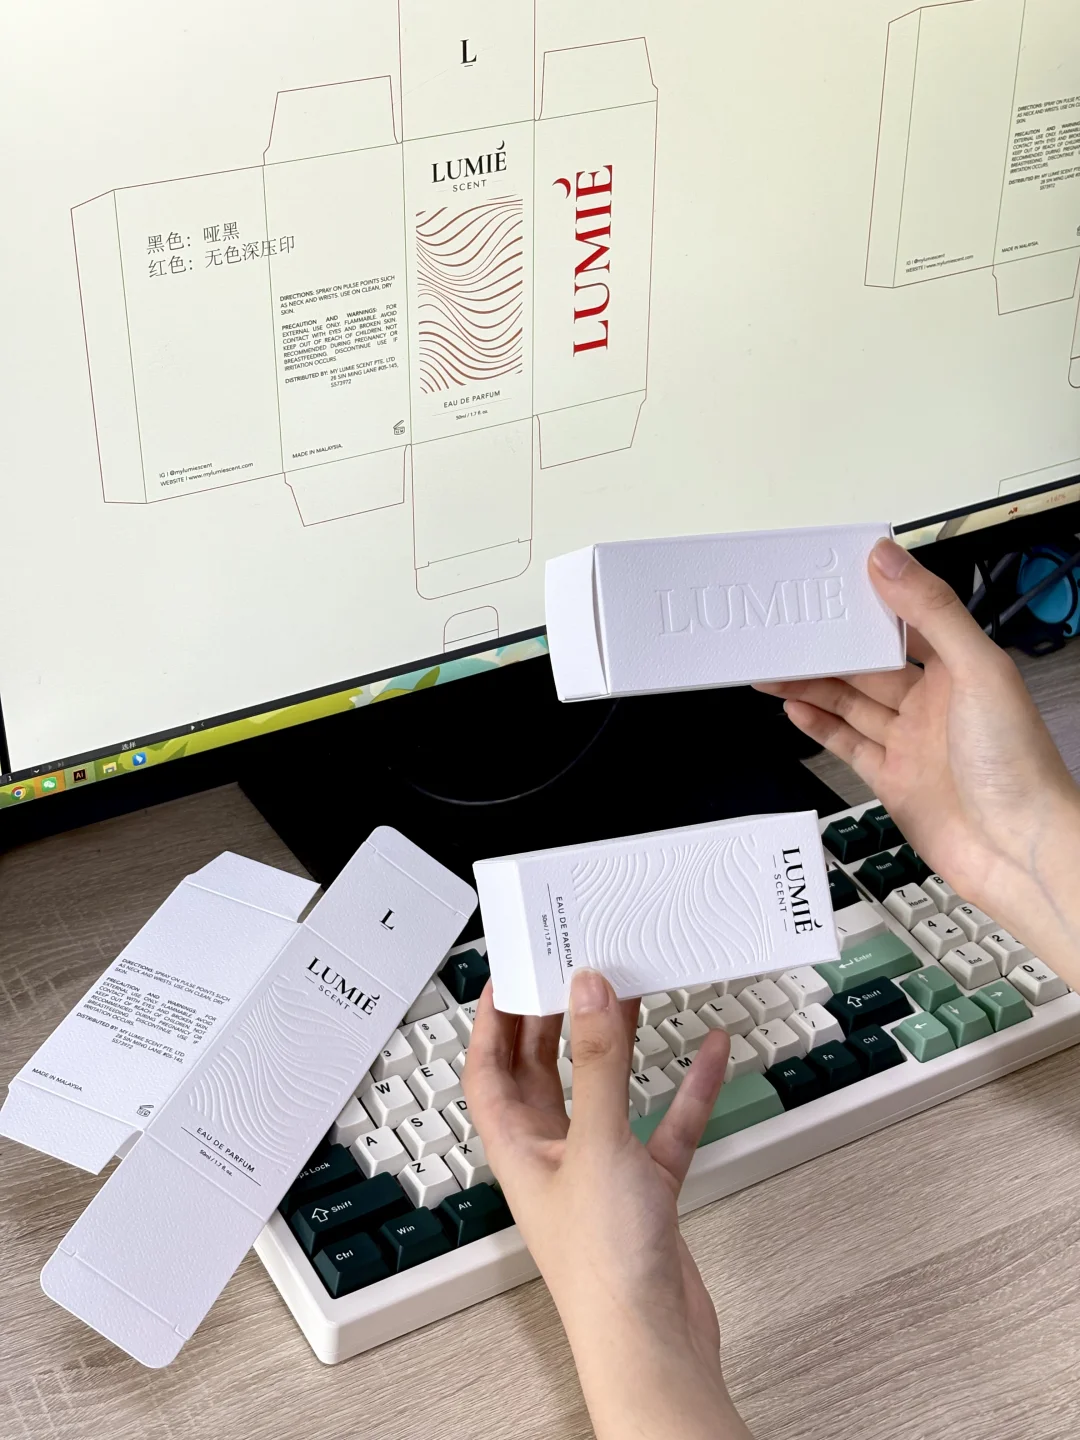
A flat printed sheet can confirm selected printing details. It cannot replace inspection of wrapped corners and seams. A bare-board trial also does not establish the fit after wrapping, lining and the remaining finishing operations.
Separate appearance from bonding performance
An appearance check records edge alignment, visible adhesive and the position of an overlap. A functional check asks whether the connection maintains its intended condition under agreed use or test conditions. Record these separately instead of using one result to infer the other.
Where bond checks are required, ask the supplier to define the connection, method, sample condition and acceptance basis. Picking a seam with a fingernail or pulling with an improvised force does not create a standardized bond-strength test. Clearly label destructively examined samples and keep them separate from untouched appearance references.
Preserve and photograph an abnormal sample before adding adhesive, pressing it flat or rewrapping an edge. Approved rework needs a defined scope, method and approver. Afterwards, assess any effect on appearance, dimensions, closure and product removal.
Repeat the observation with the actual bottle fitted
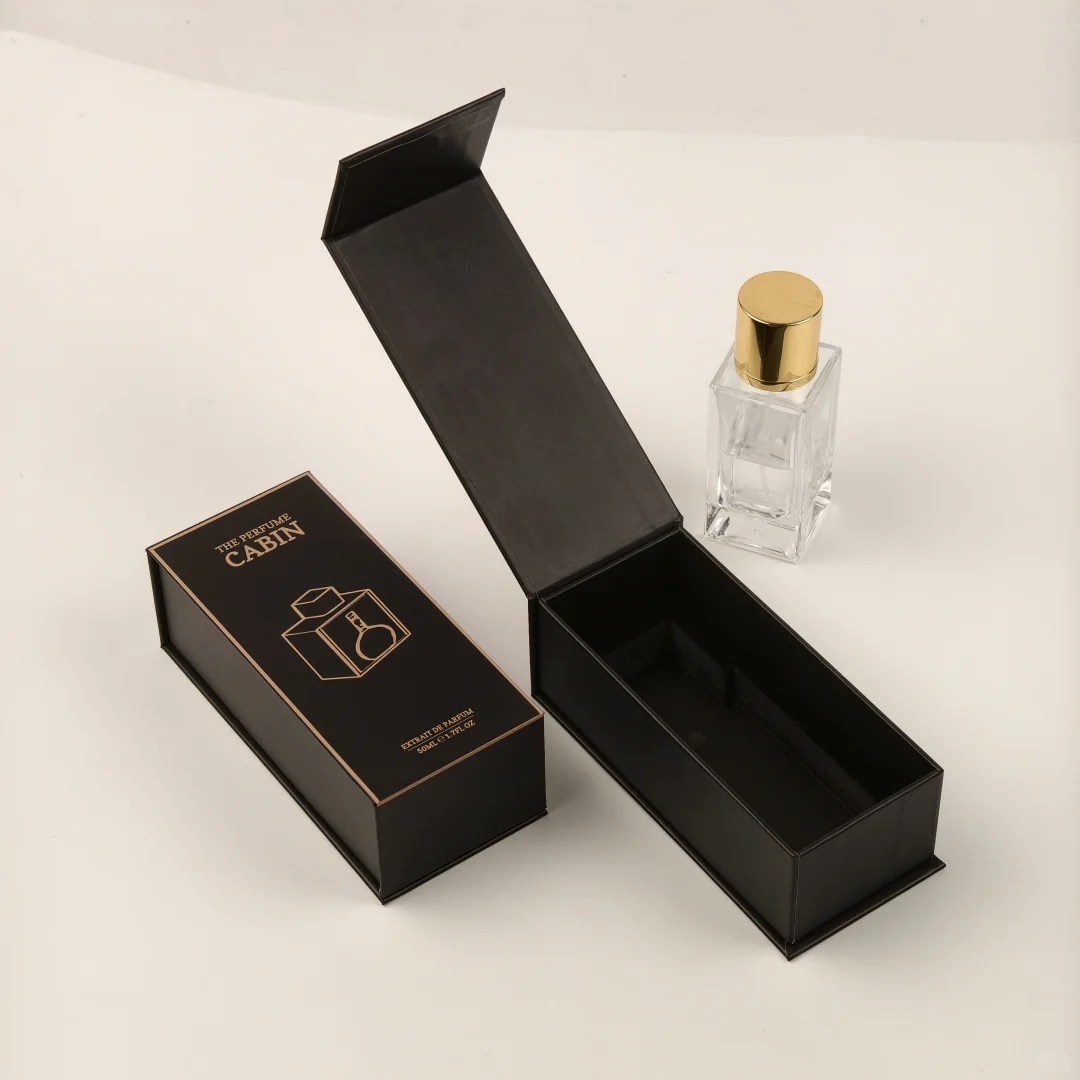
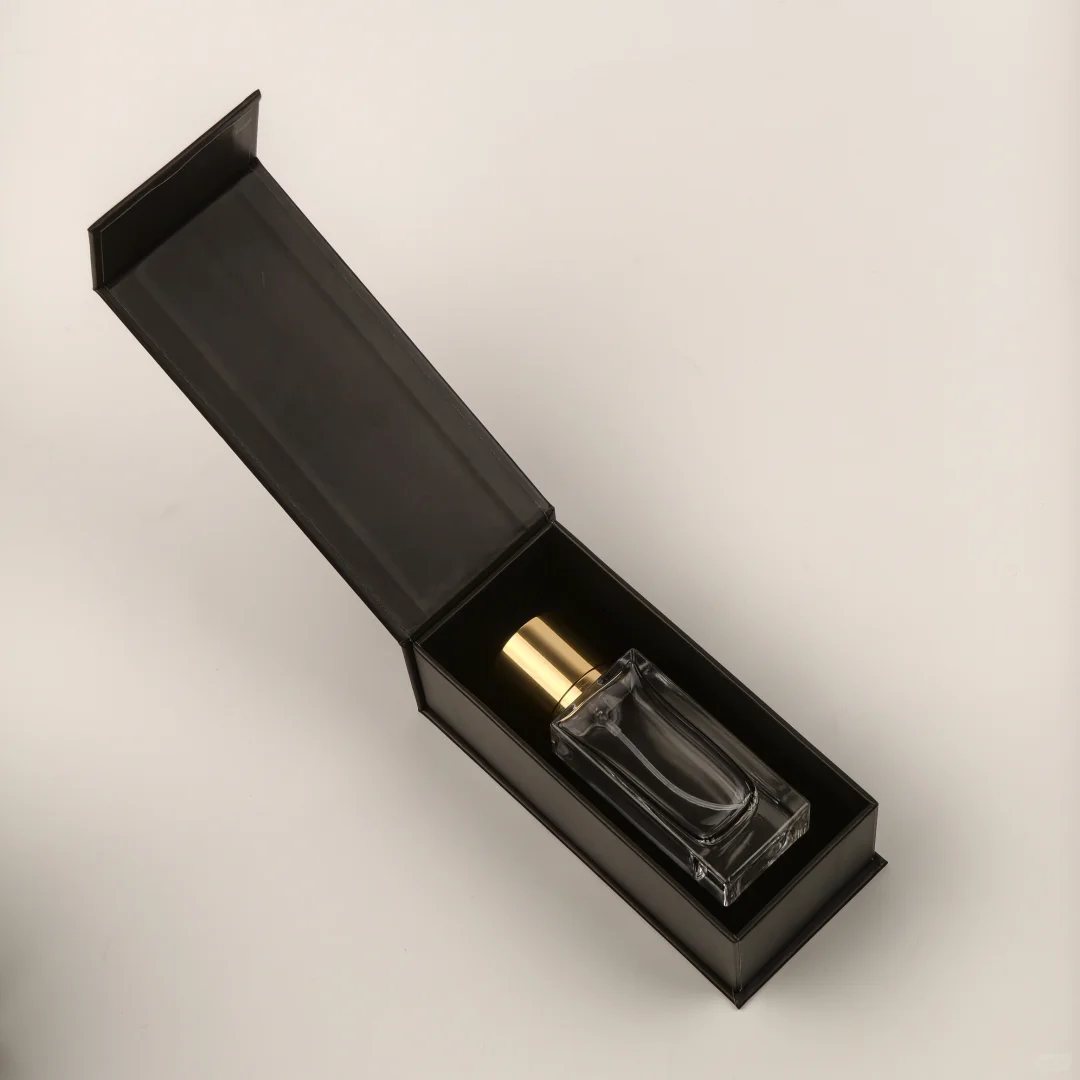
Assemble the current approved versions of the box, insert, bottle and cap using the intended method. Watch the corners and seams while closing the lid naturally, sliding a drawer or removing the bottle. Record the action and location associated with a change rather than reporting only that the box changed after packing.
Keep empty-box and assembled observations separate. An edge that lifts or rubs only after assembly is a reason to investigate contact, positioning and assembly steps. It does not, by itself, prove that the insert is too tight or the adhesive has failed.
If the main observation is a bowed panel or raised lid, use a perfume box warping investigation alongside the corner record. Local wrapping problems, surface cracks and seam changes still need their own descriptions.
Turn sample approval into a repeatable reference
“Make it like the sample” needs a traceable sample, file revision and defined approval scope. Build a photograph index for corners and seams. State the viewing condition, priority locations, intended construction boundaries and situations requiring review. Agreed limit samples can help when a verbal description does not define the appearance clearly enough.
The following handover structure is a planning aid, not a universal tolerance or inspection standard.
| Location | Intended construction to confirm | Observation record | Approval reference |
|---|---|---|---|
| Outside corners and turn-ins | Paper coverage and finishing arrangement | Exposed substrate lifted edges paper buildup cracks adhesive marks | Location photographs and approved sample |
| Back and base | Seam position and overlap direction | Edge contact artwork continuity local projection | Current structural and production files |
| Rim and lining junction | Visible boundary and closure relationship | Rubbing resistance and changes at edges | Fully finished assembly sample |
| Bonded connection | Intended function and inspection scope | Sample condition method and result | Project-specific agreed check |
Production inspection should follow the sampling and acceptance arrangements agreed for the project. There is no universal seam width, corner radius or defect rate in this guide. Changes to material, construction, finishing or the production route require review of whether the existing approval covers the revised box.
Make the report traceable to the box
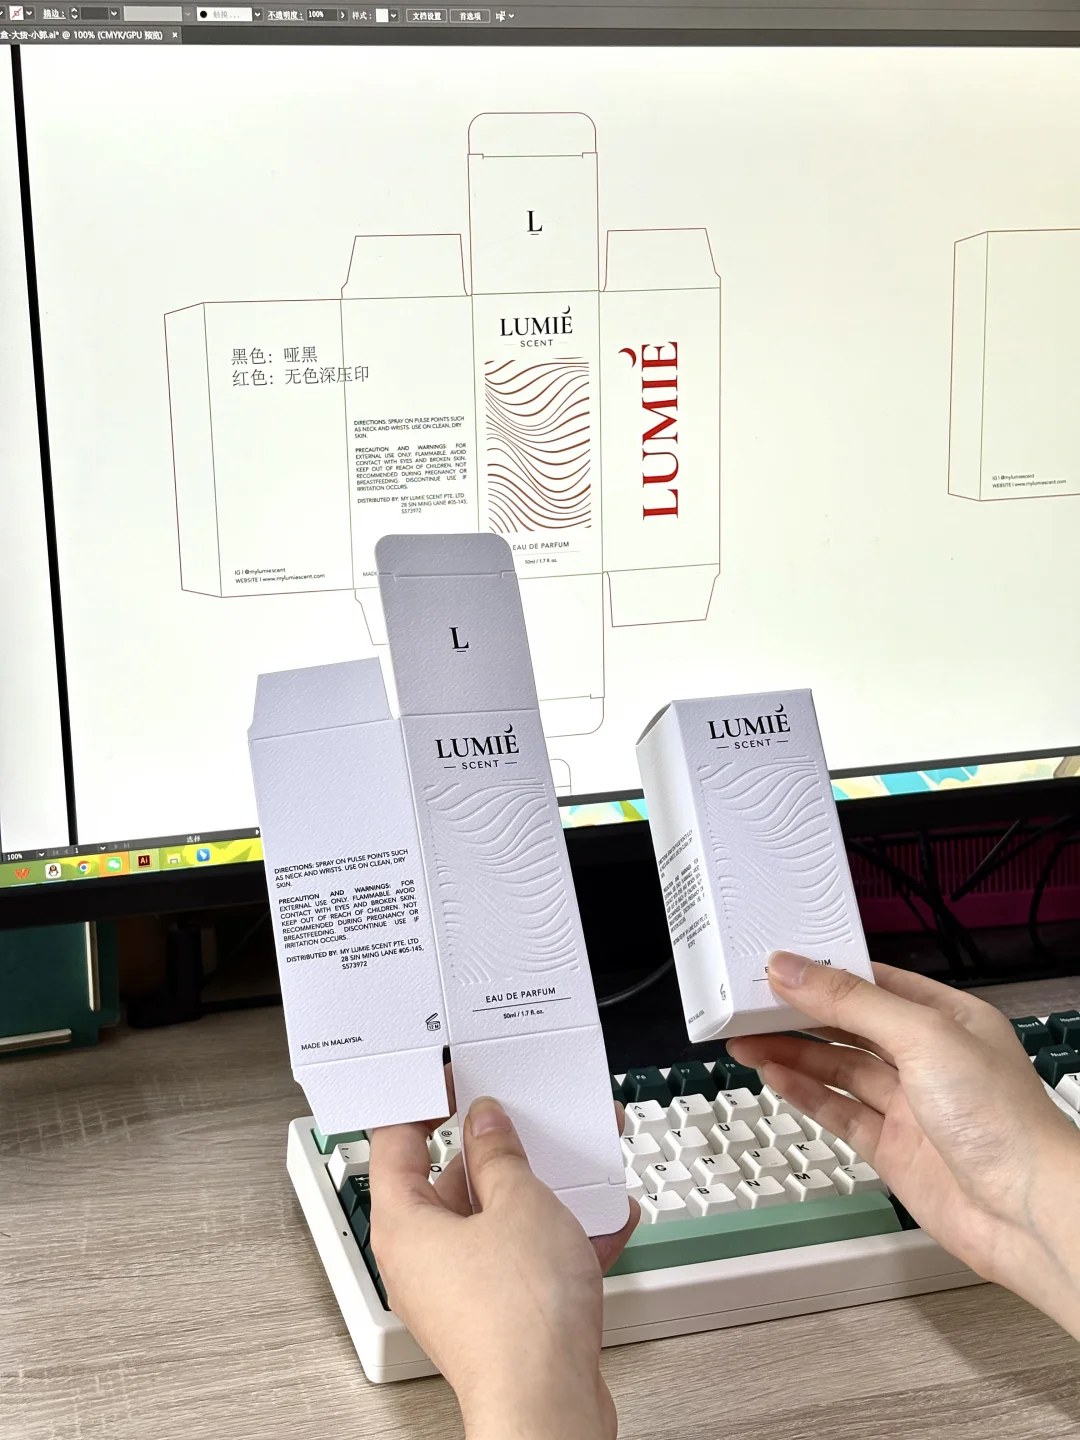
Identify the sample and connect it to the order, specification revision, production batch and sampling location. Include complete, side and detail photographs. Record the first stage at which the feature was noticed, any repeated locations and whether the sample has been treated. Leave missing information unknown instead of reconstructing an unrecorded history.
Ask the supplier for a check or adjustment that can be evaluated, retaining before-and-after comparisons. Examine the revised sample using the same method, then confirm the actual assembly and delivery configuration. Connected approval, rework and reassessment records give the next order a usable reference for its corners and seams.
Third-party packaging photographs illustrate observation locations and formed states. They do not document defects or manufacturing test results for the pictured products.
