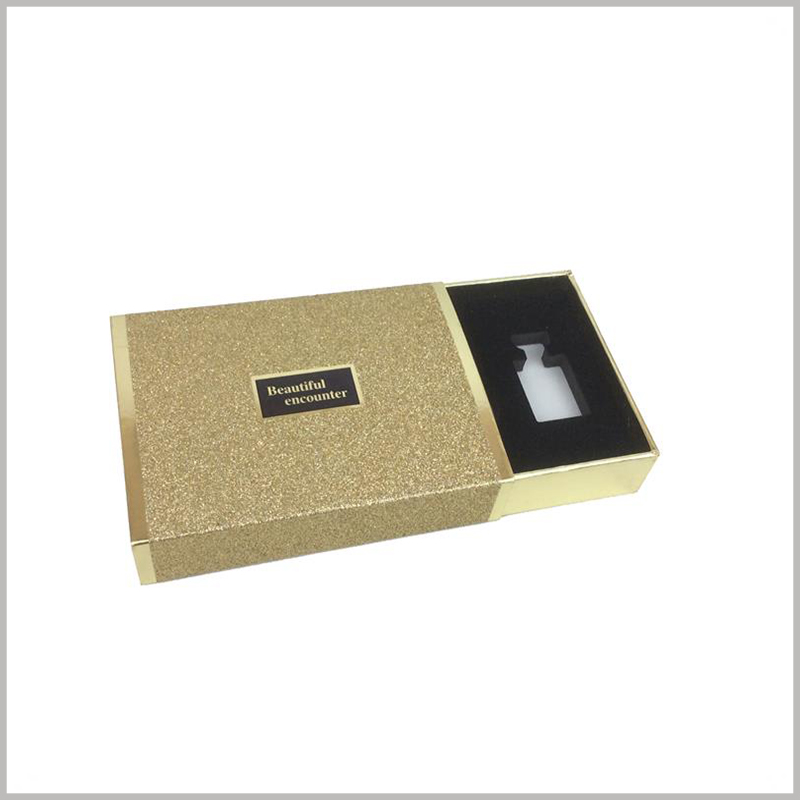
Locate the opening edges and intended contact positions on the actual sample. A photograph cannot establish a scuff cause or protective performance. Third-party reference; not a Bravo Package project.
PERFUME PACKAGING · SURFACE CONTACTS
A mark noticed after removing a perfume bottle does not, by itself, establish that the insert material caused it. The mark may have been present before packing or noticed after insertion, closure, removal or distribution. Start by preserving the evidence and comparing identifiable conditions. Cleaning the bottle, discarding the insert or immediately switching to a softer-sounding material can make the original issue harder to investigate.
Preserve the condition and describe the mark
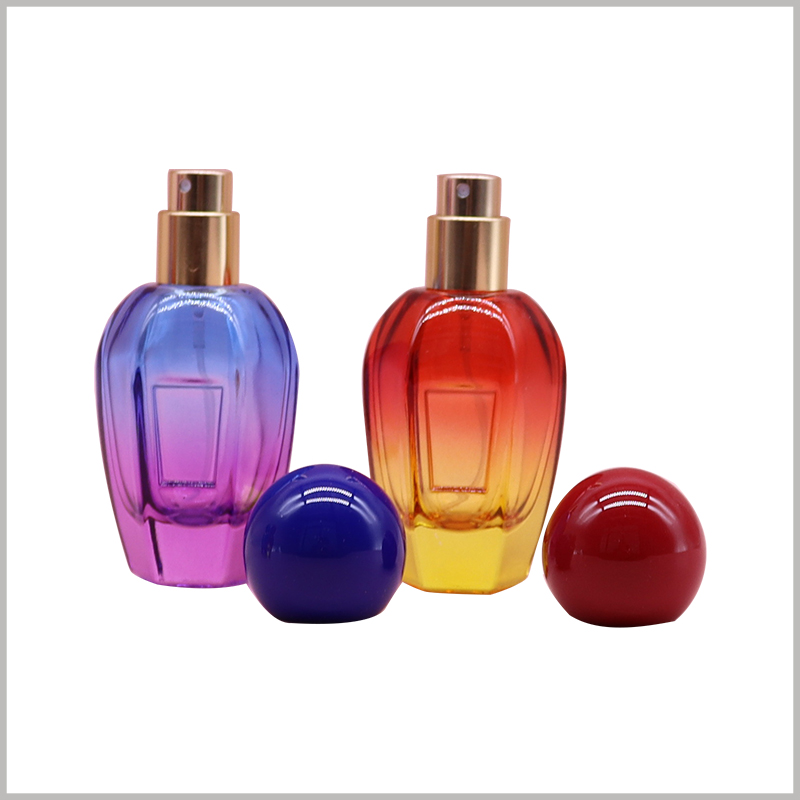
Identify the bottle, insert, outer box and actual accessories separately. Keep available batch details, component revisions and the orientation in which the issue was found. Photograph the overall arrangement and then the affected area. Use comparable lighting, angles and backgrounds where possible, and record the observation conditions.
Describe what you can see: a line, a cloudy mark, colour transfer, label damage or a local change in a decorative surface. State whether it is on the body, shoulder, base, cap or label. If the affected layer is uncertain, record it as unresolved rather than diagnosing every visible mark as a scratch in the glass itself.
Avoid adding marks to the product or applying an unconfirmed cleaner that could change its surface. If a sample has a suspected crack, chip or another condition that makes continued handling questionable, retain it for assessment by the relevant supplier rather than forcing it through further fitting checks. An appearance investigation is not a bottle-safety assessment.
Map contacts in the complete assembly
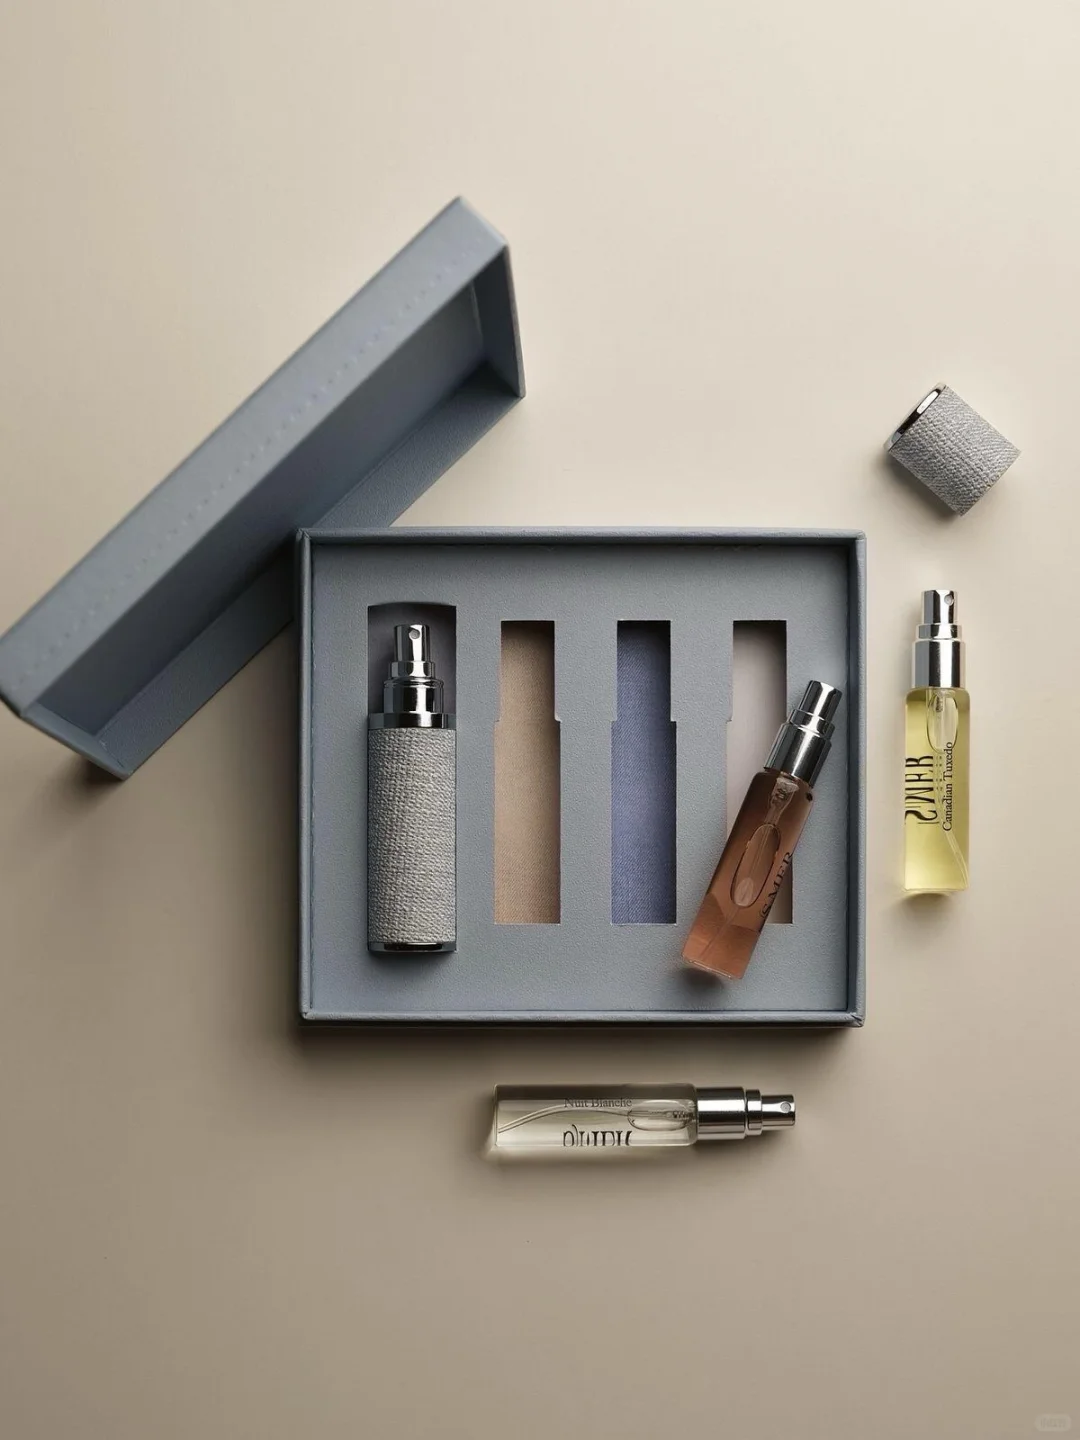
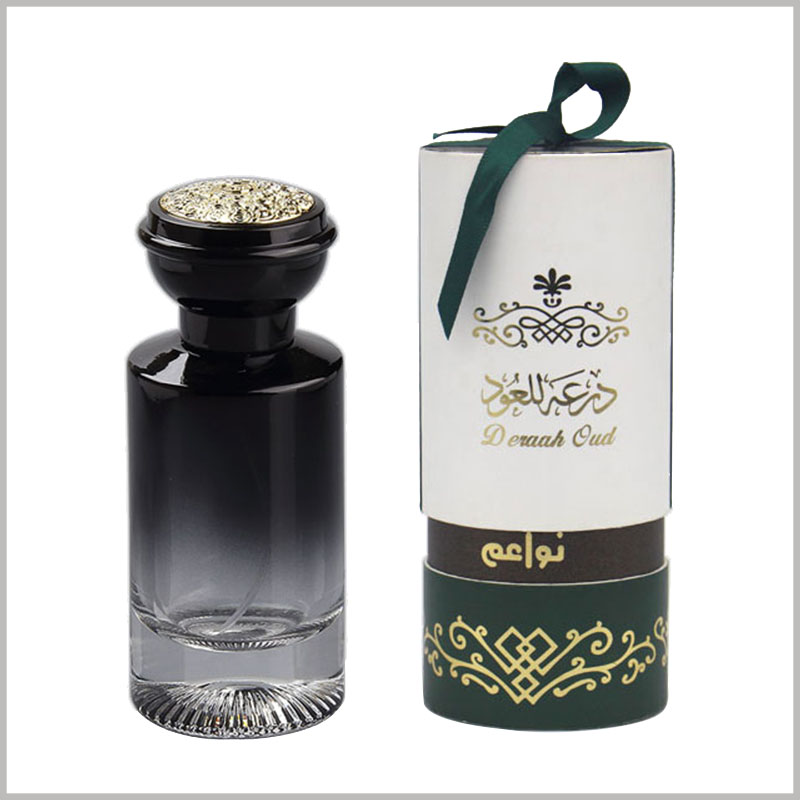
Examine the actual insert opening, sidewalls, base supports, folded edges, joints and surface covering. Include the lid, internal cover, cards, decorative items and neighbouring products. A contact source outside the insert can otherwise be missed. Keep bare bottles distinguishable from bottles with their final coating, print or label; approval using a bare bottle does not automatically cover the decorated version.
Record the height, direction and shape of the mark alongside the locations that might contact it. Similar locations justify a closer comparison; they do not prove causation. Separate photographs with explanatory notes can help locate observations without altering the sample surface.
A material name does not establish the condition of its contact face. Paper, foam, formed plastic and covered inserts all need to be checked in their actual formed and finished state. Descriptions such as flocked, high-density or soft are not guarantees that a particular finished product will remain unmarked.
Separate insertion, removal and distribution observations
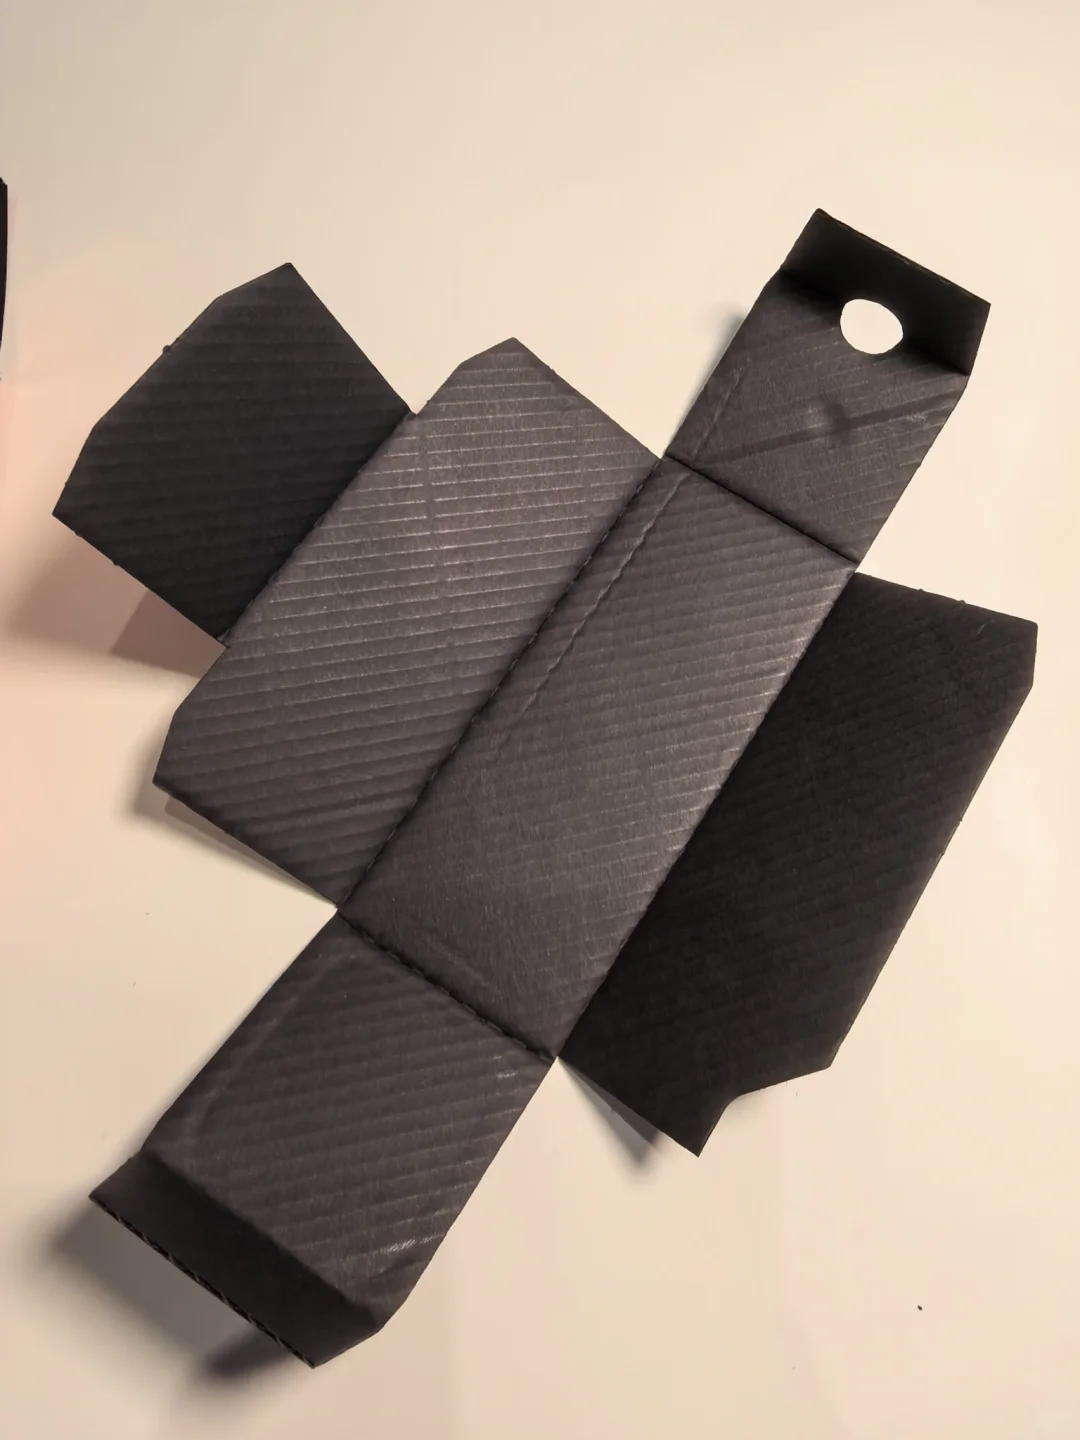
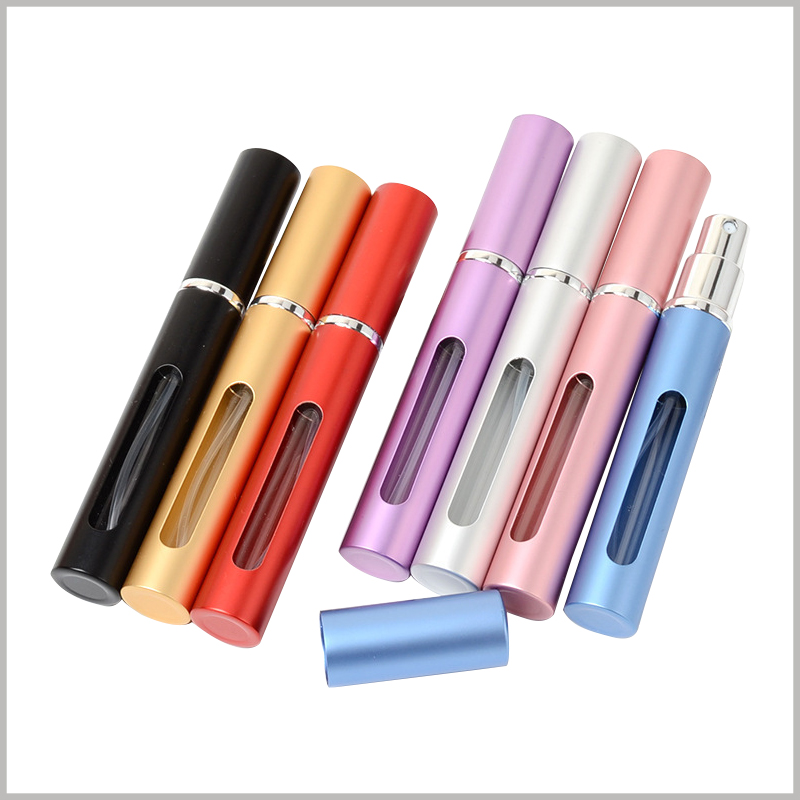
Establish the original appearance of an identifiable unpacked item before observing an agreed insertion sequence. Record its condition after insertion, closure and removal separately. Link each observation to the bottle, orientation, action and packaging revision. Repeated assembly followed by a single final inspection makes it harder to establish when a change appeared.
Note whether insertion involves tilting, twisting or force, whether removal drags the bottle against an edge or pulls on the cap, and whether an internal cover passes across the product during opening. These are actions to examine, not established damage mechanisms. Do not deliberately scrape the finished product to reproduce a suspected issue.
No visible change during a static handling check does not establish performance during distribution. If the issue is found after storage or transport, record the full shipping configuration, protective layers, adjacent contents, known conditions and the state in which it was received. Any transport verification and its conditions should be agreed separately. Shaking a box briefly or completing a tabletop fitting is not a substitute.
Check edges, debris and surface revisions
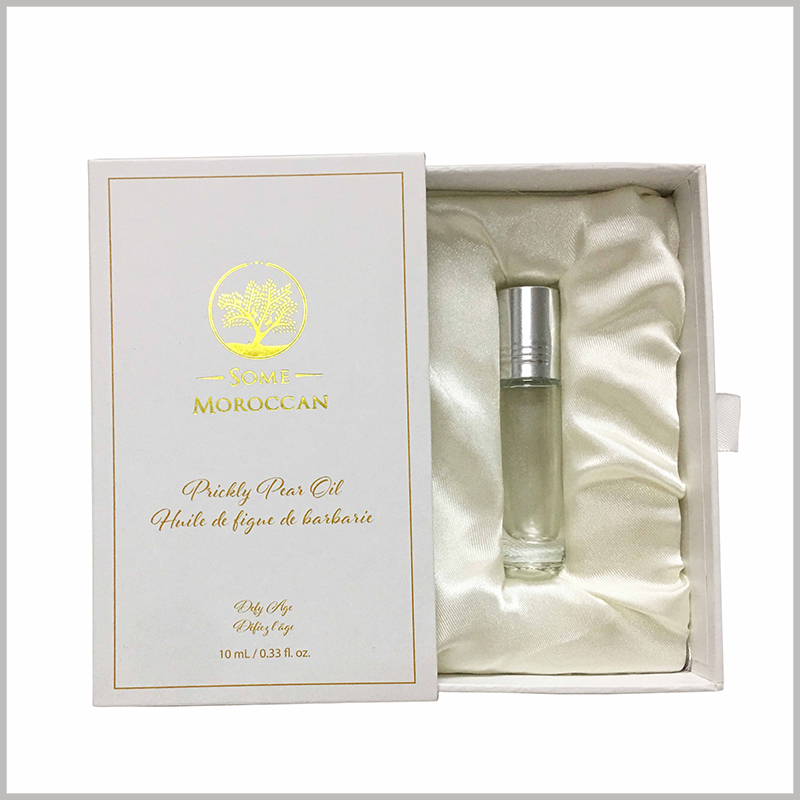
Look for visible raised edges, burrs, protrusions, exposed joints, attached material, loose debris or an uneven covering at the relevant contact. If foreign material is visible, record its location before agreeing on handling or cleaning with the supplier. Finding particles alone does not establish that they caused a particular mark.
Compare the current insert with the approved reference, including the substrate, covering, processing and assembly revisions. Check for changes in the bottle finish, label, cap and protective bag as well. Colour, nominal thickness and purchase descriptions may not identify the actual surface that touches the product.
Treat a proposed separator, new covering or opening adjustment as a revised configuration. Added material can change the available space, support, removal method and closure. Confirm it with the actual finished product rather than treating the addition of a soft layer as a proven solution.
Compare clearly documented changes
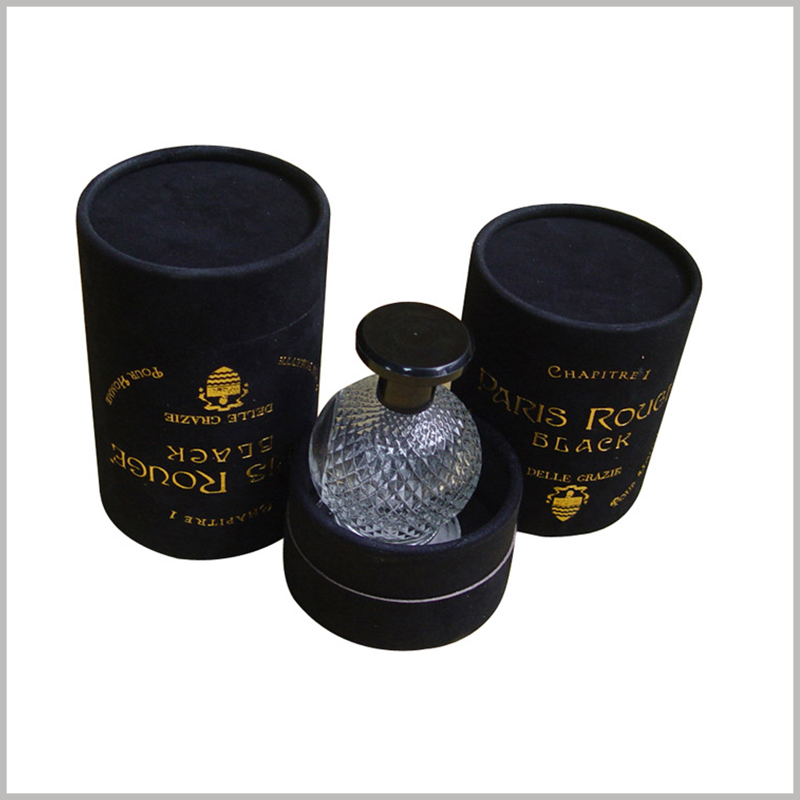
Agree on the comparison scope and observation method using the physical references available for the project. Each group should have identifiable bottle and finish revisions, packaging revisions, handling steps and starting conditions. Record when a reference has already been repeatedly used or its original appearance is unknown.
Target an identified location with a change that can be explained, such as revising an edge, contact position or removal path. Avoid changing several undocumented components in the same comparison. State what changed, what was observed and what remains unresolved. One assembly with no newly visible mark does not establish acceptance of an entire batch or every transport condition.
Agree on the appearance acceptance conditions, including the areas examined, viewing conditions, defect descriptions and confirmation responsibilities. There is no universal rubbing count, acceptable scratch length, clearance or contact material established by this guide for all perfume finishes.
Retain the approval and reorder record
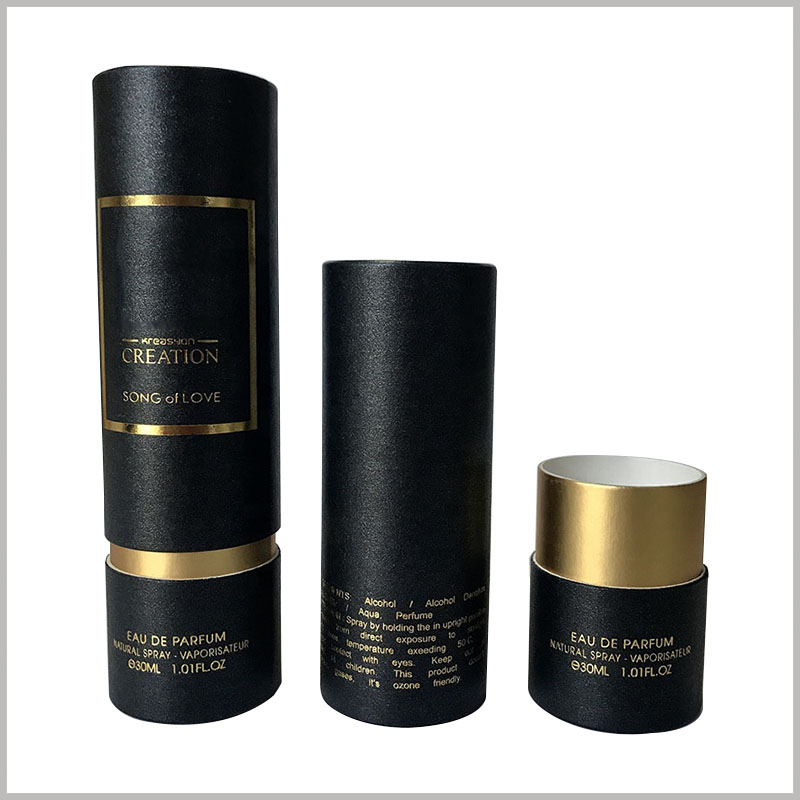
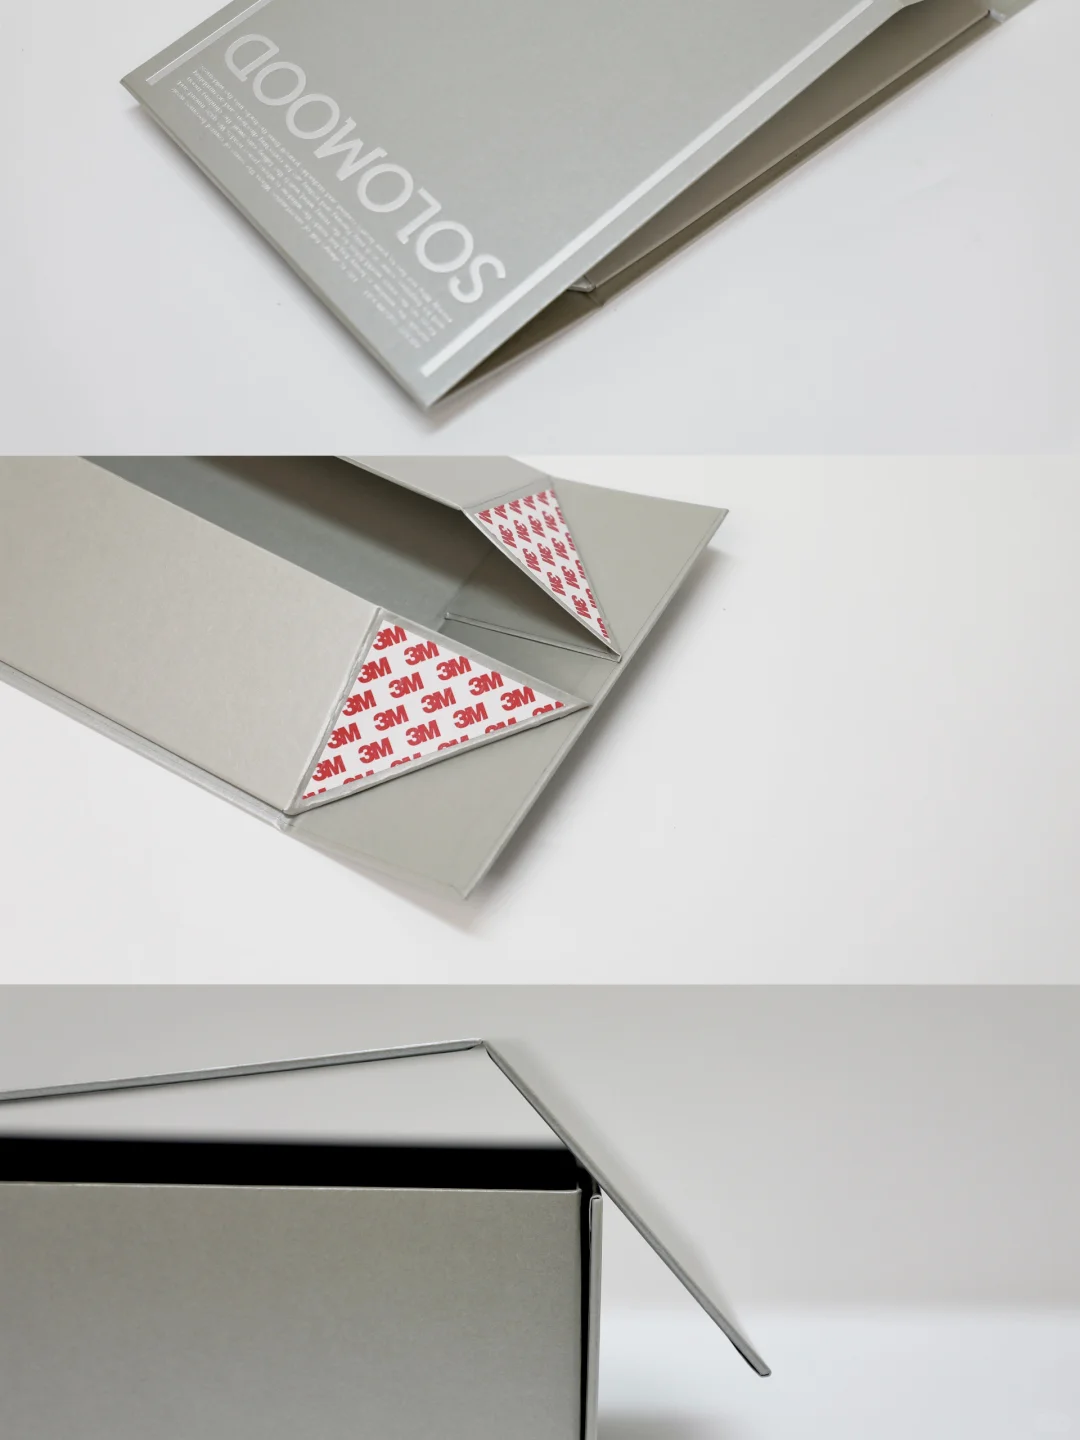
Keep approved physical references, comparison photographs and the complete component list. Identify the applicable bottle finish, contact covering, openings, supports, assembly sequence and protective materials. Distinguish completed checks from outstanding verification. Breakage protection, surface appearance and the removal experience should be recorded separately.
Before a reorder, flag changes to the bottle decoration, label, insert covering, processing or assembly method. Review the affected contacts and agree whether renewed confirmation is needed. Unchanged printing on the outer box does not establish that the internal contact materials or bottle finish are unchanged.
When discussing an issue with Bravo Package, prepare the affected bottle and an unused reference, current and approved packaging, corresponding revision details, photographs locating the mark, and the stage when it was first noticed. These inputs help define the investigation. The modification, acceptance conditions and verification arrangements still need to be confirmed for the individual project.