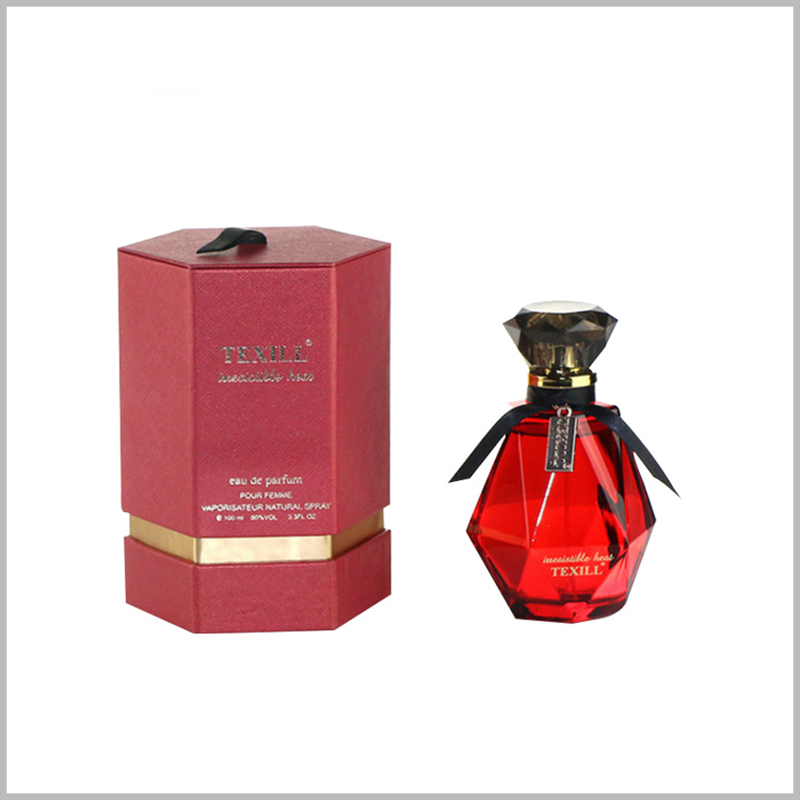
The bottle envelope and the closed box envelope are different measurement objects. Third-party reference; not a Bravo Package project.
PERFUME PACKAGING · BOTTLE AND BOX MEASUREMENTS
A length, width and height are useful only when everyone knows what they describe. The same three numbers might refer to a bottle, the usable space inside a box, the closed pack or a flat drawing. Before a supplier develops the structure, give each measurement a clear object, orientation and sample version.
A measurement brief should make the product easy to identify and the dimensions easy to check. It should also show what remains undecided. A bottle measurement is an input to packaging design; it does not, by itself, approve a cavity size or a shipping pack.
Start with the complete product that will be packed
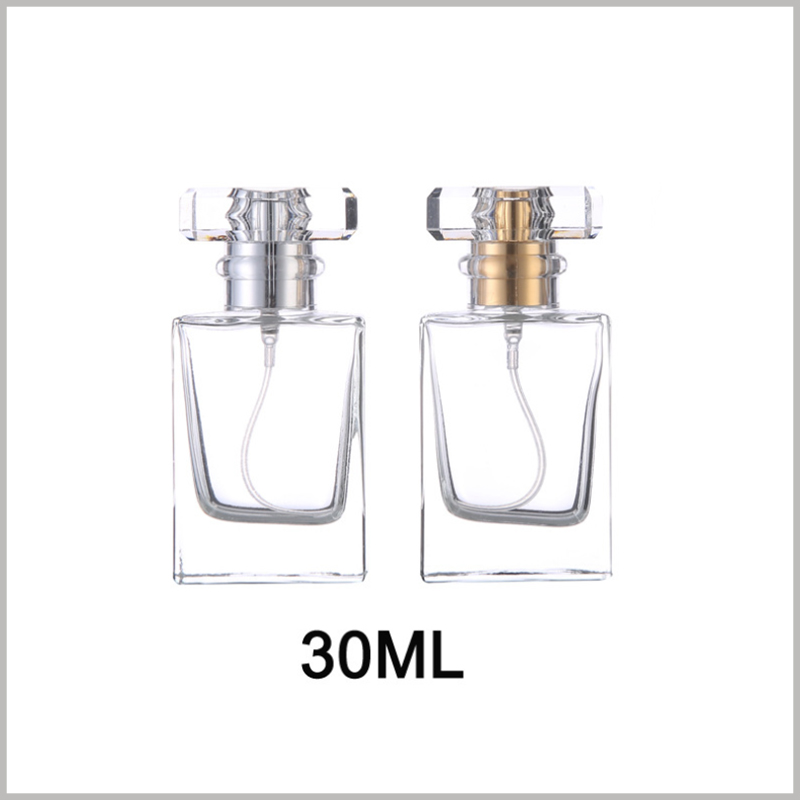
Use the intended packed version of the bottle, including its cap, pump, label and any decoration that remains attached. Identify the product and sample revision. State the unit of measurement and the direction in which the bottle will sit in the box. If the cap or another component is provisional, flag it rather than presenting the record as final.
List protective bags, cards, samples and accessories separately. Make clear whether they have been included in a proposed layout. A bare bottle can fit while the complete contents do not, particularly when a card or bag occupies space near a closing flap or an insert edge.
Capacity is not a substitute for external dimensions. Bottles with the same stated volume can have different shoulders, bases and caps. Photographs help explain orientation and measurement points, but should not be used to infer dimensions without a reliable scale. Where possible, supply the same physical product version for structural development and sampling.
Record the widest outline and the proposed support areas
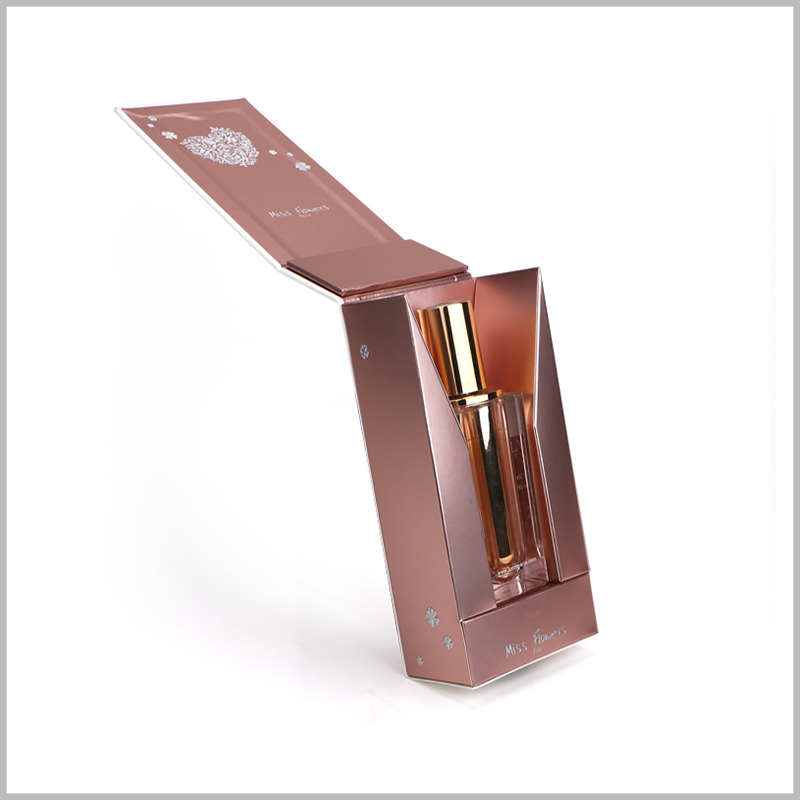
Agree which direction is length, width and height, then label those directions on photographs. Show the endpoints used. State whether the height includes the cap and whether the width includes projecting decoration. This prevents an apparently precise number from describing the wrong part of the product.
For an irregular shape, check the shoulder, base, cap and other projections rather than measuring only the easiest accessible section. Record the outlines that could affect insertion. The maximum product envelope and the section where an insert may support the bottle are different inputs.
A cavity designed around one local section does not establish that the whole bottle can pass through its opening. Discuss the proposed loading path and support locations with the supplier. Choose measuring tools and methods appropriate to the shape, and agree how they will be used. There is no universal measurement precision specified here. If samples differ, record the variation and discuss which product range the packaging must accommodate.
Keep internal, external and flat dimensions separate
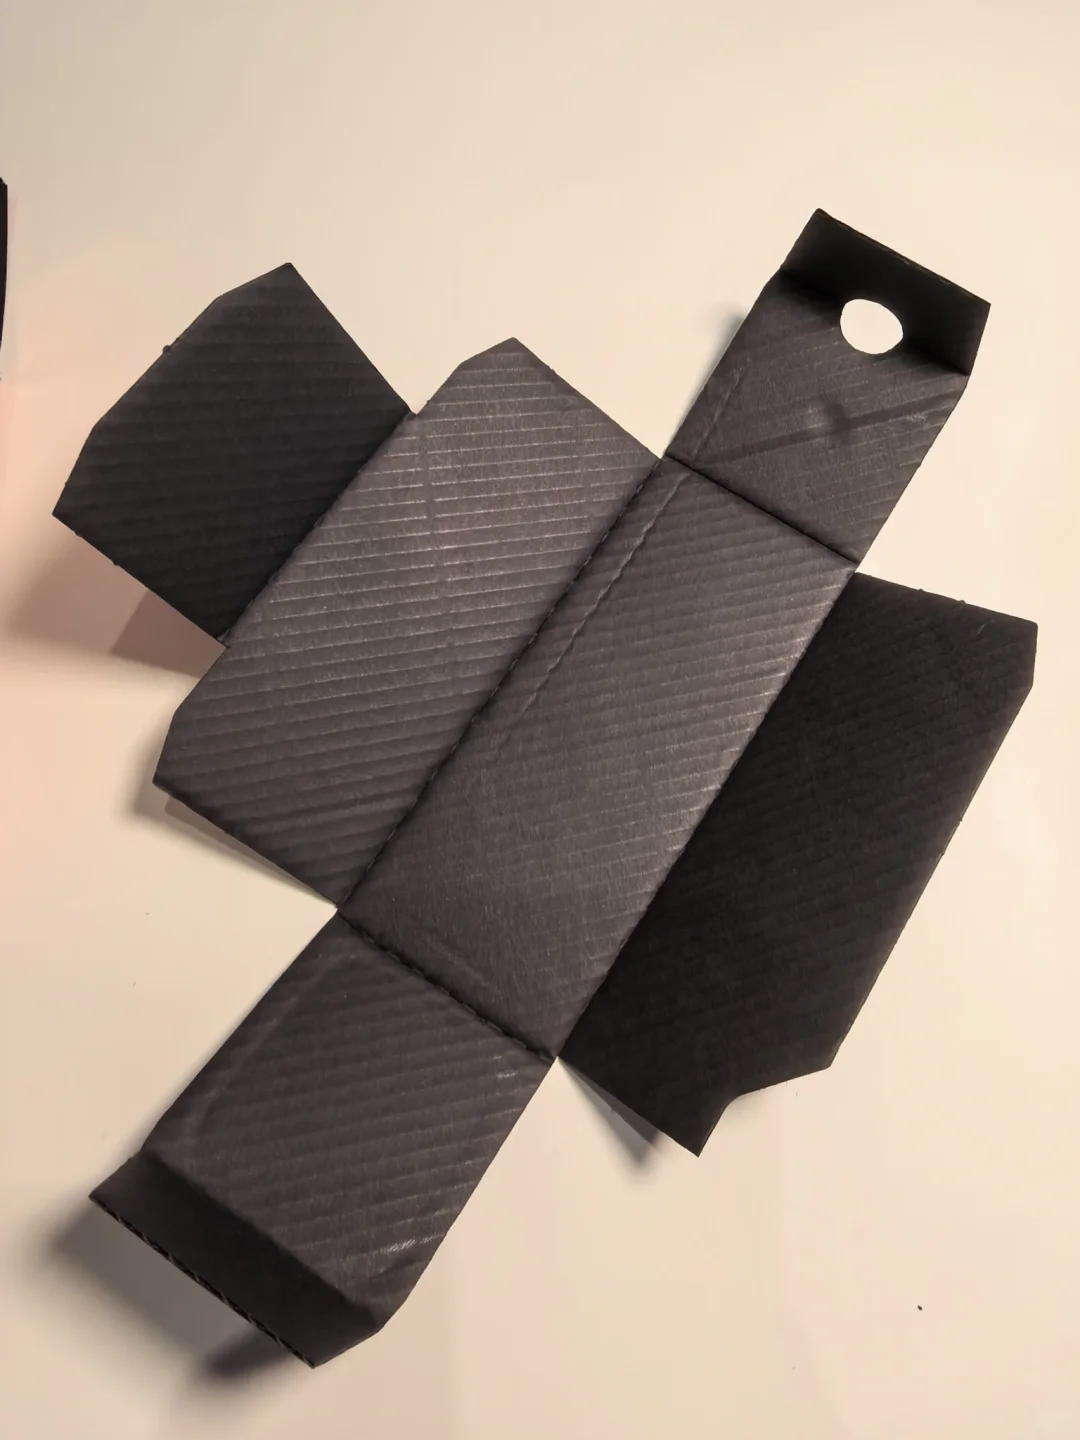
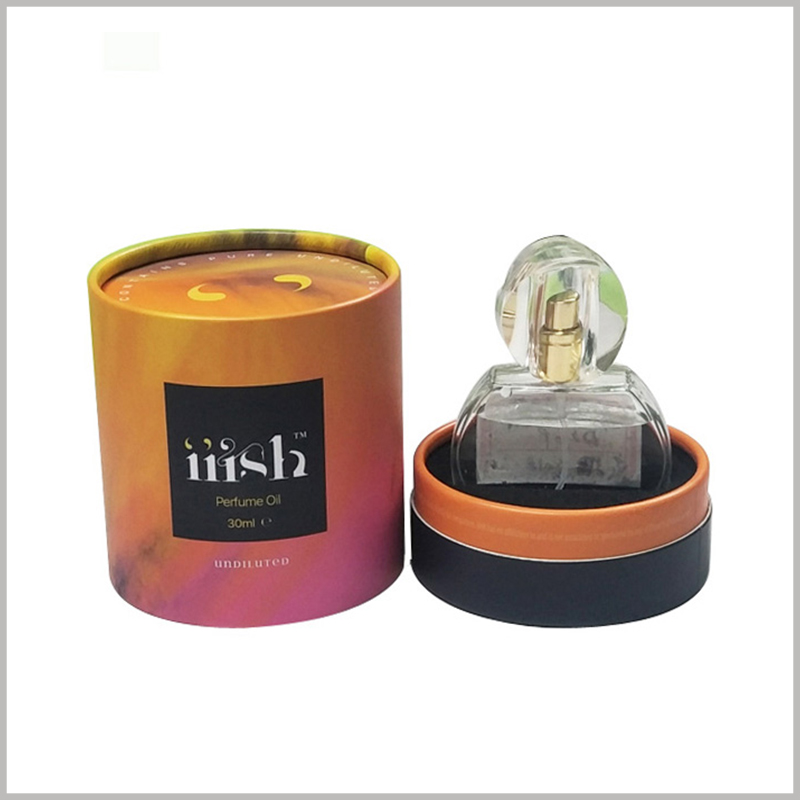
Usable internal dimensions describe the space available in the relevant assembled condition. An insert, folded edge, lining, card or lid feature may occupy part of that space. State whether the box is formed, whether its insert is installed and where the measurement is taken. Local restrictions may need their own dimensions.
Closed external dimensions describe the outside envelope of the assembled pack. They are relevant to shelf space, an outer shipping carton and other external constraints. They should not be treated as the dimensions available to the bottle.
A flat dieline includes structural features such as tabs, glue areas and fold positions. Its overall boundary is neither the finished internal size nor the finished external size. Ask the supplier to identify the dimension type, units, orientation and revision on the drawing.
Avoid converting these dimensions with a single board-thickness formula. Construction, overlapping layers and assembly details need to be resolved in the structure and checked with a sample. Unlabelled numbers copied between messages make those distinctions harder to retain.
Define what each clearance is intended to do
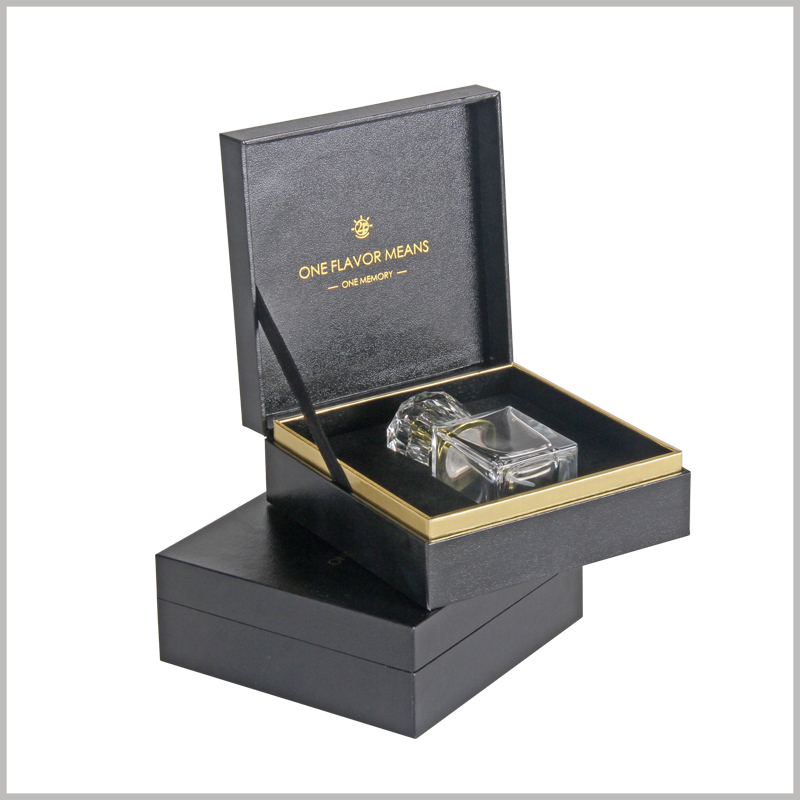
Adding a fixed number of millimetres to every bottle dimension is not a complete design method. The loading path, support arrangement, materials and removal action all affect the space required. Identify where the pack should locate the product, where it should avoid contact and where a person needs access to grip the bottle.
Check whether the lid or a closing component approaches the product. A snug appearance does not establish suitable contact pressure. An empty insert photograph cannot establish a safe fit either.
Discuss product variation, packaging manufacturing tolerances and design allowances separately. They serve different purposes and should not be counted repeatedly under different names. Ask the supplier to develop a proposal from the physical product and intended construction, then examine it through sampling. A recommendation for one project should not become a universal allowance for perfume packaging.
Trial the complete contents through loading and removal
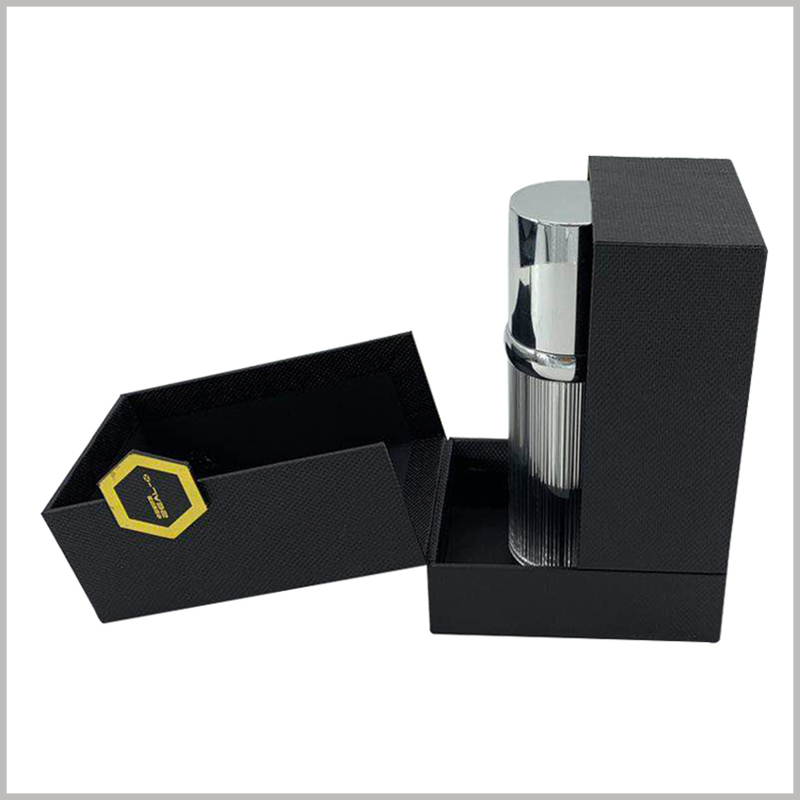
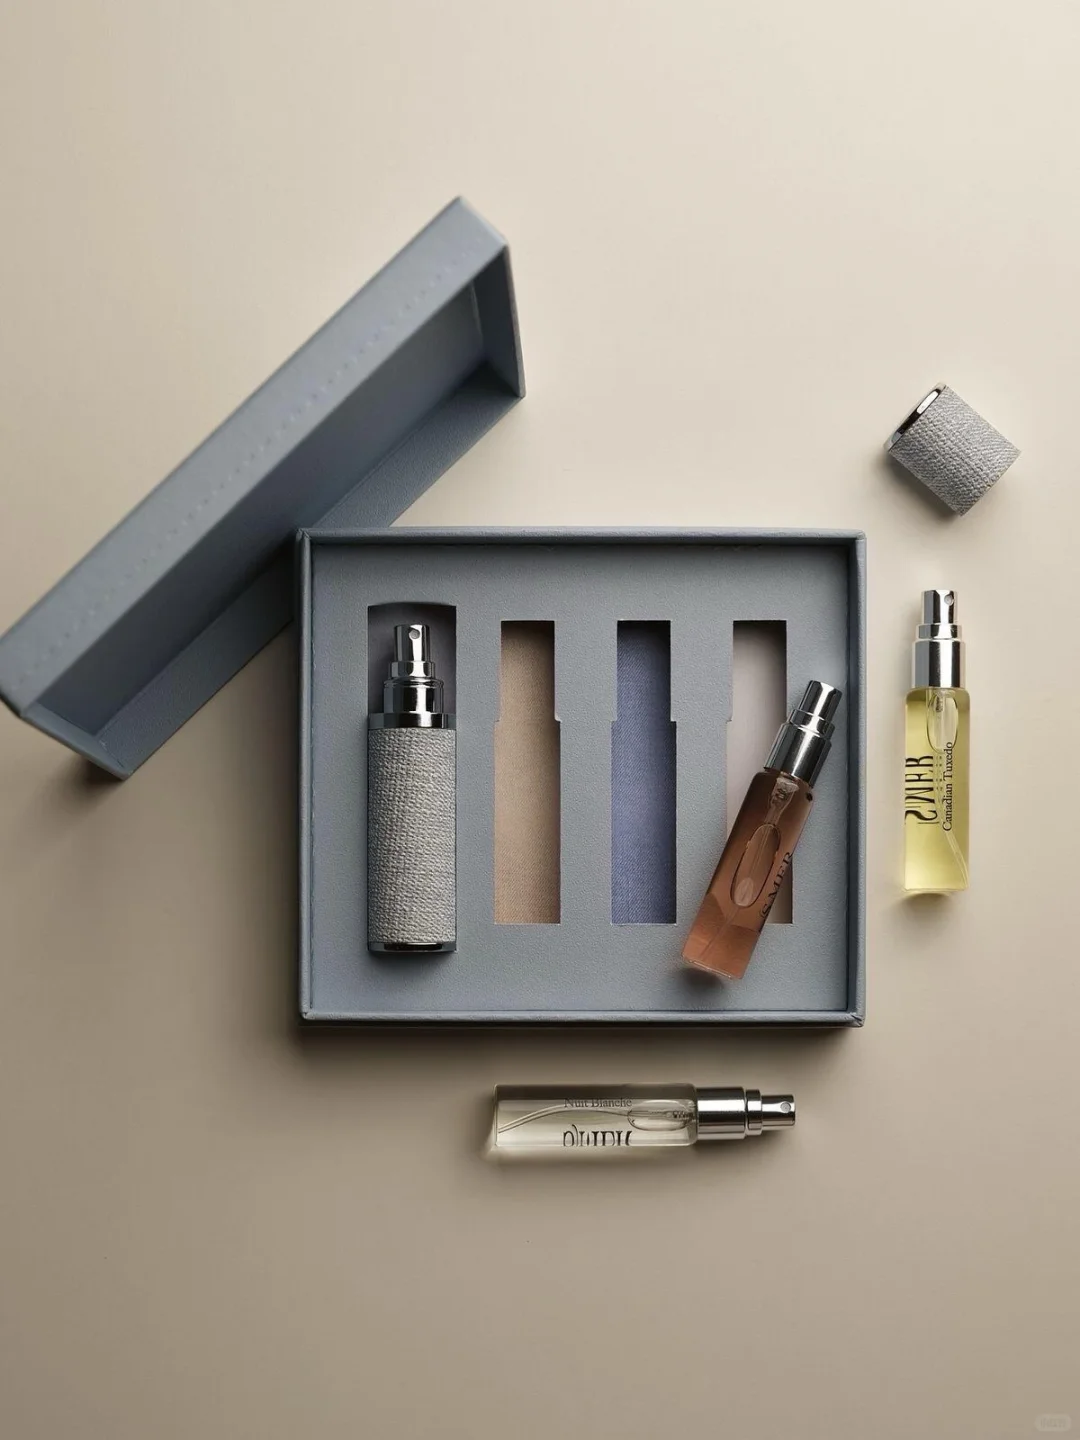
Use the intended bottle, insert, bag, card and accessories together. Follow the planned assembly order. Look for interference, unsuitable force, bent cards and problems closing the pack. A trial with only the bare bottle leaves important parts of the configuration unchecked.
Removal deserves its own check. Can the user grip the bottle? Does the layout encourage pulling on the cap? Do accessories obstruct the movement? Note the location of a problem and the exact sample versions involved, with photographs where useful.
Share observations so the relevant parties can decide whether the product input, insert or box needs revision. Passing a dimensional and handling review does not replace transport verification agreed for the actual sales and distribution route. Keep those approval purposes separate in the record.
Hand over a traceable measurement pack
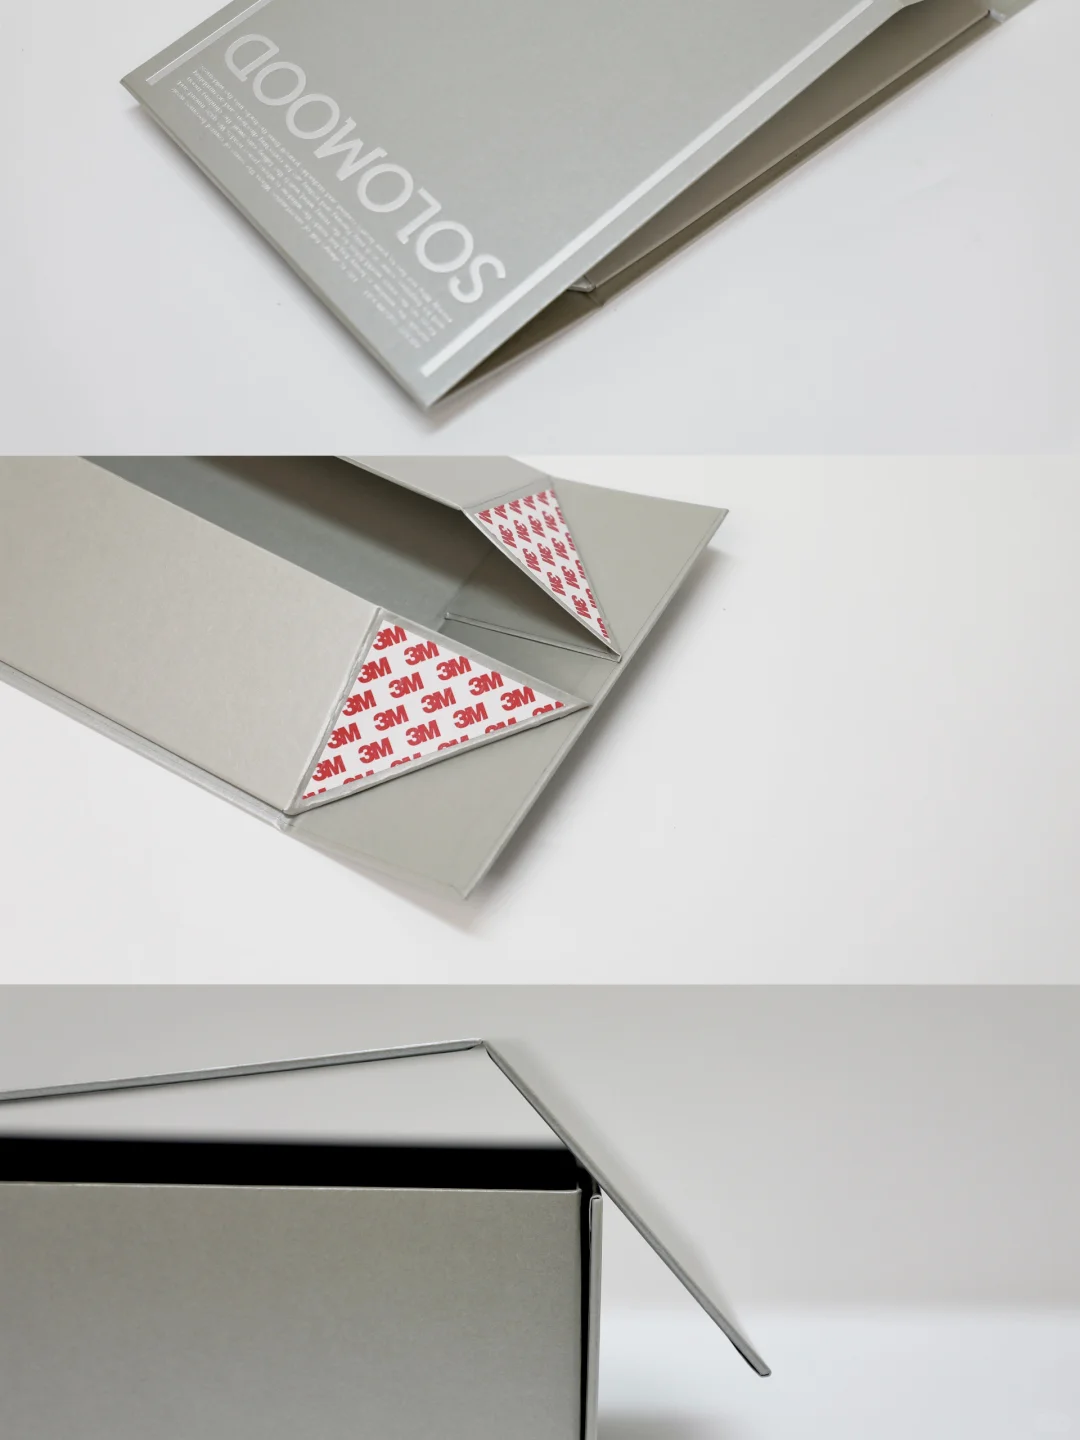
Keep annotated photographs, the dimension table, contents list, structural drawing and trial notes under a consistent revision. Useful table fields include the measured object, its condition, direction, endpoints, unit, value, sample revision and unresolved questions. Enter actual project measurements rather than copying illustrative numbers into a production brief.
Record who provides the product information and who confirms the proposed structure. When a cap, accessory, insert or material changes, identify which checks need repeating and update the affected files. Separate approved details from open items so receipt of a document is not mistaken for production approval.
Clear measurement records connect each number to something that can be checked. From there, the box style, quotation brief and sampling process can turn those inputs into a packaging proposal that is ready to evaluate with real contents.