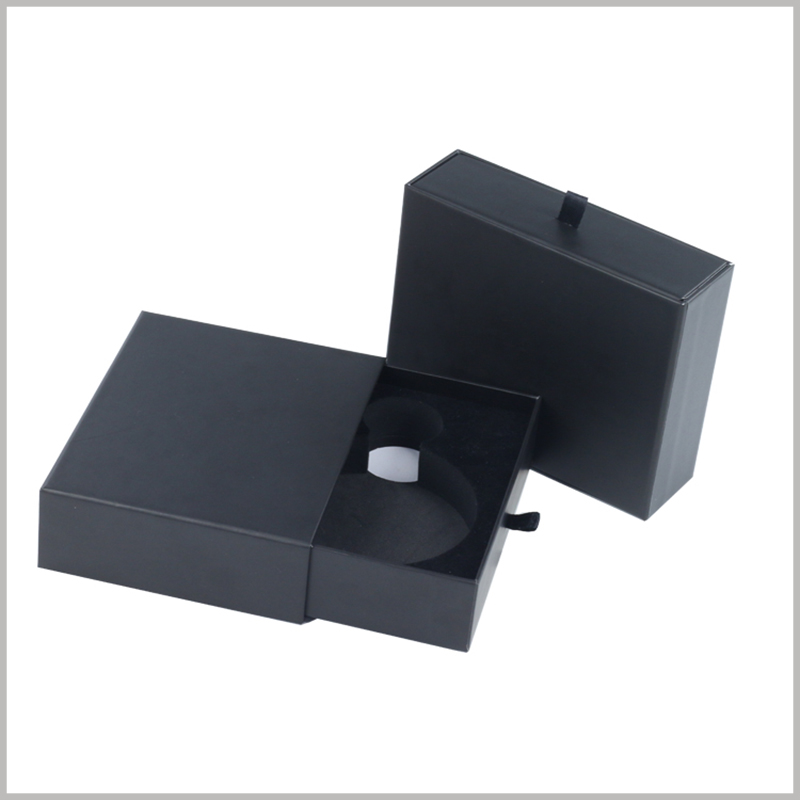
Distinguish pulling the drawer from removing the bottle. An empty opening does not establish finger access with the product loaded. Third-party reference; not a Bravo Package project.
PERFUME PACKAGING · REMOVAL ACCESS
A neat presentation does not establish that a perfume bottle is easy to remove. Fingers may not reach the body. They may reach it but struggle to lift it. The cap may come away while the bottle stays in place. Those observations call for different reviews; enlarging the entire opening is not an automatic answer.
Start with the complete product and the intended removal action. Define where someone should grip, which direction the bottle should move and which components come out first. Ask the supplier to propose a manufacturable arrangement, then review the corresponding sample. This guide does not prescribe a universal finger opening, clearance or extraction force, or treat convenient removal as proof of transport protection.
Locate the step where removal becomes difficult
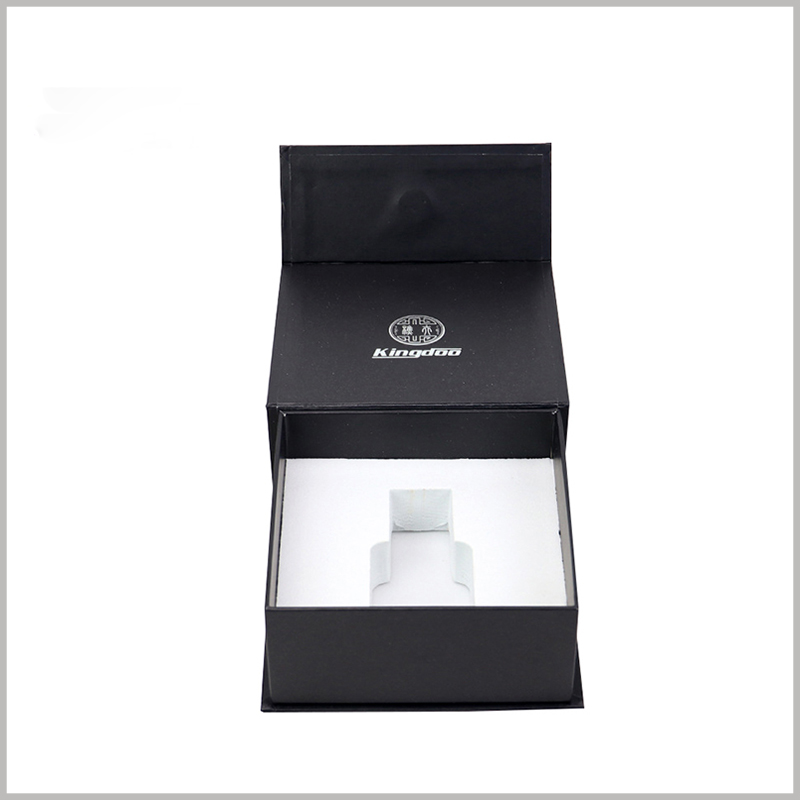
Pack the box, insert, finished bottle and accessories as they will be supplied. Starting from the normal opening position, observe each step: removing the sleeve, opening the lid, reaching inside, contacting an approved gripping area and moving the bottle out. Record the step and contact location rather than simply writing too tight.
If fingers cannot enter, look for obstruction from the box wall, an upper card, an adjacent bottle or decoration. If someone can grip the body but cannot move it as intended, review the particular contact edges, product revision and formed insert. If the insert rises with the bottle, record the insert-to-box relationship separately. Several problems can occur together without having the same cause.
State the box orientation, bottle position and accessories present during the check. Trying an empty bottle against a loose paper component is different from removing the complete product from the finished pack. Do not use inversion, shaking or a tool to conceal a problem with an action intended to be performed by hand.
Choose the gripping area before arranging access
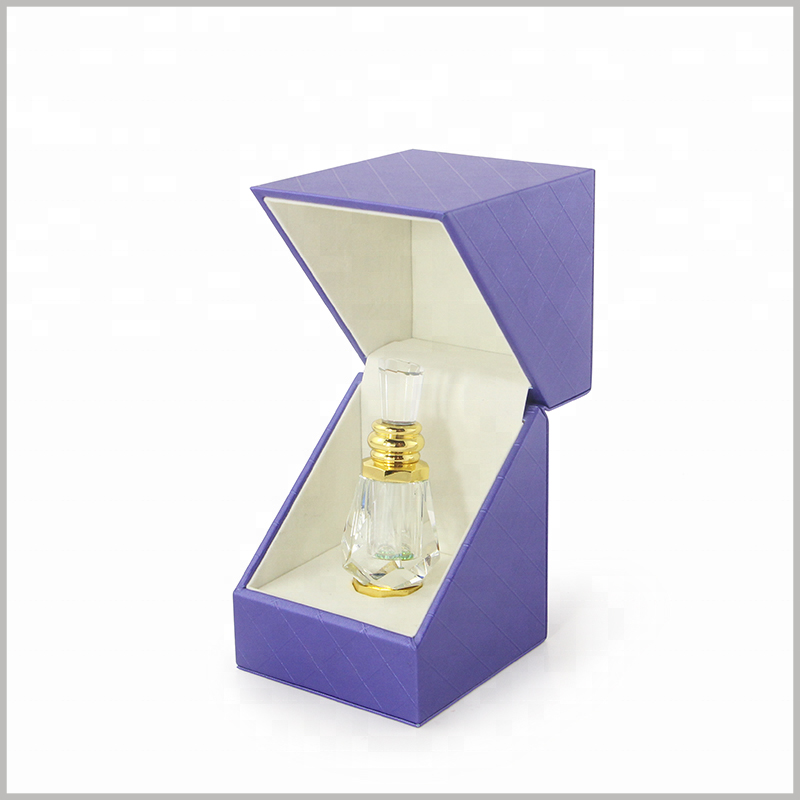
Mark the intended contact areas on the final bottle sample and identify components that should not serve as default lifting points. A detachable cap, hanging decoration, sprayer or exposed label edge should not become the gripping point merely because it is prominent. Any proposed use of the cap for lifting needs the relevant product connection and assessment to support that action.
Ask where fingers enter, which surface they contact and how the bottle moves afterwards. The access opening must connect to a usable gripping area. A notch visible at the front does not establish that fingers can reach the body once the bottle is packed. Review side and overhead access for a bottle lying down, and exposed height and box-wall interference for an upright bottle. Shape names alone do not determine how many notches are needed.
Include any card or upper component that must be removed first and follow that same sequence during the trial. Agree the opening instructions, presentation direction and gripping path together, so that the visual front does not conflict with the intended removal direction.
Review finger access separately from locating areas
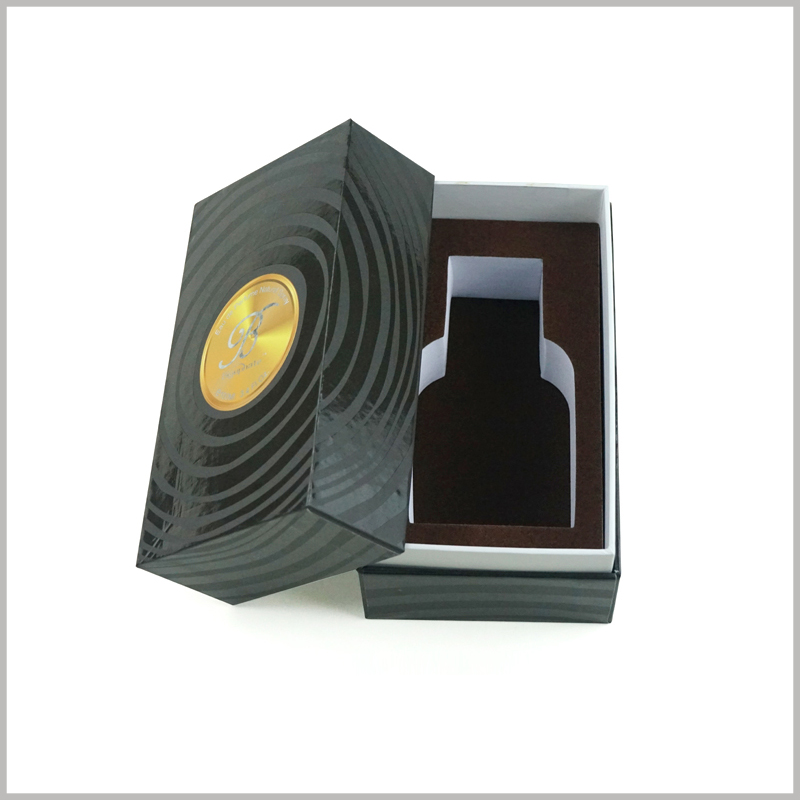
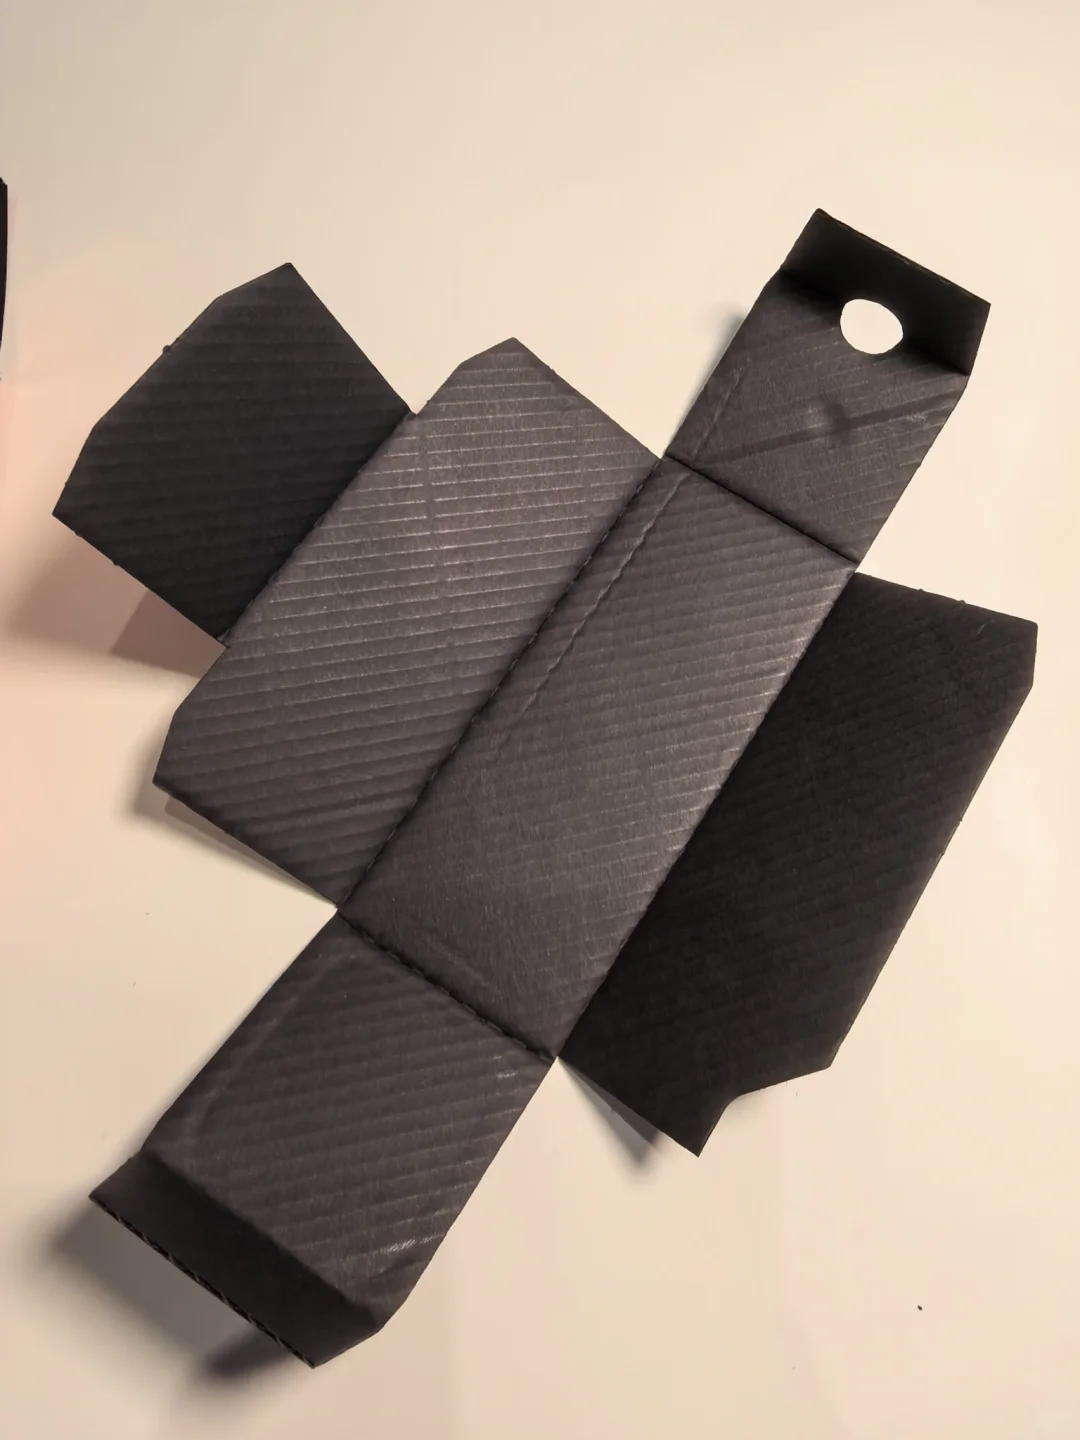
A local notch, finger recess or other clearance feature can be part of the proposal. Making it as large as possible is not the objective. Ask which areas provide support or control movement, which provide access, and how the remaining structure works after a change. Local access and overall product fit are separate questions.
Mark the location, direction and relationship to the bottle on the matching drawing and sample. Confirm dimensions from the actual product, intended use, manufacturing proposal and sample observations. Do not transfer finger-opening measurements from another product category as a perfume standard, or infer usable depth from a flat drawing or perspective photograph.
Check the bottle with its final decoration, finish and label. Record whether reaching inside rubs a label, catches a decoration or brings the shoulder against an upper component during removal. After changing access, revisit loading, location and closure as well. Solving the entry point does not establish that the complete arrangement works.
Follow the whole action when using a lifting feature
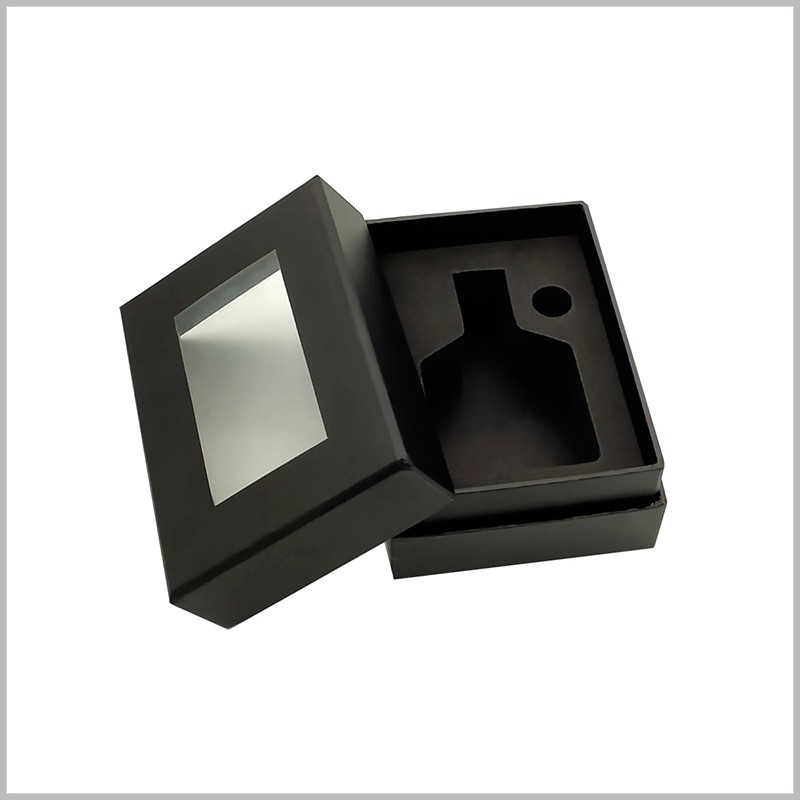
If direct access remains unsuitable, ask the supplier to compare a lifting ribbon, a removable component or a different product position. Define what moves: the bottle, an upper paper component or the entire tray. The presence of a ribbon does not establish the adequacy of its attachment, load capacity or repeated use.
On the sample, check whether its starting position can be found and reached, whether the action interferes with the cap or decoration, and how the product transfers to the hand. If the tray comes out first, check where the bottle remains after that step and how the second step is completed. Removing a tray and removing a bottle from that tray are different actions.
Review closure too: where the ribbon, paper component or handle rests, and whether it interferes with the lid, accessories or labels. If repacking is intended, follow the proposed return sequence. Agree distribution and durability assessments separately for the complete configuration; one successful demonstration cannot establish those results.
Try sets and samples in their intended order
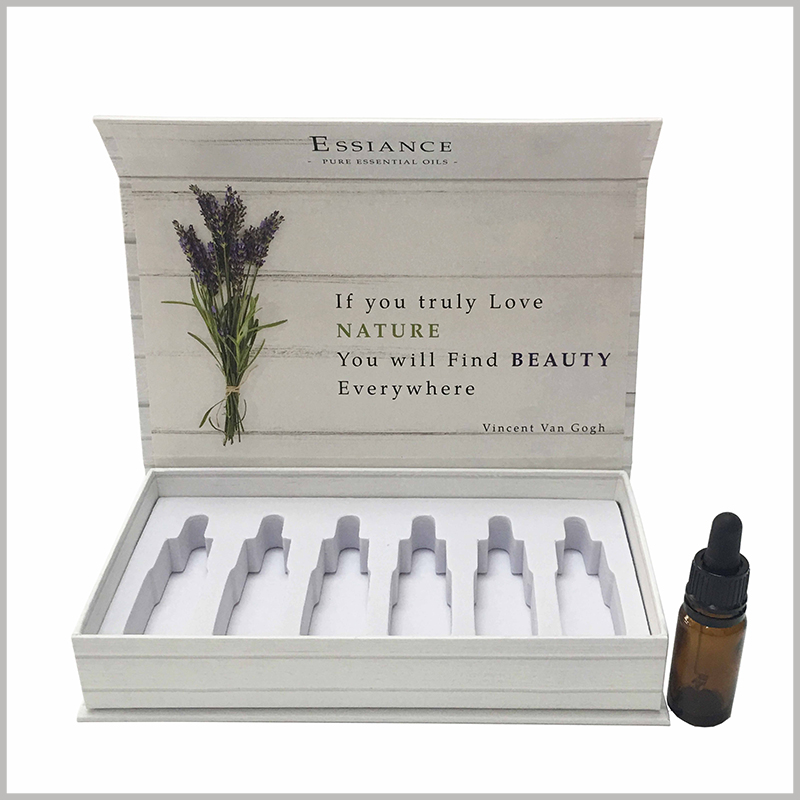
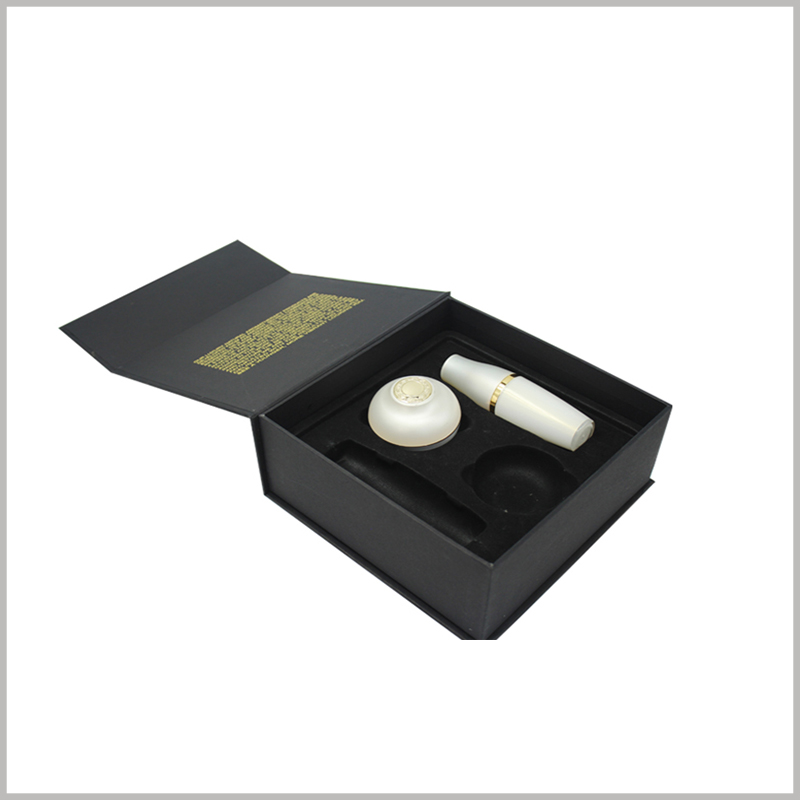
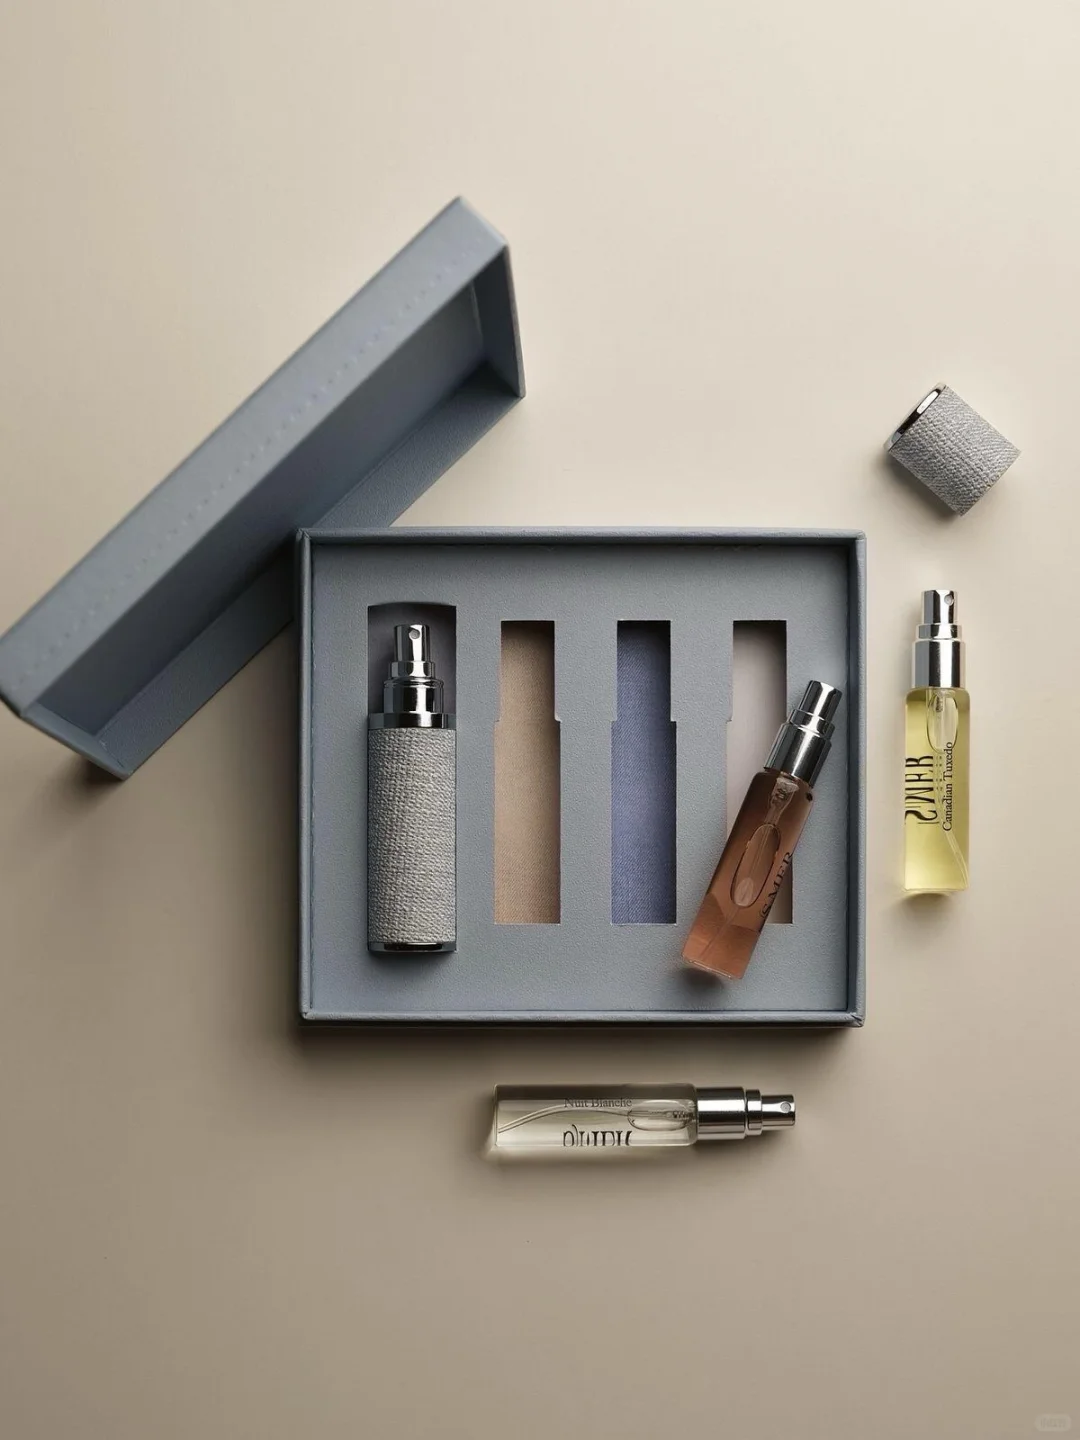
An empty position may appear accessible until the other products are loaded. For discovery sets or fragrance-and-accessory packs, include all contents, cards and retained protective components. Check how the first item is removed, then follow the intended sequence through the remaining positions, observing obstruction by neighbouring products.
Do not approve the set using only its easiest position, or approve several bottle specifications from a trial with one. If bottles share an outer box, retain separate bottle, insert and accessory revisions and record each configuration's gripping area, removal order and issues. For packs with both a sleeve and a hinged lid, review those opening steps separately from bottle removal.
Ask someone unfamiliar with the structure to follow the intended use and observe where they look first, what they grip and which steps need explanation. This can reveal an unclear path; a small trial does not establish convenience for every consumer. Reconsider the structure or instructions if completion depends on additional verbal guidance.
Keep a traceable sample record
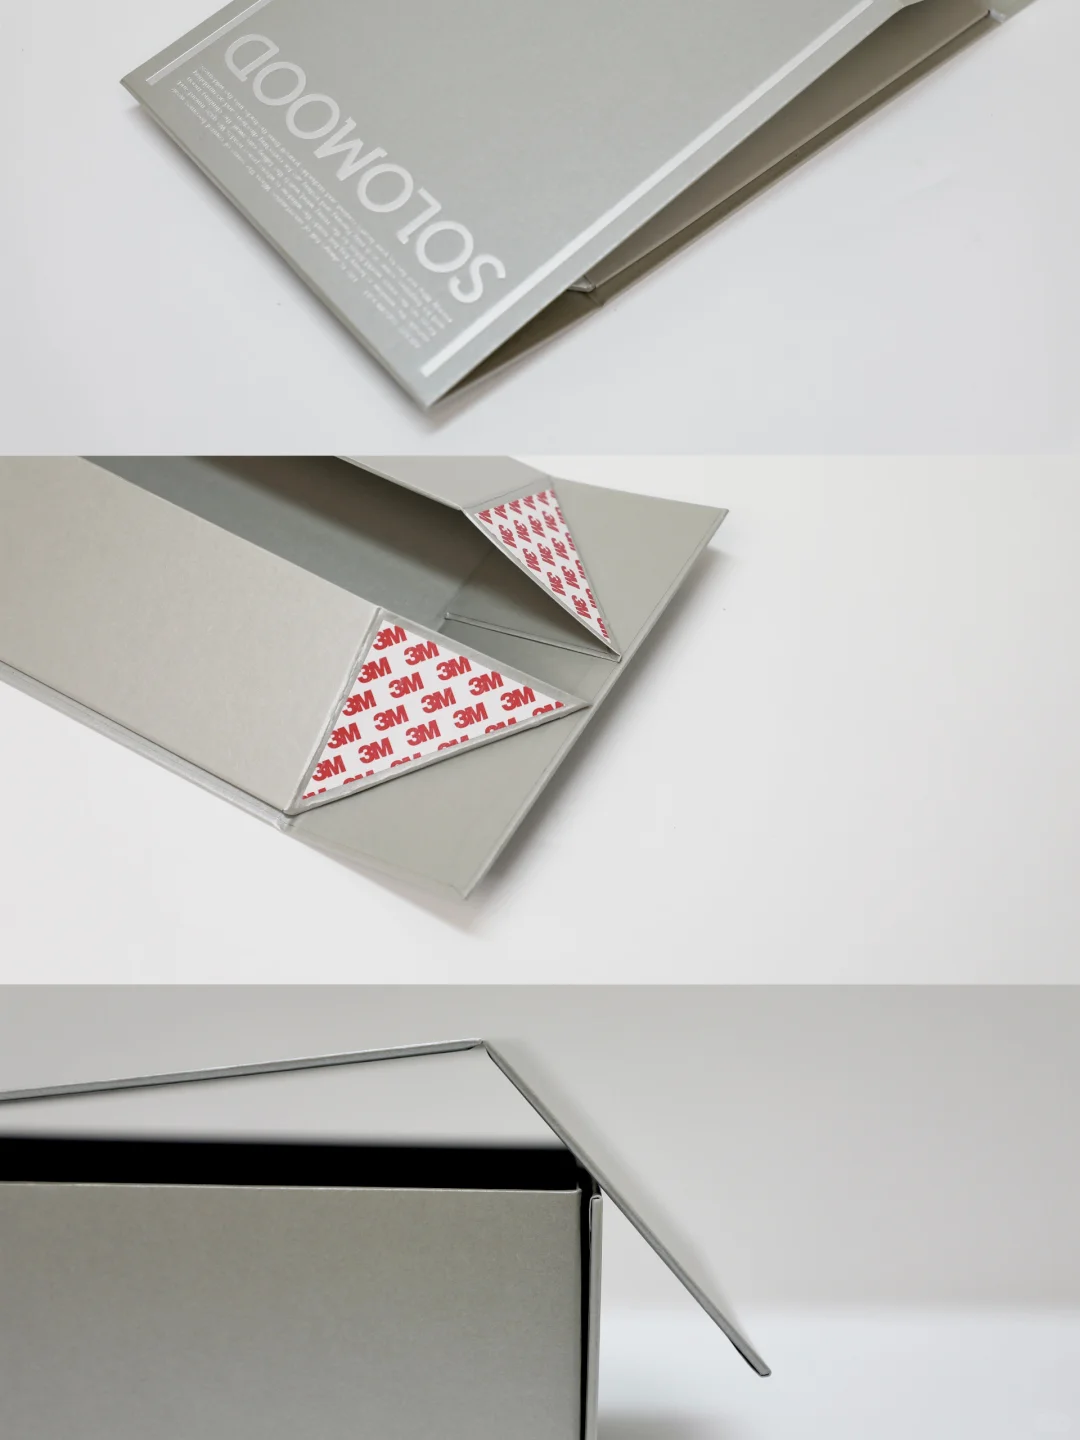
Feedback should identify the bottle and insert revisions, complete configuration, opening direction, intended gripping area, and the step and location of interference. After loading the cards, the right-side opening does not reach the body is more useful than make it looser. Describe observable behaviour without guessing hidden composition or forces.
After a change, repeat loading, closure, opening and removal with the corresponding configuration. Record what was accepted and what remains unresolved. Changes to a cap, label, decoration, insert height or component connection need a defined review of the relevant checks. Retain previous revisions so an old bottle sample does not approve a new insert.
Removal access and distribution assessment remain separate tasks. When contact areas, openings or components change, have the relevant parties review the appropriate assessment using the actual retail pack, shipping carton and distribution conditions. The aim is a workable removal path, clear locating requirements and a matching approval record, rather than the tightest or loosest possible opening.