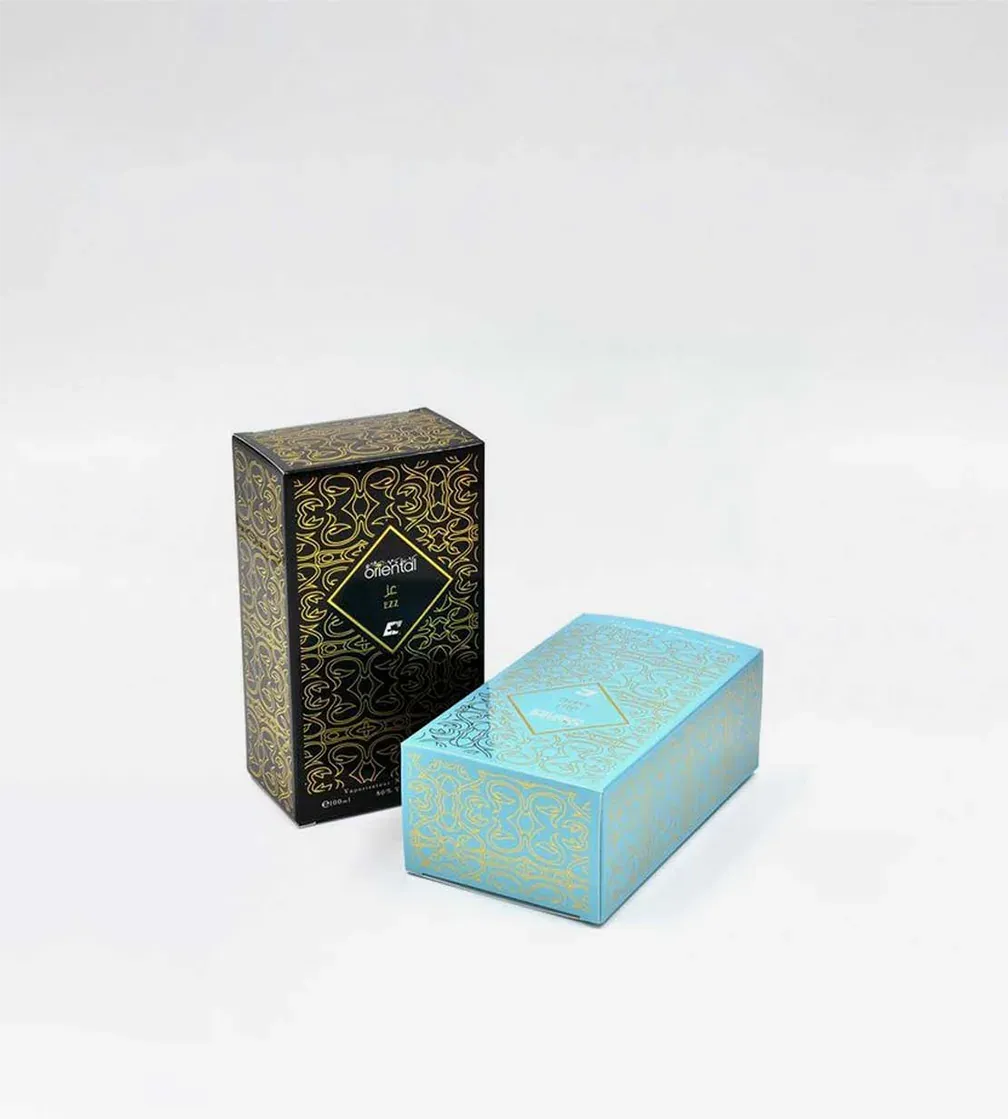
Closed perfume cartons show the intended presentation. Their bottom construction and loaded performance must be confirmed separately. Third-party reference; not a Bravo Package project.
PERFUME PACKAGING · CARTON BOTTOMS
Choose a perfume carton bottom by reviewing how it is formed and how the complete product is packed. A tuck-end bottom involves folding the relevant flaps and inserting the closing tab. A pre-glued auto-lock bottom has its specified gluing and prefolding completed by the supplier; the packer opens the carton and checks that the bottom has reached its intended position. A manually assembled interlocking bottom is another arrangement. Similar names do not establish identical operations, bottle support or equipment compatibility. Ask for the drawing, the supplied flat carton and a formed sample containing the actual product before comparing options.
Identify the bottom separately from the top
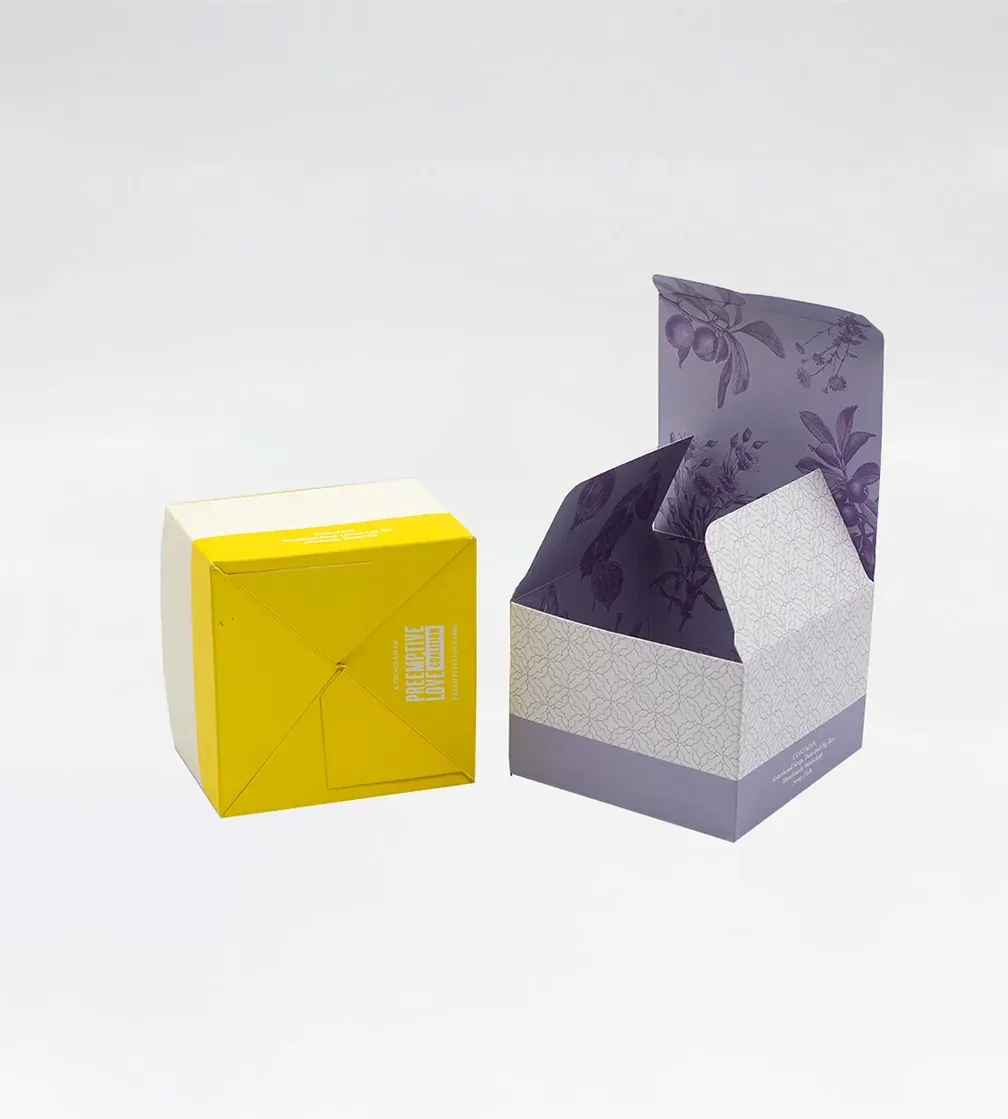
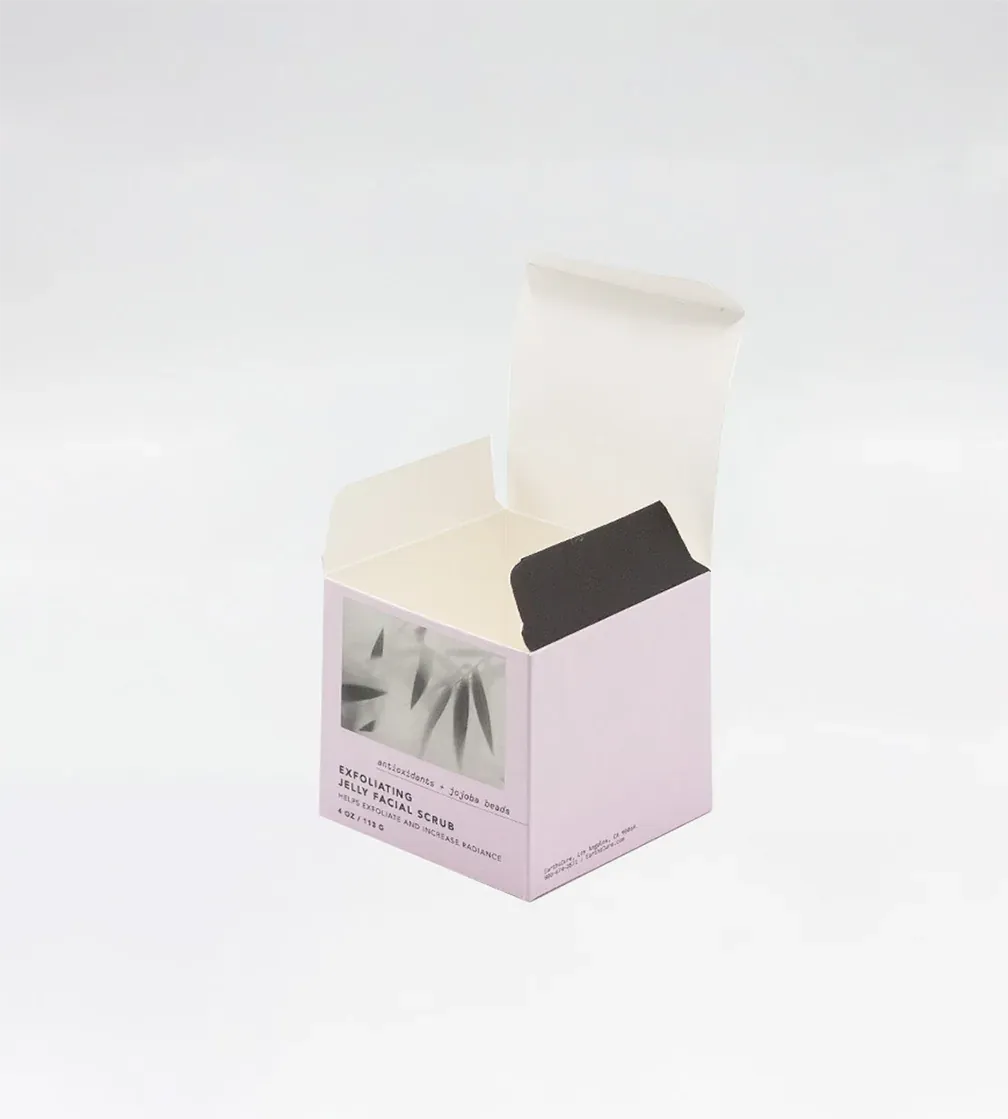
Specify the top closure and bottom construction separately in the enquiry. A tuck top does not establish a tuck bottom. A carton with tabs at both ends may be described as a double-tuck carton, while the term lock-bottom may be used for more than one assembly method. Ask what the packer actually does.
Start the demonstration with the carton as supplied. For a tuck bottom, identify the folding sequence, receiving position and completed tab position. A manual interlocking bottom requires its relevant panels to be folded and engaged in sequence. It should not be described as an auto-bottom simply because the finished arrangement locks together. For a pre-glued auto-bottom, identify the supplier's completed work and the checks required after opening the carton.
Distinguish the side seam from the bottom glue joints. Manual bottom assembly does not mean that the whole carton is glue-free. Equally, a pre-glued bottom should not be described vaguely as requiring glue during bottle packing. Confirm the particular drawing and sample rather than treating every online use of self-locking as the same construction.
Review the bottom with the final bottle and support
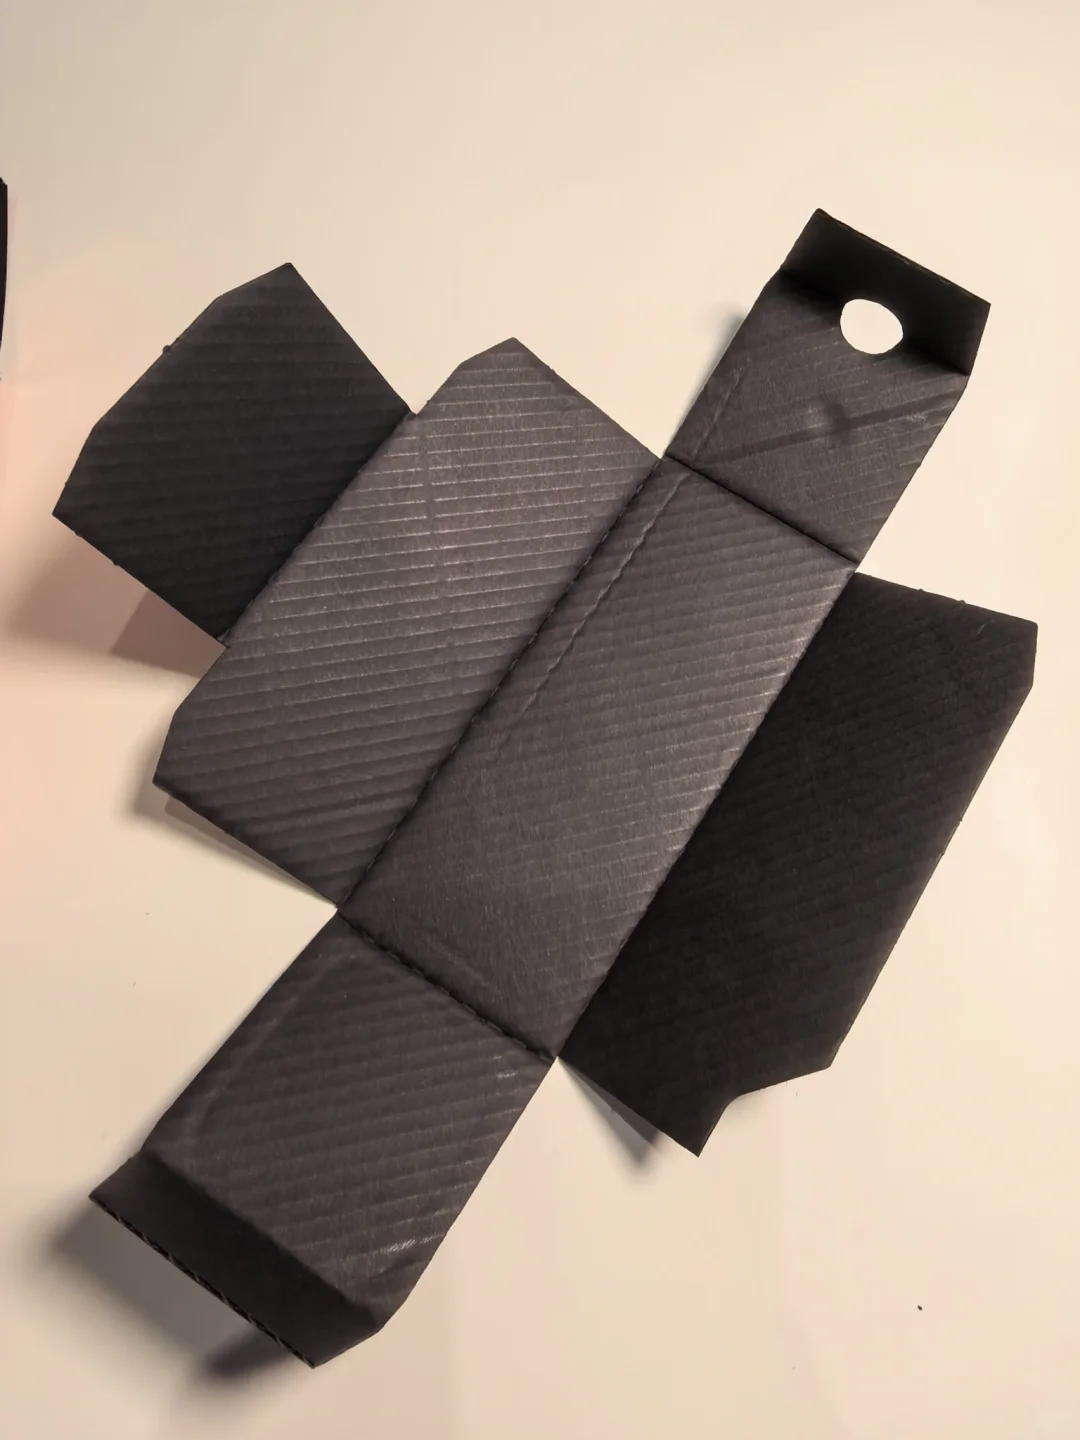
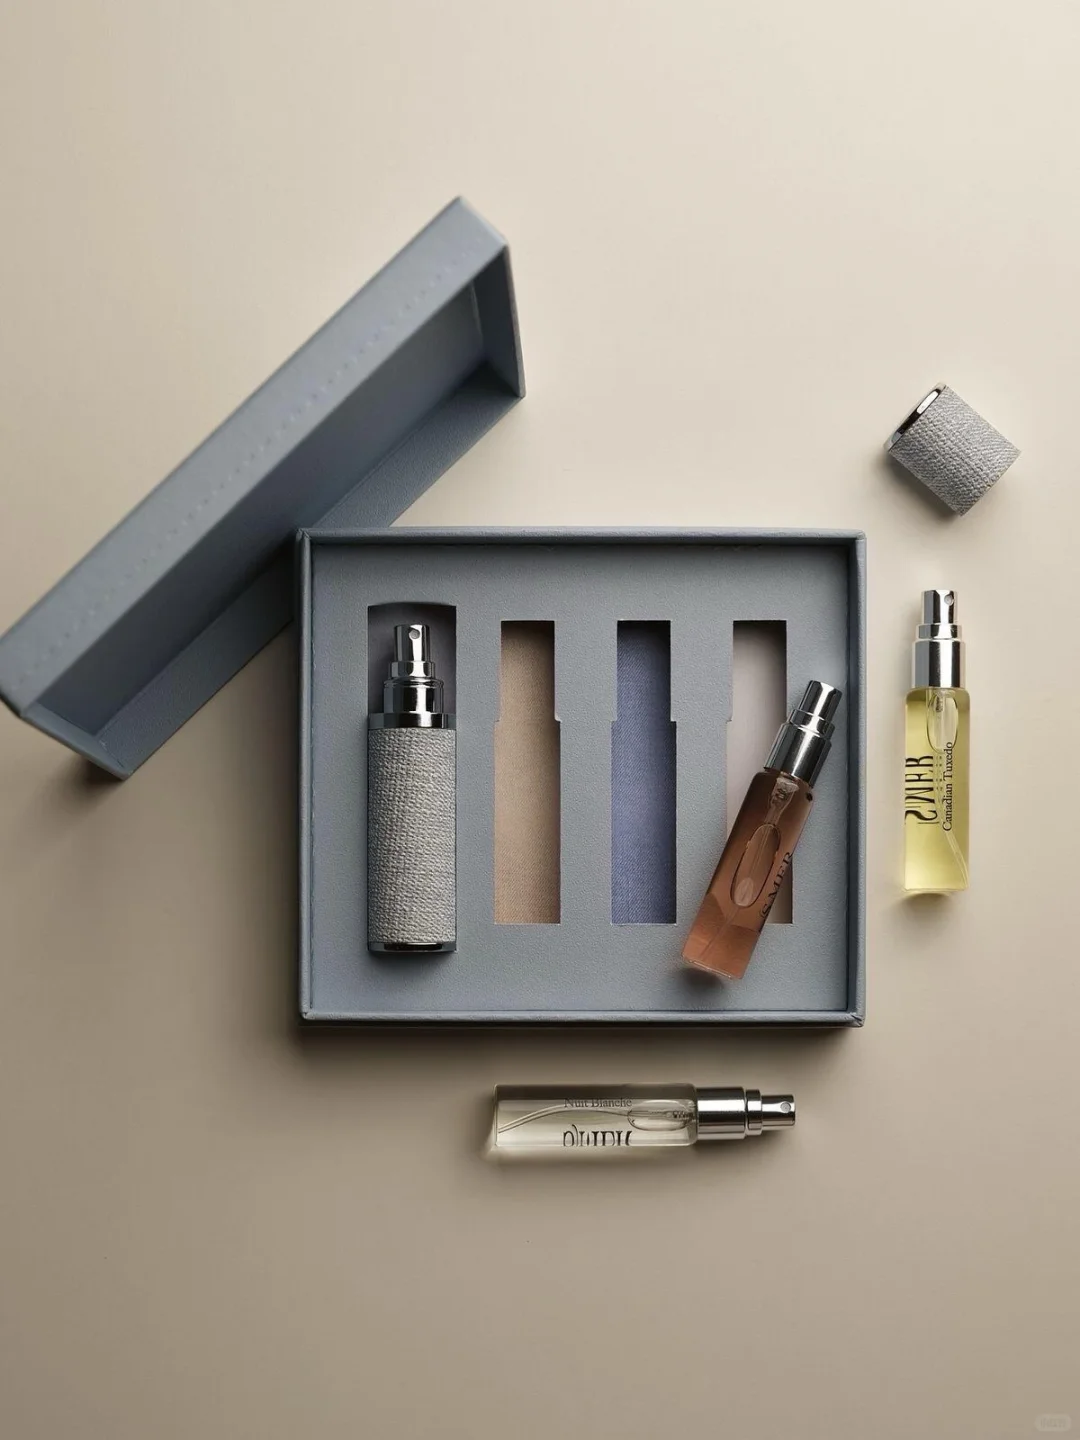
Include the actual bottle, cap, pump, label, insert and accompanying items in the sample. Identify where the product contacts the bottom and how the insert supports or positions it. Bottom closure, product location and shipping protection are related checks with separate purposes.
Observe the formed bottom first, then review the pack through the intended filling, removal and handling operations. A presentation photograph cannot validate a loaded carton. A neatly squared empty box does not establish that a glass bottle will remain supported. If a panel releases, bulges, lifts or allows a tab to back out, record the sample number, contents, direction and step where it happened so the supplier can investigate.
Do not assign a universal light-product limit to tuck bottoms or promise that an auto-bottom is always safer. Board, dimensions, cutting, creasing, gluing, support and contact conditions must be reviewed together. Where load or distribution testing is required, agree the method, conditions and acceptance criteria for the project, and retain the results for that configuration.
Compare the complete packing operation
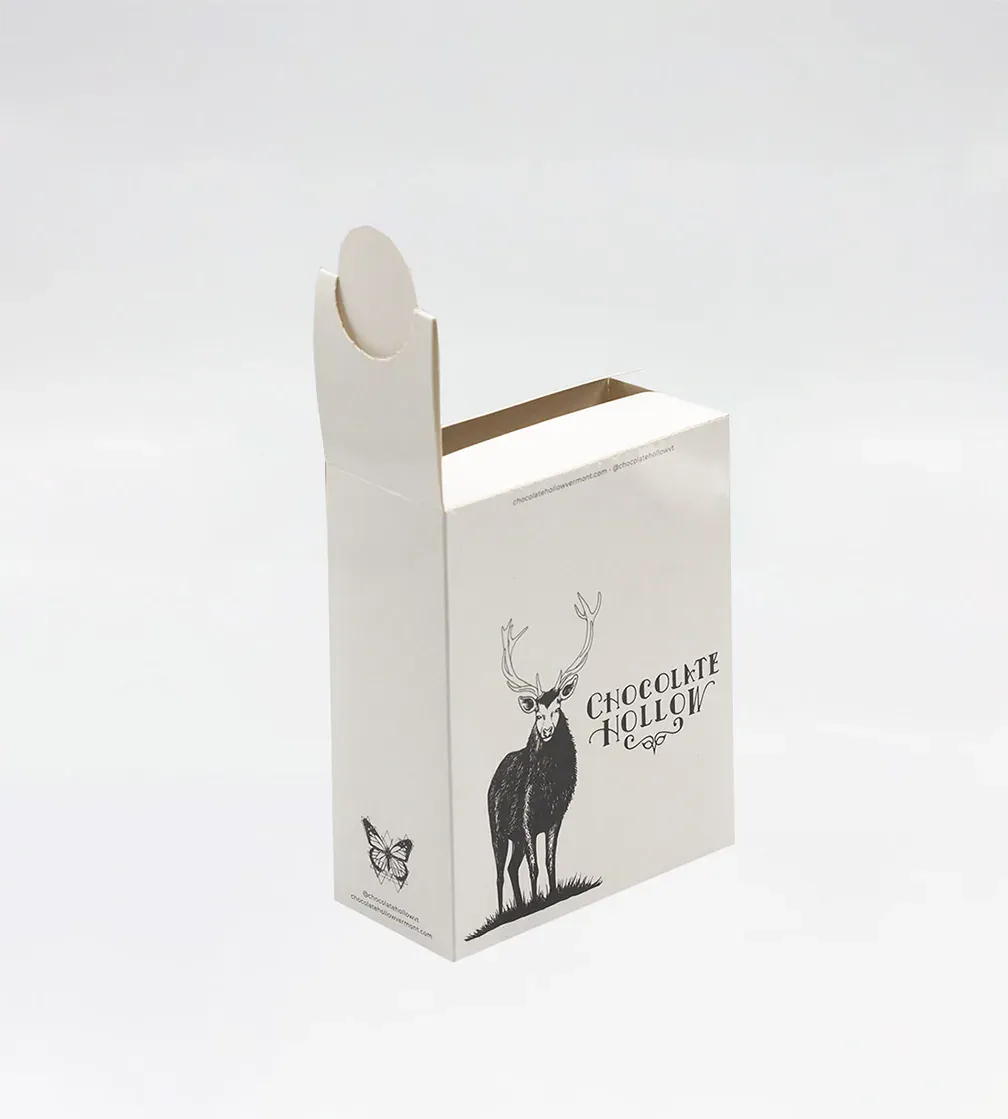
Compare both options from the same delivery state. Include picking up the carton, opening it, checking the bottom, placing the insert, loading the bottle and accessories, and closing the top. One successful opening action cannot represent the productivity of the complete packing sequence.
Record whether the orientation is clear, whether the bottom requires additional positioning and how the operator recognises a completed assembly. Review bottle insertion too. A bottom that looks convenient in an empty demonstration may still need further assessment in the actual packing arrangement.
For machines or assisting fixtures, give the equipment supplier the final drawing, materials, samples and changeover requirements. An auto-lock bottom describes the carton construction; it does not approve operation on a particular machine. Check different sizes and versions rather than using one sample to approve the entire range.
If you measure packing time, retain the operator, sample state, quantity and start and finish points. Online hourly outputs, labour-saving percentages and single-handed demonstrations are not a production commitment from Bravo Package or a substitute for your own operation review.
Confirm board and drawing changes through samples
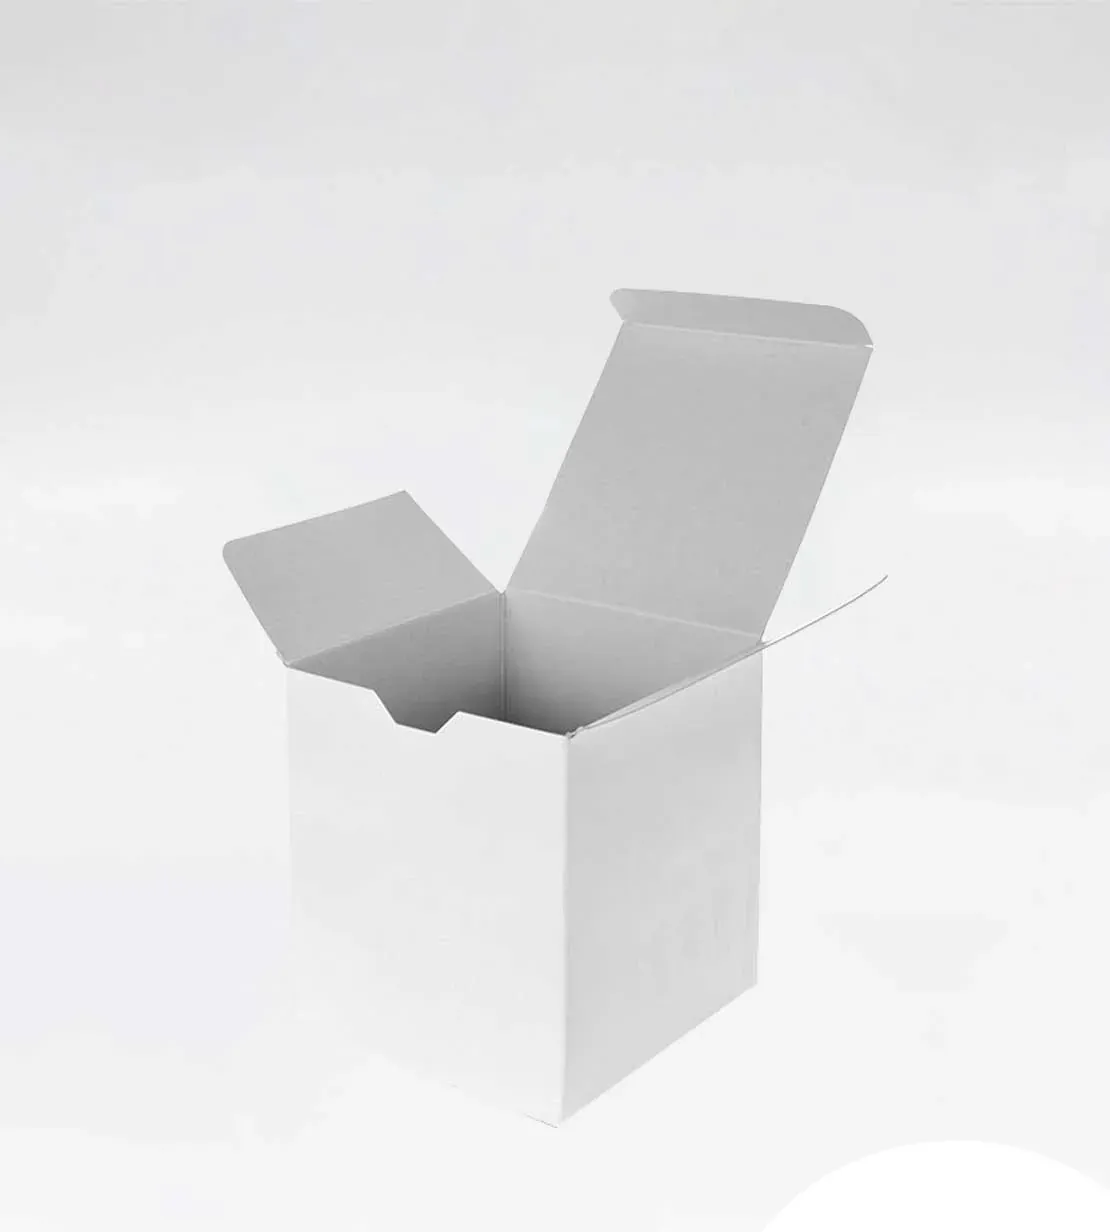
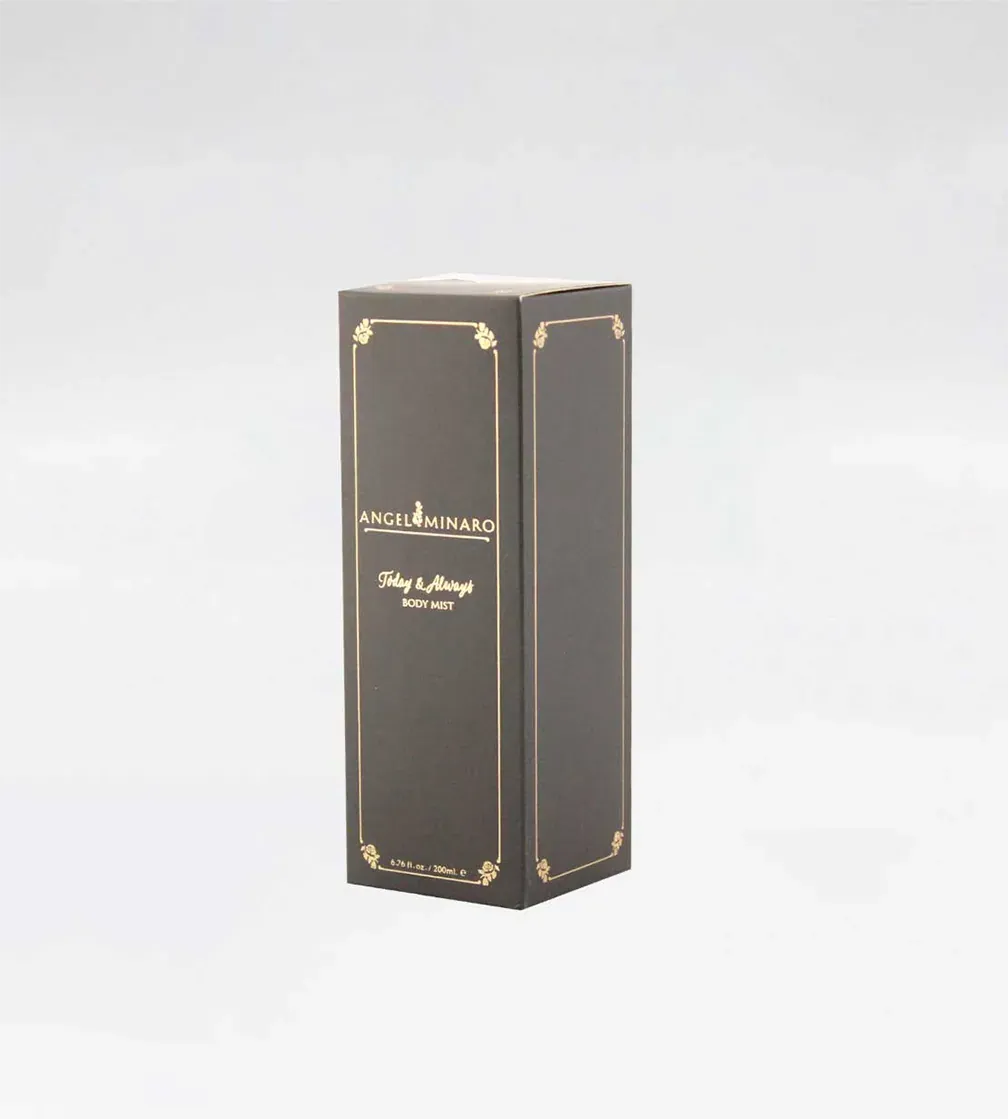
Do not issue an online tutorial's angles, tab widths or clearance formulas as approved production dimensions. A drawing may be an instructional example, and comments may correct earlier labelling. Match the drawing version, materials and physical sample. State whether dimensions refer to internal space, external dimensions or the drawing's crease lines.
When a bottom catches, bulges or fails to close completely, preserve the observation before choosing a correction. A photograph cannot establish whether the cause is board thickness, creasing, cutting, gluing or assembly order. Nor can it establish that changing one angle will solve it. Repeat the relevant forming and bottle-packing checks with the revised version.
Use the intended printing and surface treatment for final review. If an unprinted sample has been checked, record its purpose and the items that remain unconfirmed. Its handling behaviour should not silently become approval of the finished printed carton.
Compare purchasing scope and packing work together
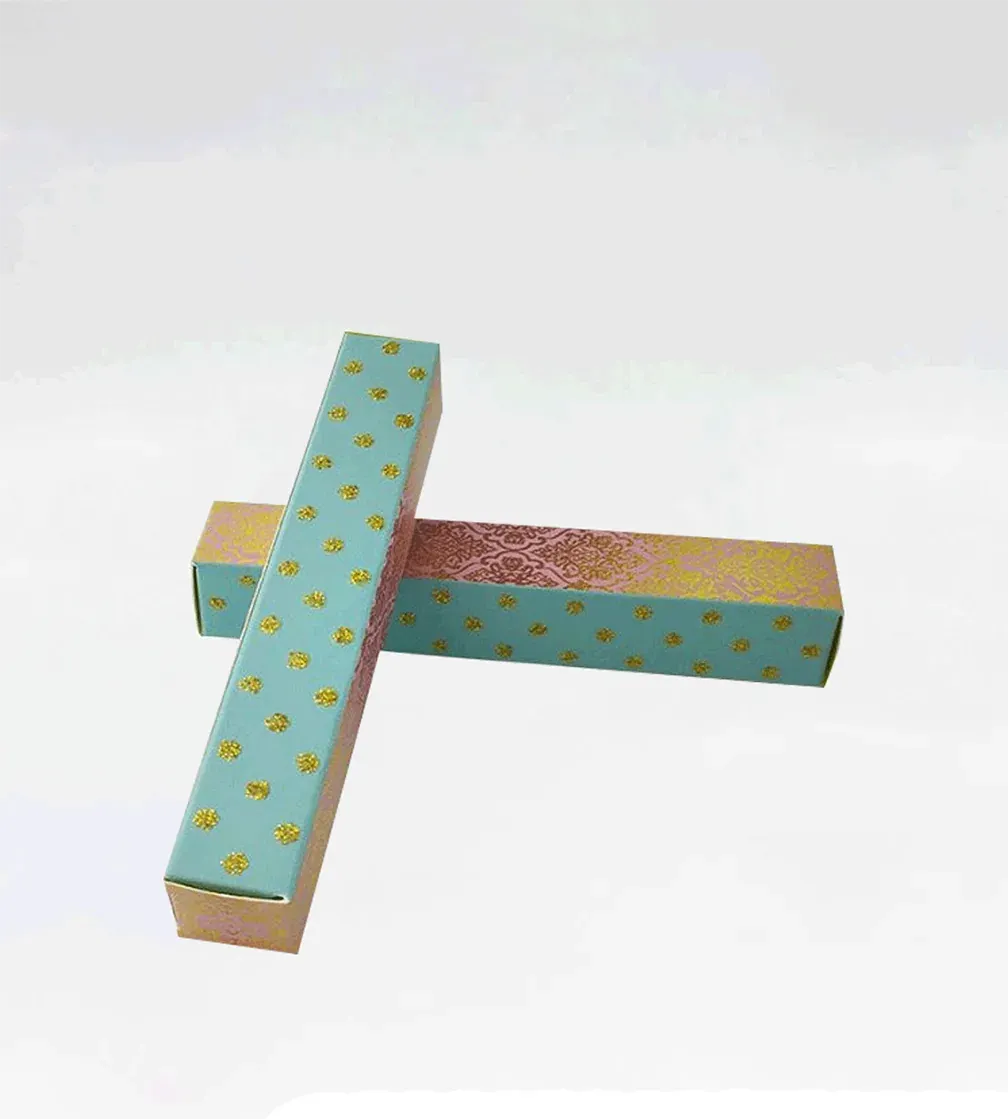
Ask each quote to identify the top and bottom construction, material configuration, delivery state, supplier gluing and prefolding, insert, quantity and relevant development charges. If the included work differs, the unit carton price alone cannot determine the lower total cost.
Assembly, fixture changeovers, inspection and rework may affect the project too. Compare against the same task list and preserve the assumptions. Without actual records, do not claim a fixed labour saving from an auto-bottom or say a tuck-end carton is always cheaper. Calculate storage and transport using the final supplied configuration rather than guessing its volume from the bottom name.
A change in bottom construction may require the insert, loading direction, artwork orientation or packing station to be reviewed again. Reference the approved version on reorders. Ordering by a general box-style name can overlook a changed bottom panel or glue position.
Keep an approval record from flat carton to packed product
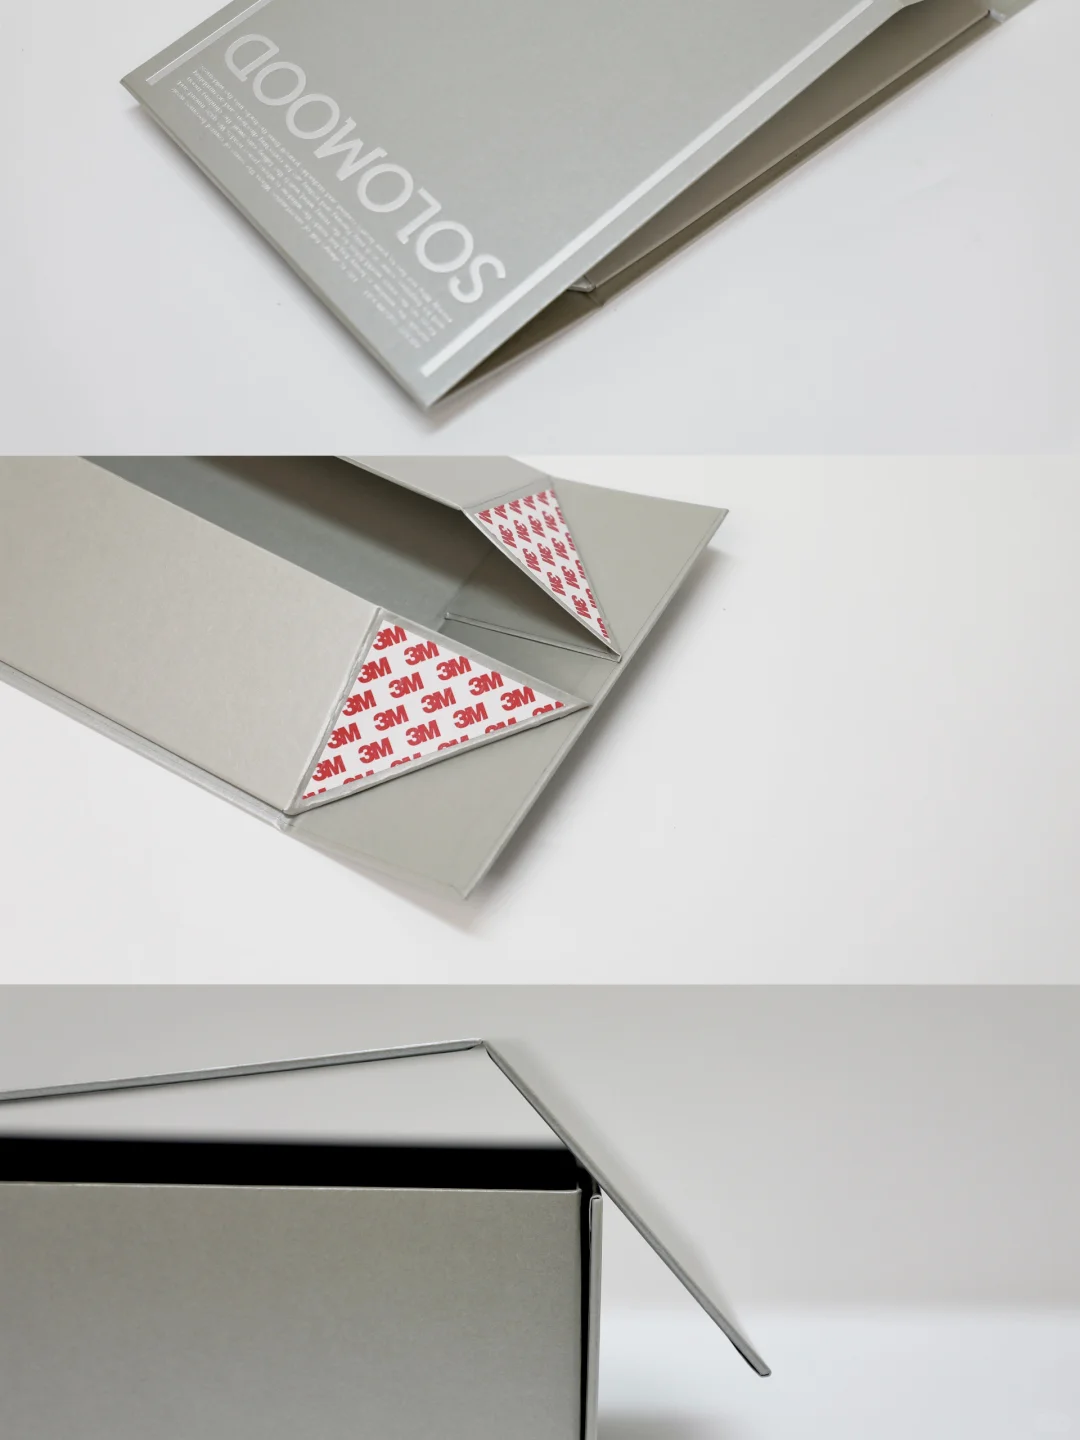
Retain the final drawing, board and finish specification, supplier glue locations, flat delivery sample and formed product sample under matching version records. Photograph the opening and forming sequence, the completed bottom, insert and bottle loading, top closure and intended shipping configuration. Explain any position the operator must check manually.
Visual acceptance of a drawing is not production approval. Conflicting online comments that a dieline is correct, needs adjustment or looks wrong cannot settle your project. Have the actual supplier confirm the manufacturing version and use its corresponding sample for the agreed checks. After changes to board, drawing, gluing or support, record which checks must be repeated and their results.
The decision should answer three practical questions: who completes the bottom assembly, how its condition is checked with the complete contents, and which approved version the quote and reorder refer to. Those answers provide a firmer basis than the tuck-end or auto-lock label alone.
Photographs are third-party structural references, not Bravo Package manufacturing projects or test evidence. Confirm materials, dimensions and validation requirements for the particular project.